This summer we were excited to launch a new website for Scanse. After they impressively fulfilled their Kickstarter funding, The Jibe was brought on board to develop their new website.
After assessing their short and long term needs, we decided to move full steam ahead with developing their site using Drupal 8. We knew the Drupal 8 contributed module ecosystem was not up to speed with Drupal 7. However, we also knew that Drupal core, out of the box, was more robust than any of its previous versions.
After our initial review, we knew that our requirement for slideshow and content tabs functionality could not be addressed with a contributed module at that time. This is where the DIY from this post title comes in. We decided that we would implement our own slideshow and content tabs in the theme layer.
We had actually taken a similar approach on Drupal 7 sites in the past -- when a higher level of customization and configuration was needed but not available in a contributed module’s settings. While our approach would be conceptually the same, Drupal 8’s new theme layer and theme libraries would give us an improved set of tools to work with.
Theme libraries
What really makes this all possible is the introduction of theme libraries in Drupal 8’s new theme layer. Theme libraries are managed through the theme’s yml files.
Note: All references to THEME would be replaced by your theme name.
THEME.info.yml
name: Theme Name
description: Theme description.
type: theme
core: 8.x

# Regions
regions:
  header: Header
  content: Content
  footer: Footer

# Scripts & Styles
libraries:
  - theme/global
Here the theme is loading a single theme library, global. Because this library is being included in THEME.info.yml, it will be loaded globally. Further definition for the library needs to be defined in THEME.libraries.yml.
THEME.libraries.yml
global:
  version: VERSION
  css:
    base:
      css/base/base.css: {}
    layout:
      css/layout/layout.css: {}
    component:
      css/components/components.css: {}
    theme:
      css/theme/theme.css: {}
      css/theme/print.css: { media: print }
  js:
    js/modernizr.js: {}

slick:
  version: VERSION
  css:
    component:
      css/components/slick.css: {}
  js:
    js/slick.min.js: {}
    js/slick.config.js: {}
  dependencies:
    - core/drupal
    - core/jquery
The global theme library is now being further defined to include a collection of CSS and JS files. There is also a second theme library being defined, slick. However, because it has not been included in THEME.info.yml, it will not be loaded until we specifically call it. This helps us keep the page load lighter when these libraries are not needed. We will continue with this a little further down.
As previously mentioned we could do this in Drupal 7 but it did require a custom module that would use a hook like hook_node_view_alter to determine when certain CSS and JS would be loaded.
Creating your own slideshow
On the Scanse.io website, the slideshow showcases a collection of images and videos and also uses a centre focused display. The centre focused display makes a single slide item active but also shows a preview of the previous and next slides.
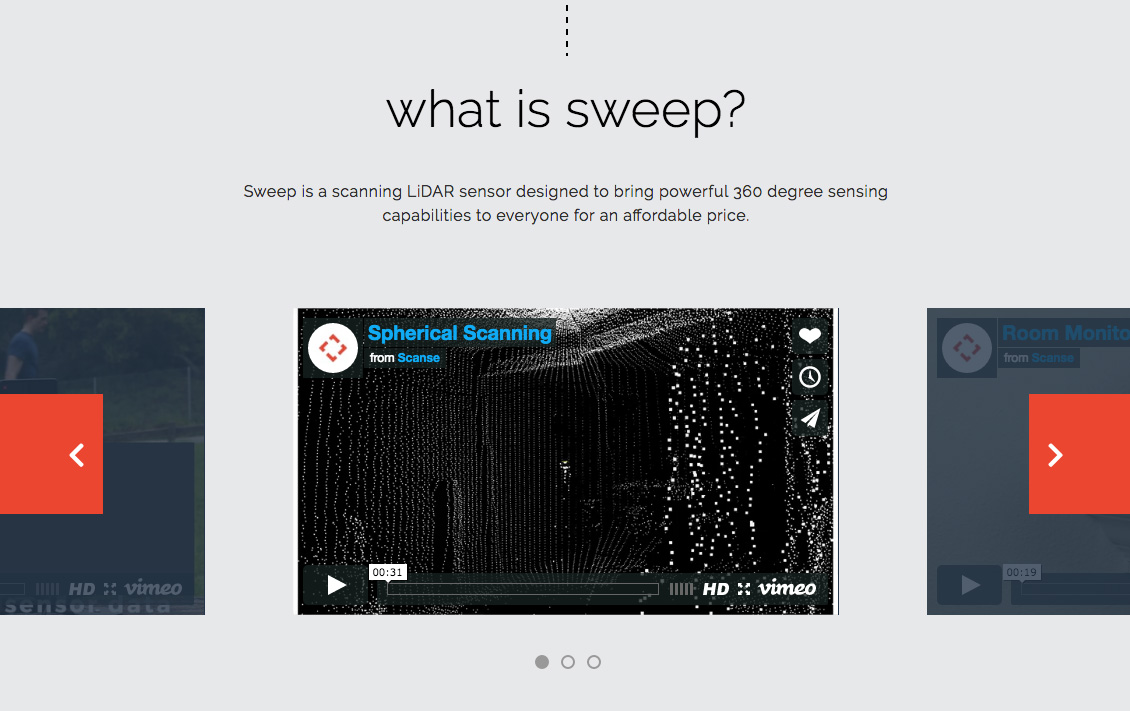
Slick, humbly dubbed the last carousel you'll ever need, has quickly become our favorite slideshow library. It has countless configuration options, including our favorite: the ability to set different configuration by breakpoint. There is also a configuration setting available for the center focus display we use on the Scanse website.
The HTML Markup
The first step taken to implement the slideshow was to generate the markup we needed. For this site, we used the Paragraphs module – but we won’t dive too deeply into that implementation here. We also could have used a view or a multi-value field to achieve the same thing. Ultimately, how we use Drupal to output this content doesn’t matter. In the end, we want our markup to look something like this:
Create a Theme Library
Here we come back to the slick theme library that we introduced a little while back. When using a contributed module, the assets that make that module work are typically pulled in when you download and install the module. When we implement a theme library, we download the files and define the assets in our THEME.libraries.yml file.
THEME.libraries.yml
global:
  version: VERSION
  css:
    base:
      css/base/base.css: {}
    layout:
      css/layout/layout.css: {}
    component:
      css/components/components.css: {}
    theme:
      css/theme/theme.css: {}
      css/theme/print.css: { media: print }
  js:
    js/modernizr.js: {}

slick:
  version: VERSION
  css:
    component:
      css/components/slick.css: {}
  js:
    js/slick.min.js: {}
    js/slick.config.js: {}
  dependencies:
    - core/drupal
    - core/jquery
We download slick.min.js and slick.css (actually, pull slick.css into our Sass structure) and add them directly to our theme. Because slick requires JQuery, we also add that as a dependency. JQuery is included in Drupal core, but it is only loaded if it is a defined dependency.
Like we reviewed before, we define these files separate from the global library because this allows us to load the these assets only as needed.
Lastly, we create a new slick.config.js to capture our configuration. You can learn more about the available configuration on the slick website.
slick.config.js
(function ($, Drupal, window, document) {

  Drupal.behaviors.THEMESlickConfig = {
    attach: function (context, settings) {

      $(".js-slick-single-item-center").slick({
        dots: true,
        infinite: true,
        speed: 1000,
        slidesToShow: 1,
        centerMode: true,
        centerPadding: '460px',
        adaptiveHeight: true,
        prevArrow: '',
        nextArrow: '',
        responsive: [
          {
            breakpoint: 1600,
            settings: {
              centerPadding: '300px',
            }
          },
          {
            breakpoint: 960,
            settings: {
              adaptiveHeight: true,
              centerPadding: '100px',
            }
          },
        ]
      });

    }
  };

} (jQuery, Drupal, this, this.document));

Bring it together
At this stage, we have the markup and configuration in place. We still need to bring it together. Our slick configuration looks for the .js-slick-single-item-center class so we need to apply that to our markup. We also need to ensure our theme library loads when it is needed. Without slick.min.js, no slideshow will generate.
While we use Paragraphs to generate this display, we are specifically using a multi-valued field to bring in references to the multiple videos. This is the Twig template we use to bring it all together.
field--field-slideshow-slides.twig.html
{# Create classes array #}
{% set classes = [
  'slideshow__slides',
  'js-slick-single-item-center',
  'slick--single-item-center'
] %}

{{ attach_library('THEME/slick') }}
{% for item in items %}- {{ item.content }} {% endfor %}
{{>
Through this template we apply the .js-slick-single-item-center class and attach THEME/slick. When Drupal loads this template, it will load the slick theme library because we have attached the library. This includes slick.config.js where we tell slick to initiate when it finds the .js-slick-single-item-center class. With all of that in place, we have our custom slideshow implemented though our theme.
Conclusion
While starting a new Drupal 8 site without the full support of the contributed module space may feel risky, new theme development practices like theme libraries helps mitigate this risk. We can implement smart and efficient front-end components without having to rely on contributed modules or dip in custom code.
Note: In my next post, I'll show how we built on the power of theme libraries provided in Drupal 8. I'll continue to showcase examples from Scanse.io, and share another functionality we implemented with theme libraries -- content tabs.