
Configure a Drupal 10 codebase with Drupal CMS and Site Studio for Site Factory: Part 1
- Last updated
- 1 minute read
Goal
Create a new Cloud IDE instance, Install Drupal 10, and prepare your codebase with the necessary modules for Acquia CMS, Site Studio and Site Factory.
Overview
In this comprehensive, five-part guide, I will show how to set up Cloud IDE, install Drupal 10 with Acquia CMS and Site Studio, and finally prepare your codebase for Site Factory by giving it a custom installation profile. We will leverage Acquia BLT helper scripts and recipes to standardize and accelerate what would otherwise be a lengthier sequence of manual steps.
The approach covered here will enable you to install new Drupal sites on ACSF using the current configuration files in your codebase.
- Set up Cloud IDE, Install Drupal 10, and Prepare your Codebase for Site Factory
- Acquia CMS and Site Studio installation and configuration for Site Factory
- Create a Custom Profile and test New Site Creation with Site Factory
- ACSF Deployment Workflow with Site Studio
- Optional: Configure multiple Site Studio sync directories
Let's get started!
-
Create your Cloud IDE instance
Login to your Acquia Cloud Platform account:
Image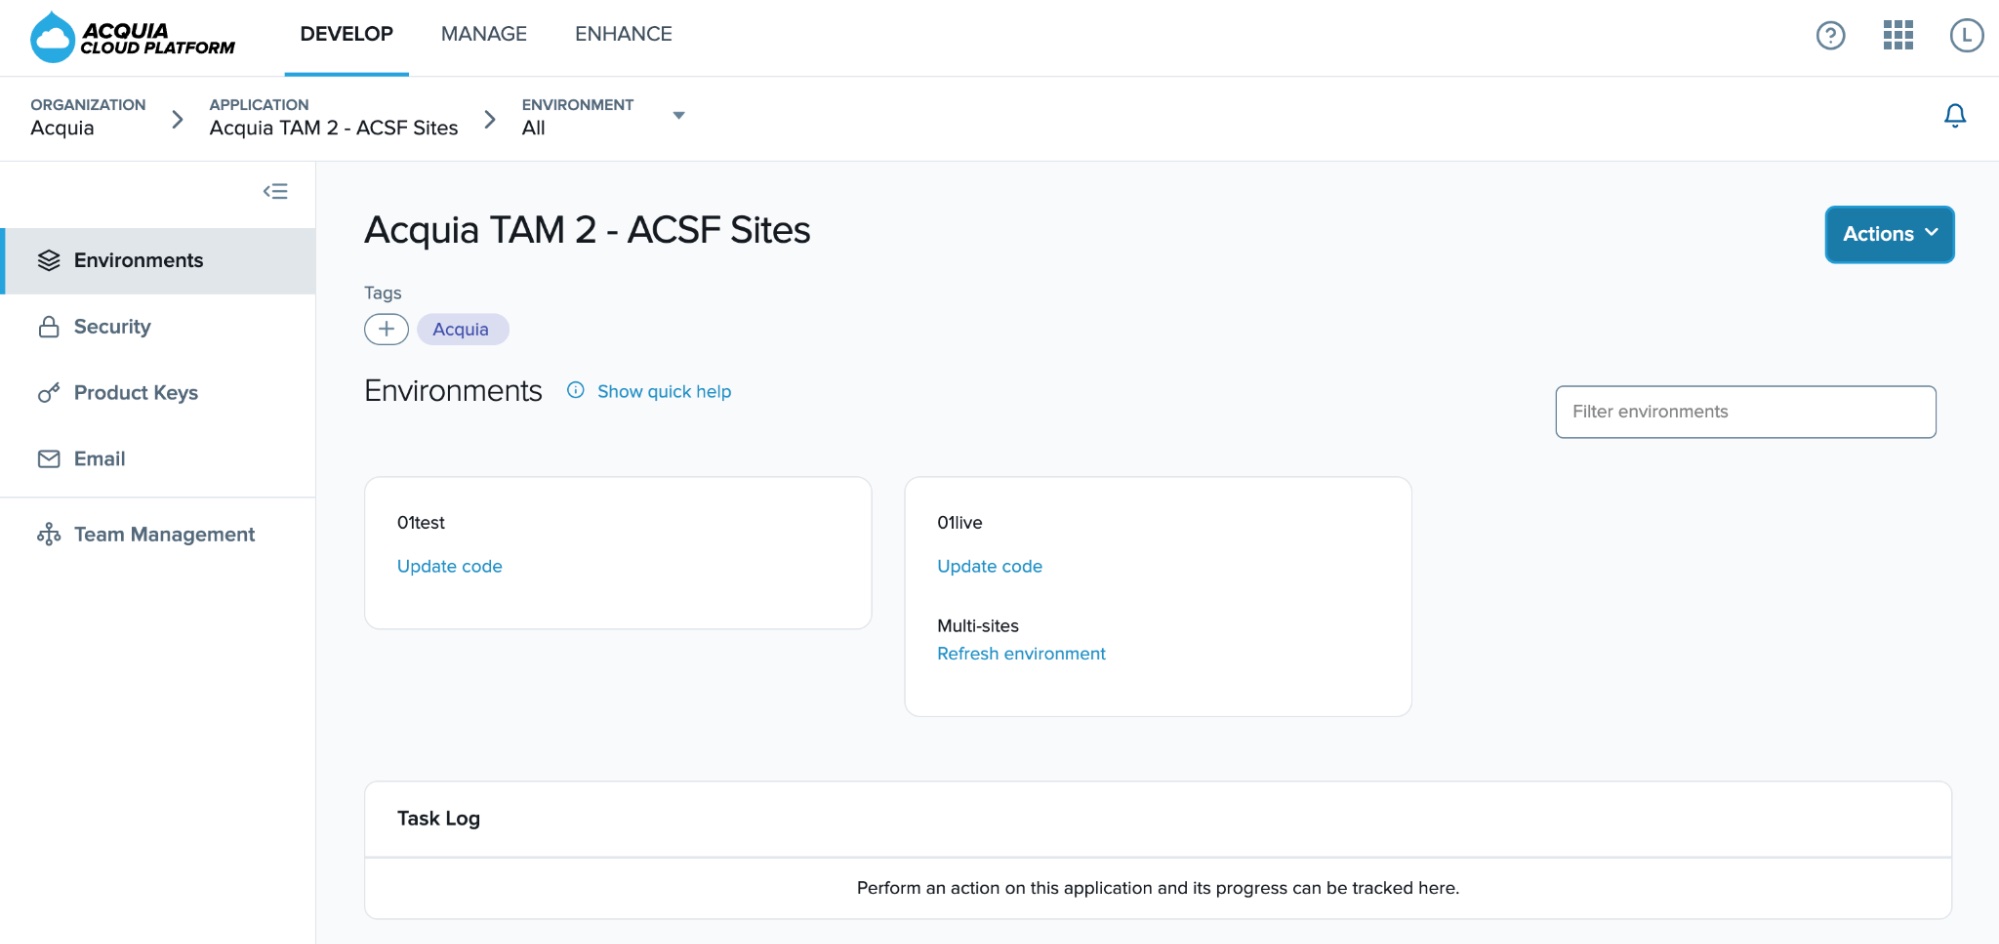
Click the “Actions” button and select “Create Cloud IDE”. Give a name to your new Cloud IDE instance and click the “Submit” button:
Image
We want to install Drupal 10, so we need to make sure that the PHP version of our environments is set to PHP 8.1:
Image
-
Cloud IDE Configuration
Open your Cloud IDE instance:
Image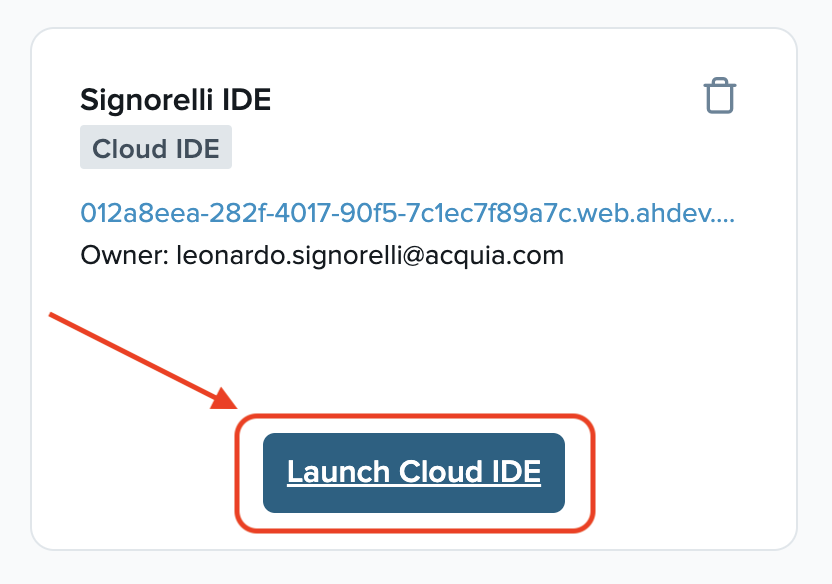 Image
Image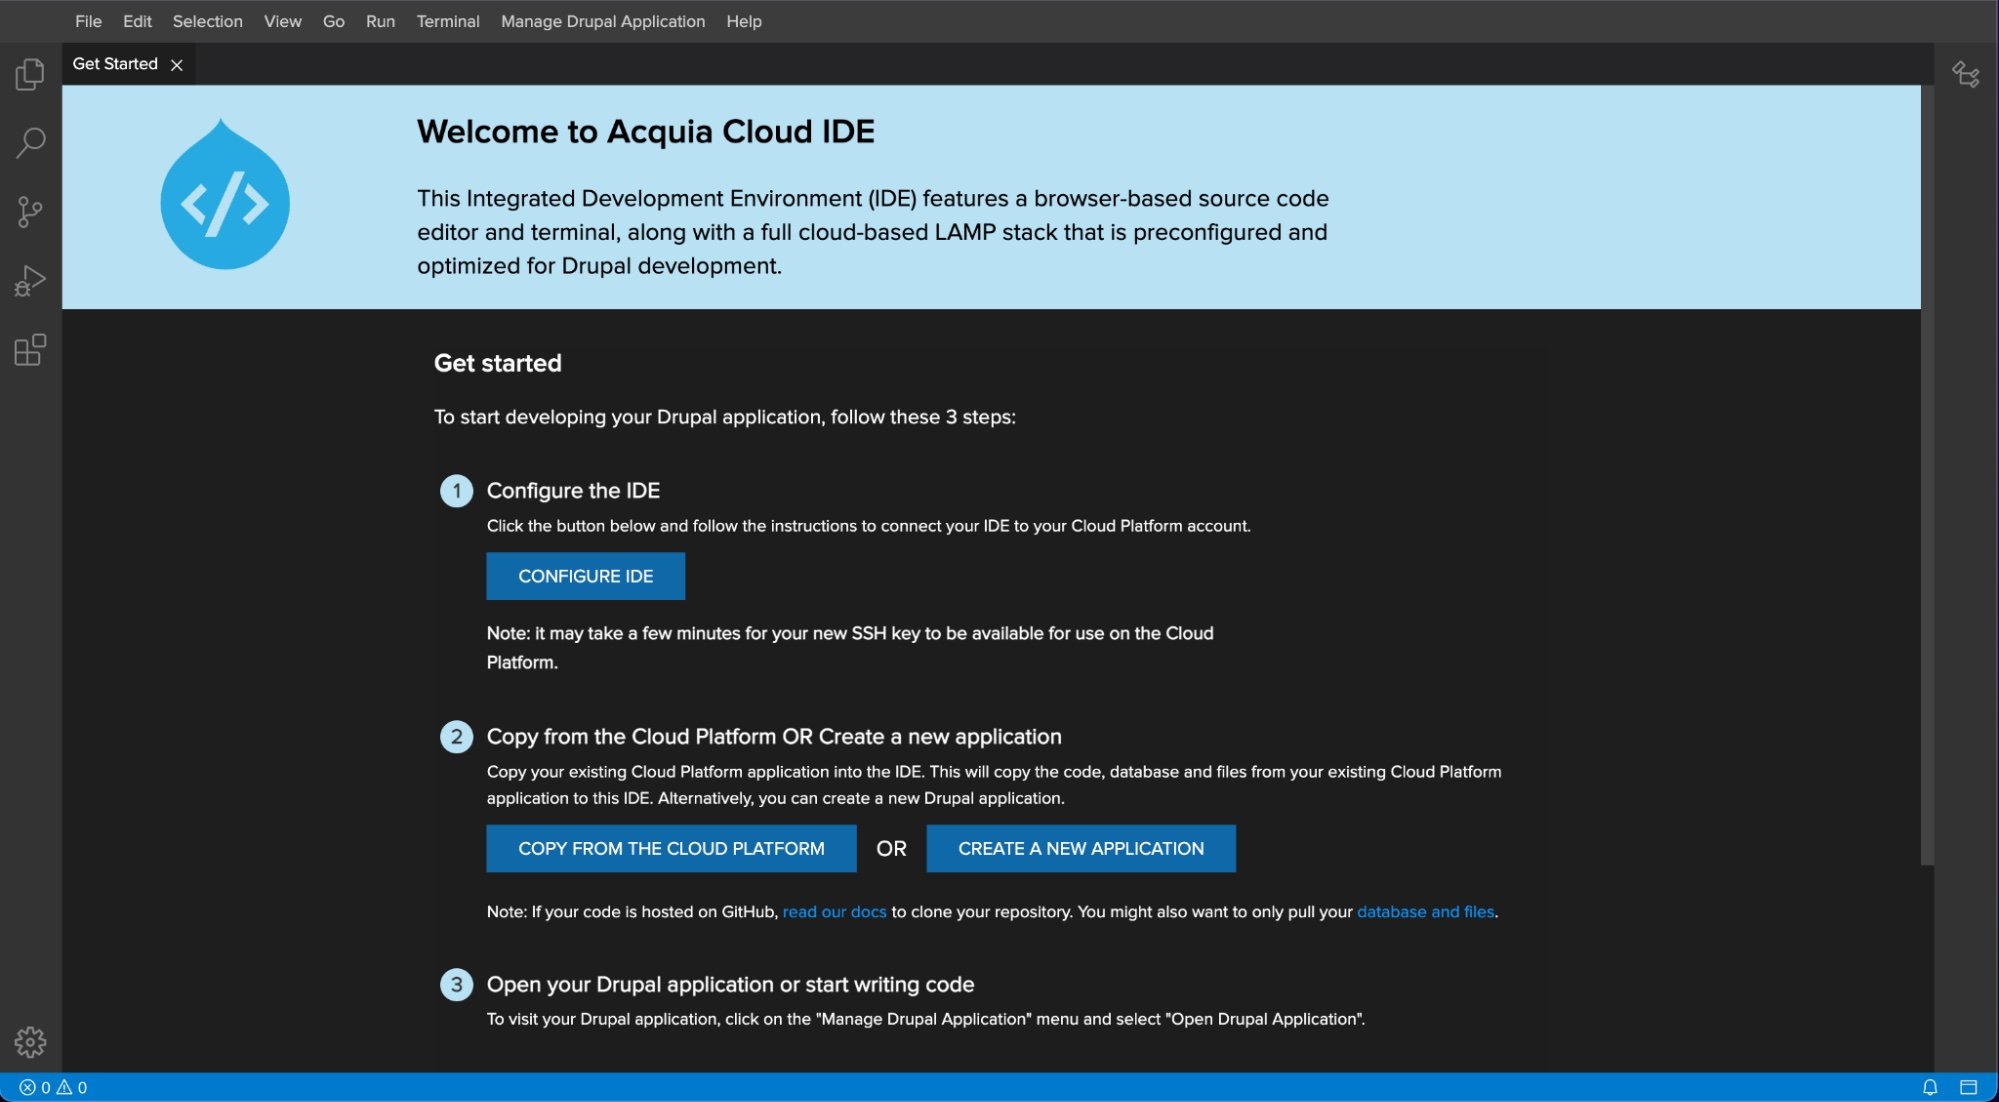
Ensure that the PHP version of your Cloud IDE is also configured to PHP 8.1:
If you are currently using an older version of PHP in your Cloud IDE instance, you can easily switch to a newer version with the following command:
https://docs.acquia.com/ide/#working-with-phpOn the “Get Started” page of your Cloud IDE, click the “Configure IDE” button to connect your IDE to your Cloud Platform account:
Image
-
Create a new Drupal project
The Acquia Drupal Recommended Project is a project template providing a great out-of-the-box experience for new Drupal 10 projects hosted on Acquia. It is based on the Drupal Recommended Project, with the principal difference being the addition of several modules and packages that provide the best possible out-of-the-box experience for Acquia customers.
For this tutorial, We will use the 2.0.210 release of the Acquia Drupal Recommended Project:
https://github.com/acquia/drupal-recommended-project/releases/tag/2.0.210Open a new Terminal window in your Cloud IDE and execute the following composer command:
Once the process has finished, you can check the current status of your Drupal project:
-
Install BLT
https://docs.acquia.com/blt/install/adding-to-project/
To add BLT to your existing Drupal project, please follow these steps:
- Open the Cloud IDE Terminal and navigate to your project directory (~/project).
- Once you're in the correct directory, you can configure Composer's minimum-stability and prefer-stable values by running:
These commands ensure the best stability for your project and allow BLT to be added successfully.
Install BLT with the following composer command:
Image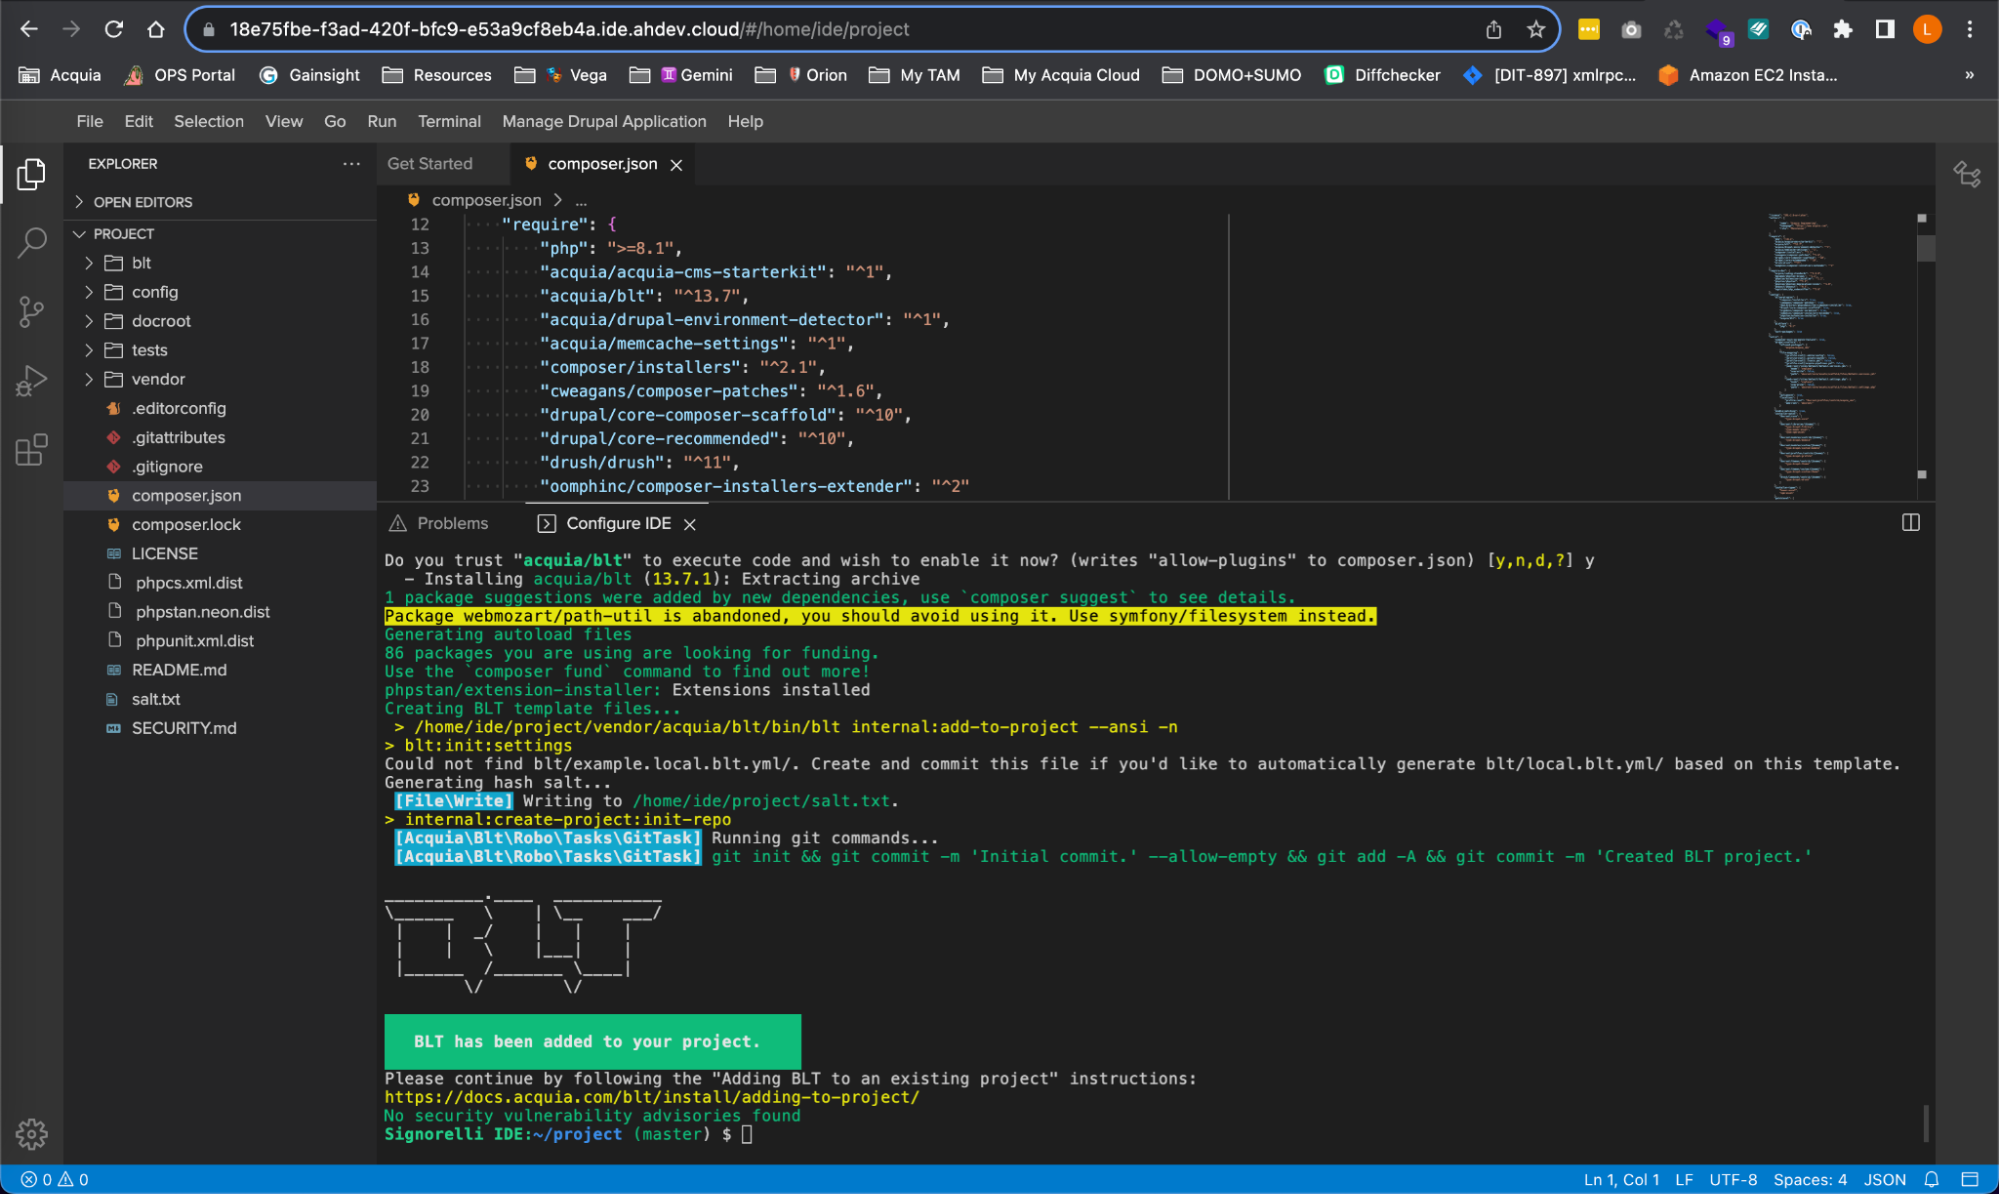
-
Install Acquia BLT ACSF
This plugin provides a set of commands in the recipes:acsf namespace that use the ACSF Drupal module to initialize your ACSF site. More information can be found here: https://github.com/acquia/blt-acsf
To install Acquia BLT ACSF, execute the following command:
Configure the Site Factory Connector module in your codebase using BLT:
https://docs.acquia.com/site-factory/workflow/deployments/acsf-init/#adding-the-connector-module-to-your-codebaseDownload and extract the updated Acquia Cloud Site Factory Connector:
https://docs.acquia.com/site-factory/workflow/deployments/acsf-init/#executing-acsf-init-after-module-or-drupal-core-updatesImage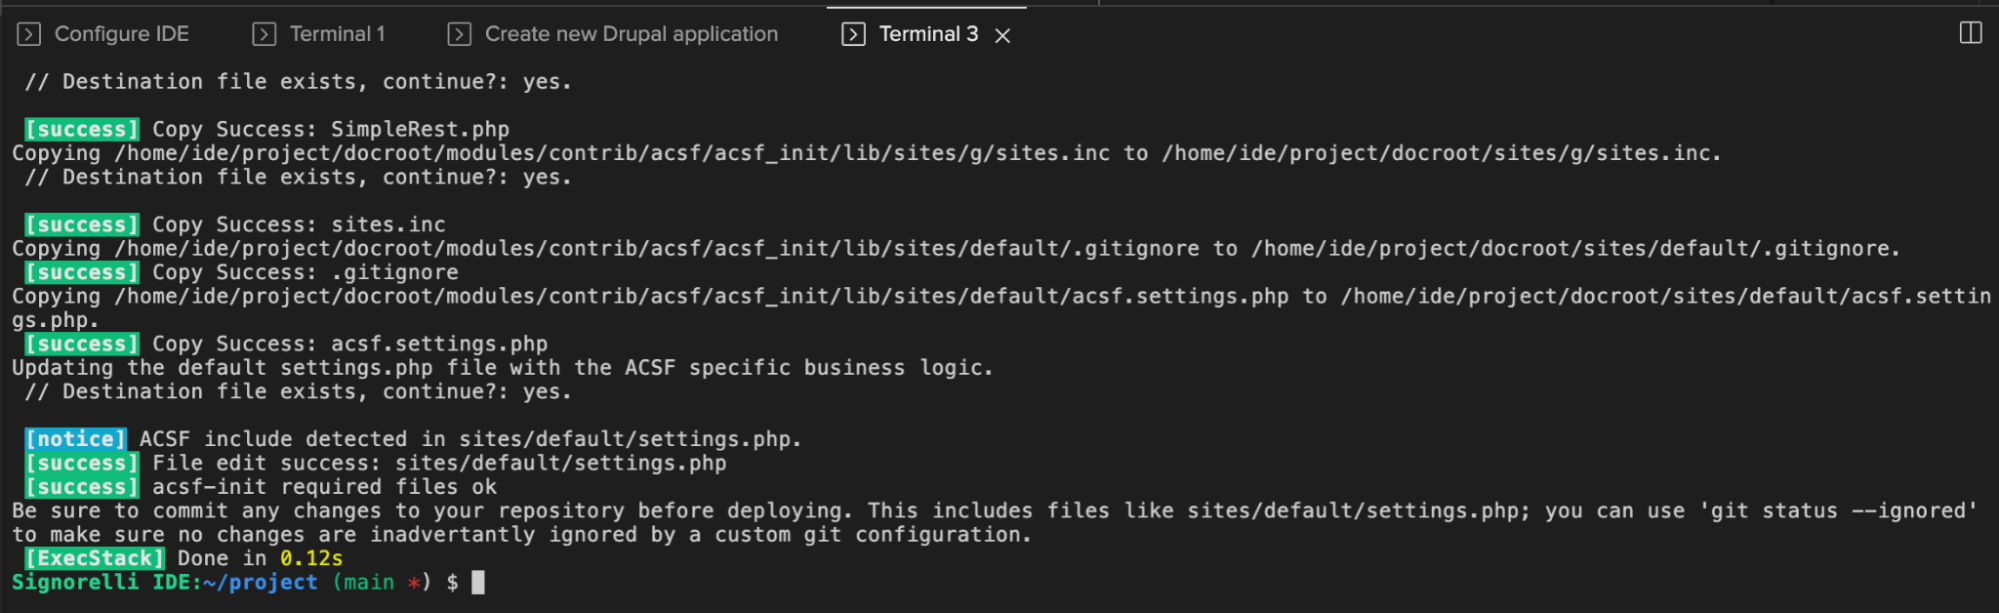
-
Install the Acquia Cloud Site Factory Connector module
https://docs.acquia.com/site-factory/module/
https://www.drupal.org/project/acsfRun the following command to install the ACSF module:
-
Install the Config Split and Config Filter modules
https://sitestudiodocs.acquia.com/7.4/user-guide/setup-config-ignore-and-config-split
Install the Configuration Split module:
https://www.drupal.org/project/config_splitInstall the Config Filter module:
https://www.drupal.org/project/config_filter -
Configure the Site Studio Sync directory
Before you execute the Site Studio configuration export command, it’s necessary to configure the Site Studio sync directory. More information can be found here:
https://sitestudiodocs.acquia.com/7.0/user-guide/configure-sync-moduleCreate the site_studio.settings.php file
Navigate to the docroot/sites/settings/ folder:
Create a new PHP script named site_studio.settings.php and add the following code:
Image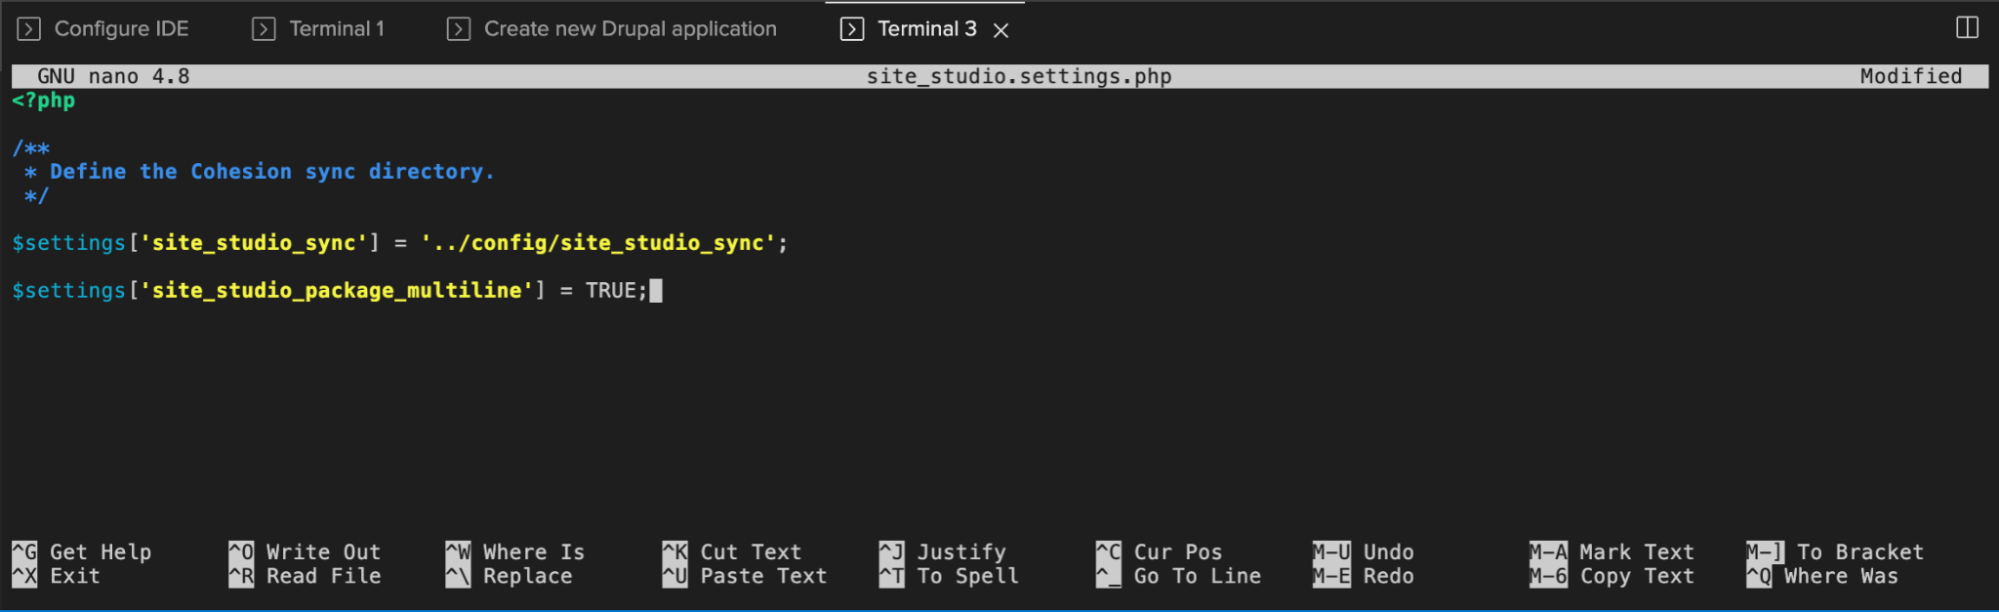
Create the global.settings.php file
Navigate to the docroot/sites/settings folder:
Create a new PHP script named global.settings.php and add the following code:
Image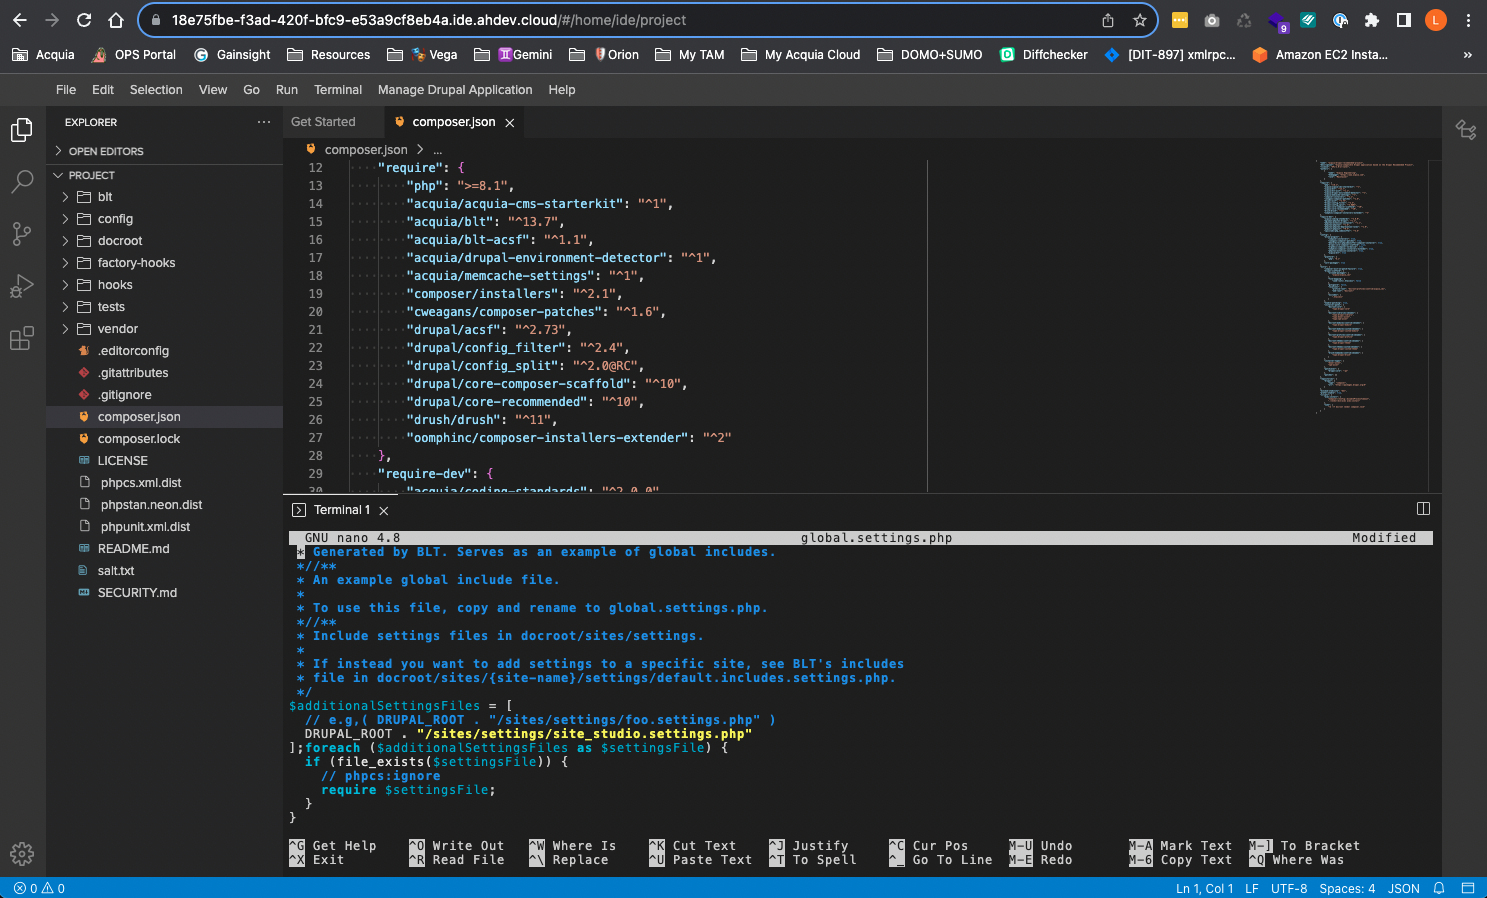
Create the site_studio_sync folder inside your config folder and then navigate back to the project folder:
-
Edit your blt/blt.yml file
To edit your blt/blt.yml file, you will need to find out the ID of your application and the URL of your Acquia repository.
Go to your Acquia Platform account and click the “Product Keys” option from the left menu, your Application ID is listed under Username and Application UUID:
Image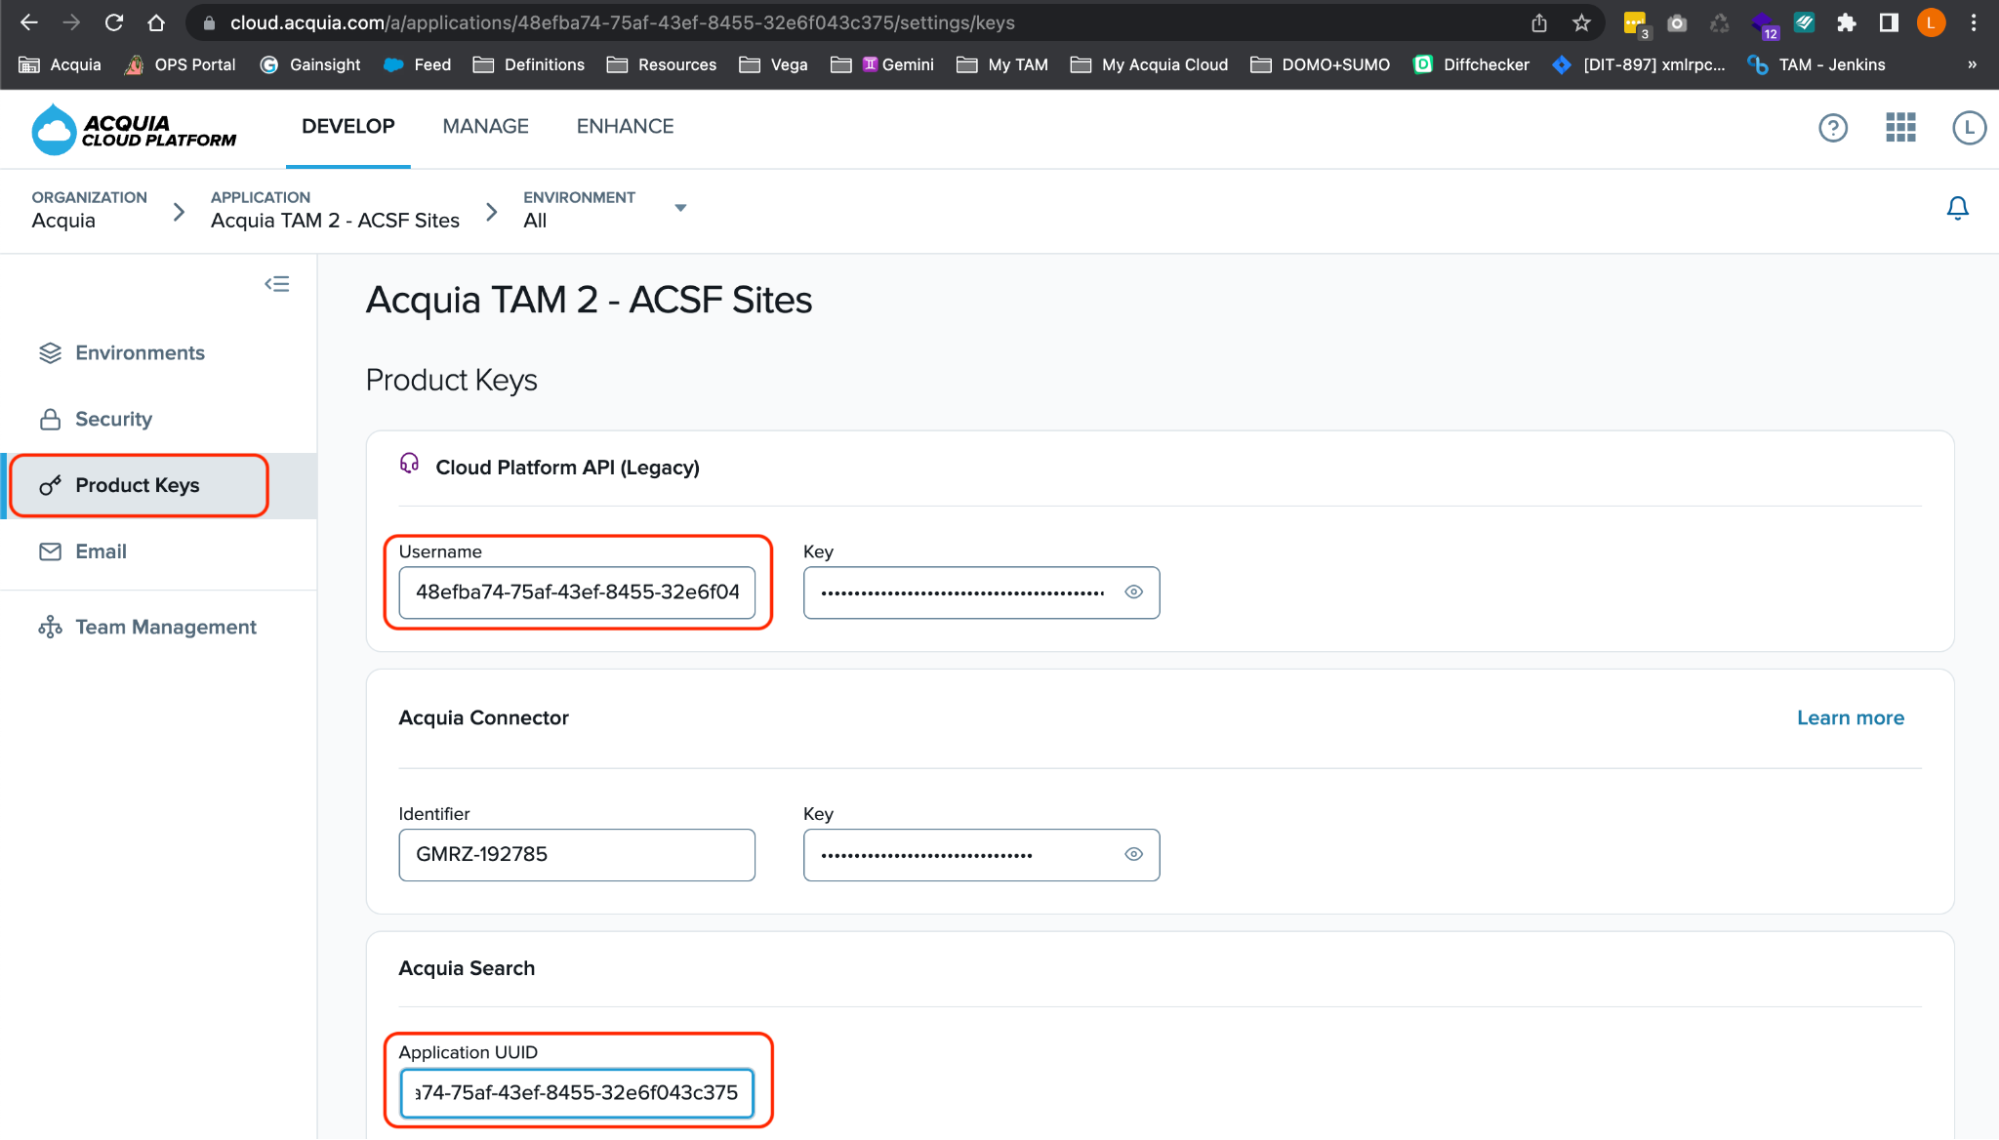
To find out the URL of your Acquia repository, go to your Acquia Platform account and click the “Actions” button to reveal the dropdown and select “View Git information”:
Image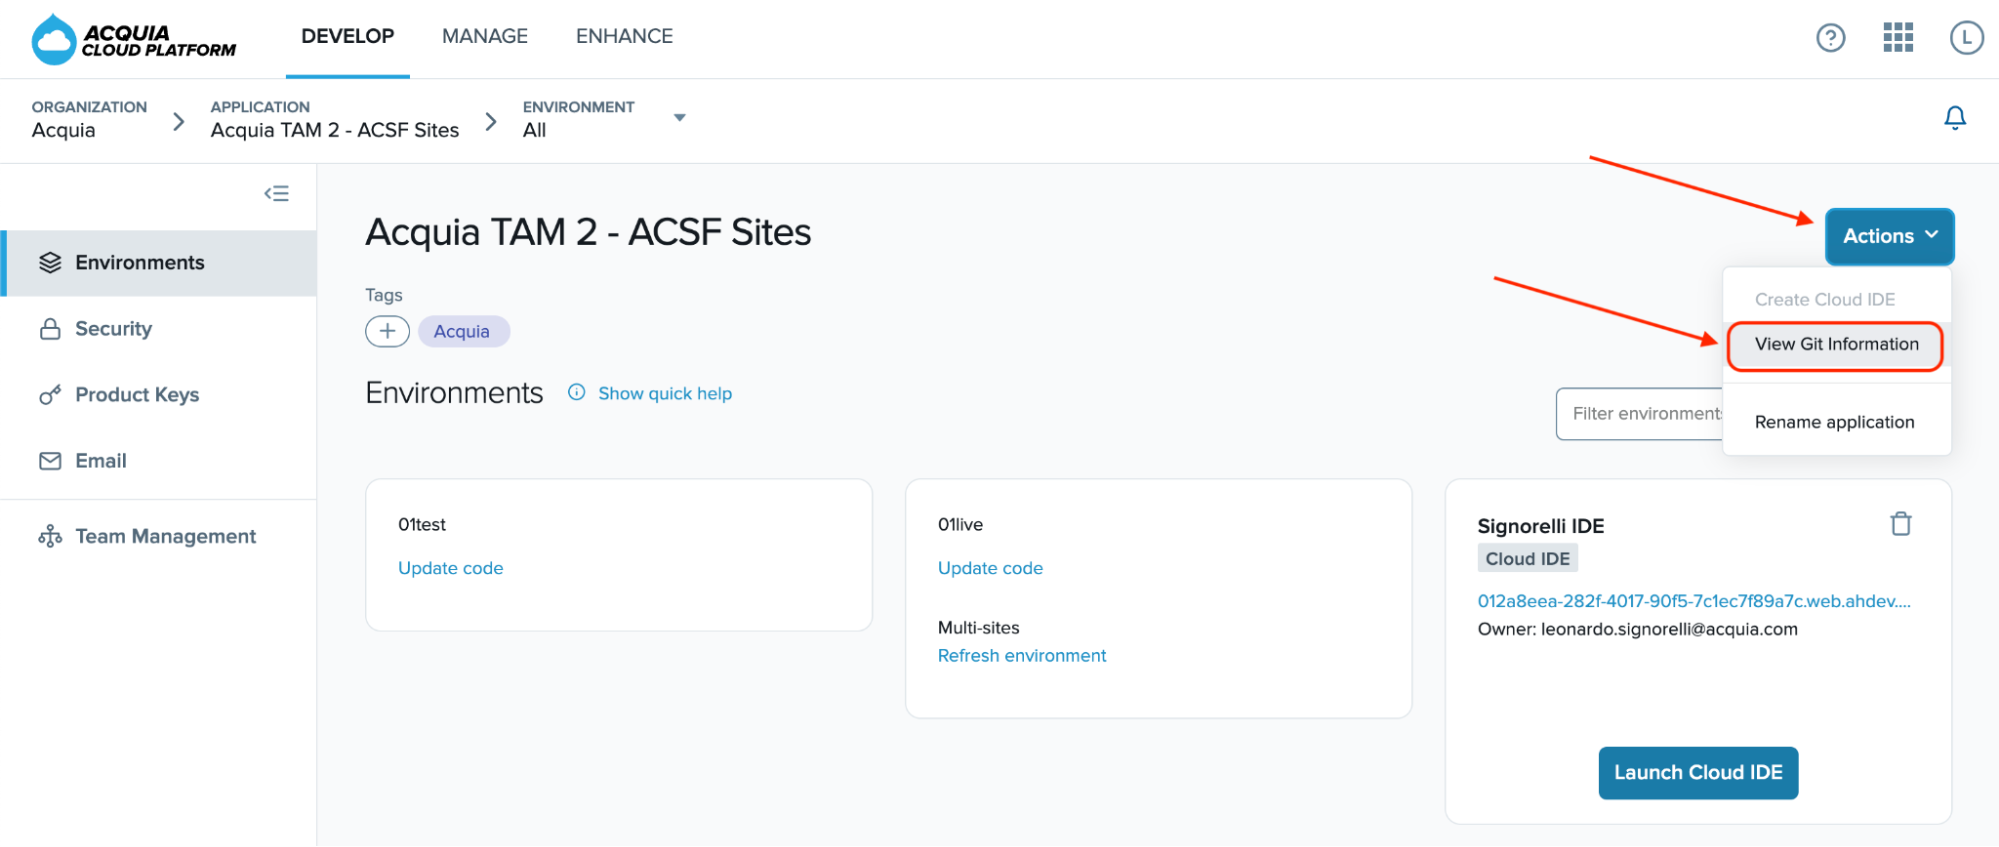 Image
Image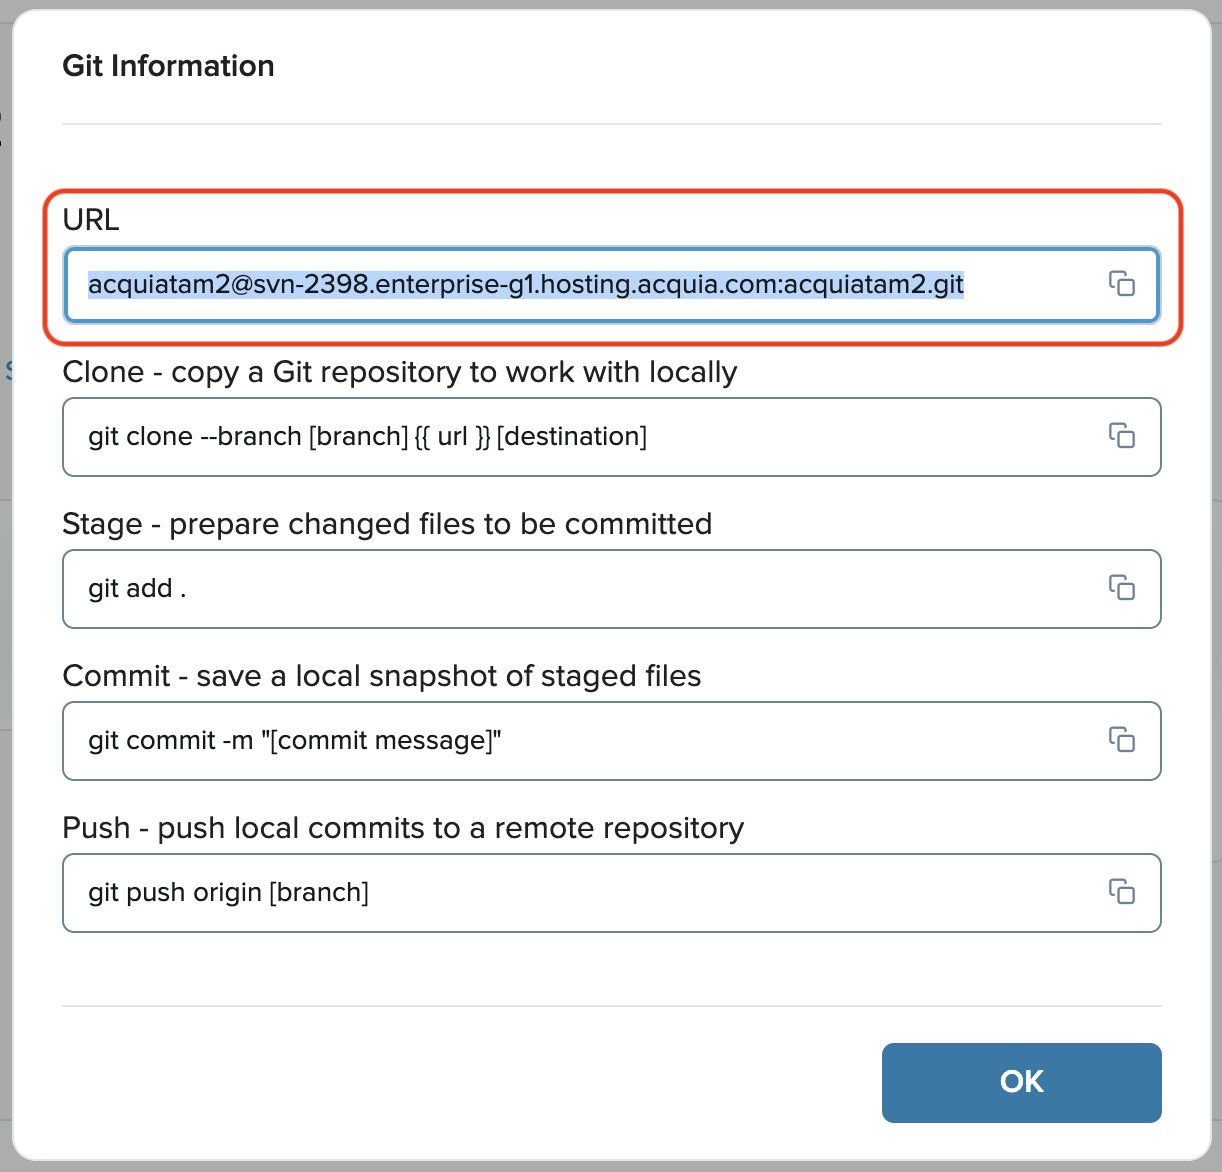
Edit your blt/blt.yml and replace its content with the following code:
Replace the following keys:
- machine_name: YOUR_MACHINE_NAME (Example: tamacsf)
- cloud:
- appId: YOUR_APP_ID (Example: 48efba74-75af-43ef-8455-32e6f043c375)
- git:
- remotes:
- cloud: YOUR_ACQUIA_GIT_URL (Example: 'acquiatam2@svn-2398.enterprise-g1.hosting.acquia.com:acquiatam2.git')
- remotes:
-
Install the blt-site-studio plugin
https://github.com/davidtrainer/blt-site-studio
This plugin is designed specifically for Acquia BLT and serves the purpose of integrating Acquia Site Studio. Its main function is to incorporate the essential Site Studio commands into the "blt setup" command, enabling automated configuration setup and deployment for Site Studio.
This plugin automates the necessary Site Studio drush commands into “blt setup” to do the following:
- Import Site Studio assets and configuration from the package file.
- Import Site studio configuration from the sync folder.
- Rebuild Site Studio.
Add the following to the repositories section of your composer.json file:
Or execute the following composer command:
Require the plugin with composer:
Congratulations on completing the initial phase of this five-step guide! You have navigated through the process of creating a new ACSF Drupal 10 codebase that is configured for Acquia CMS and Site Studio. Now, let's head to the next phase where you will learn how to install Acquia CMS and configure Site Studio.
Next phase: Acquia CMS and Site Studio installation and configuration for Site Factory


