
How to Enable Project Browser on Your Drupal Site
- Last updated
- 1 minute read
Goal
This tutorial will show you how to install, enable, and use the Project Browser Drupal module.
Overview
Project Browser makes it easy for site builders to find modules. Once selected, instructions are provided on how to install the modules on your site. This browser lives inside the Drupal site itself, which means you don't need to leave your site in order to look for modules. Plus, it's a much improved experience than trying to page through modules by popularity on Drupal.org.
To get started, we must first composer require the module:
composer require drupal/project_browser
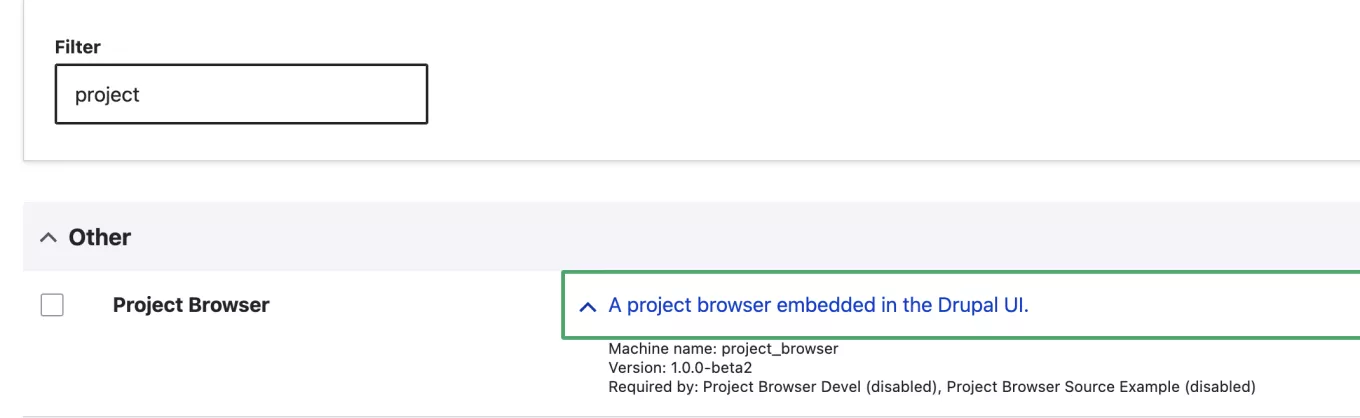
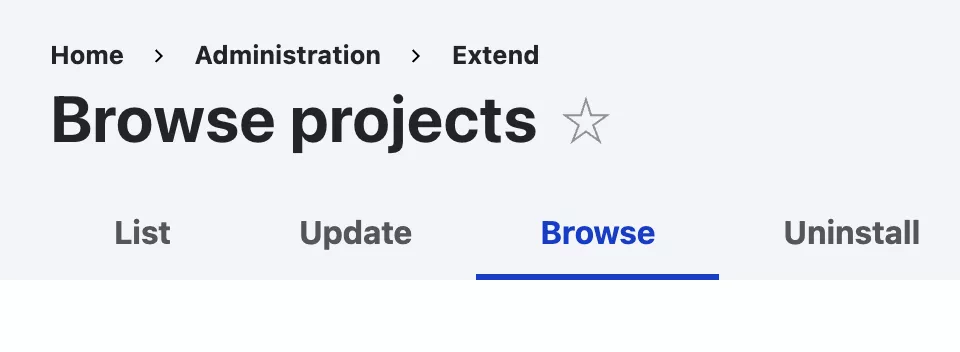
Once added to the codebase, the module should appear on your extend page. Let's enable it (which you can do via the UI or drush). Once enabled, Project Browser will add a new tab to your Extend page called Browse.
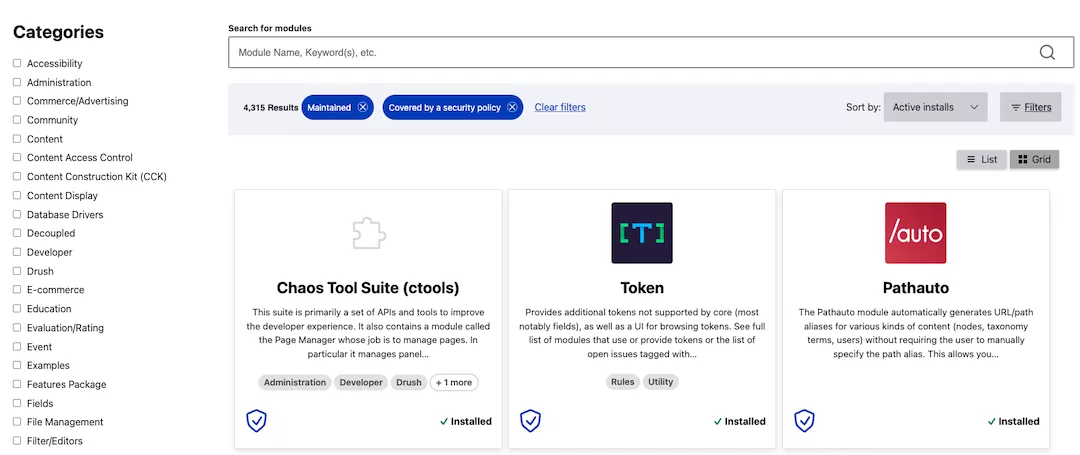
Now that we have the browser, you can find modules on Drupal.org from within your Drupal site. Let's do a quick search for "configuration" modules.
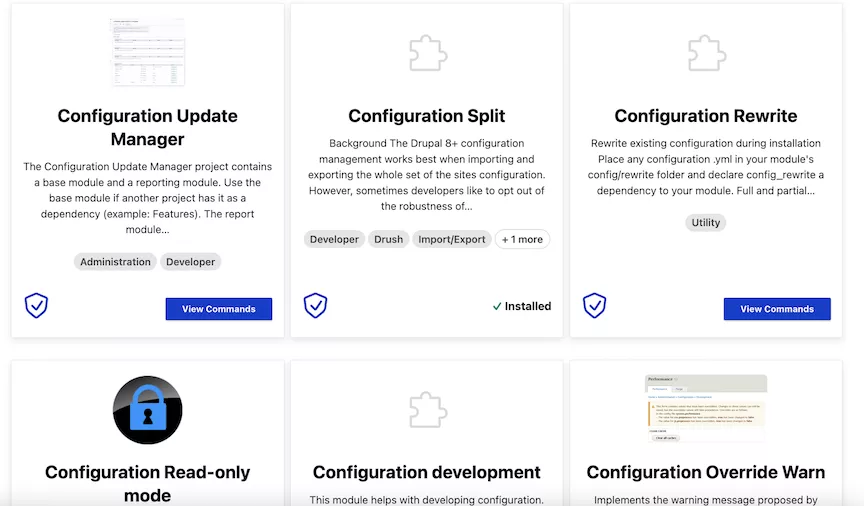
With this view I can see which modules are covered by the security team (see the little shield icon in the lower left) and which I already have installed (see Configuration Split). I can also click on the View Commands button to get help with the necessary composer and drush commands to add and enable the modules!

And that's it! From here you have everything you need to browse and install Drupal projects right from the admin interface of your Drupal site. If by chance you have the Automatic Updates module installed (view our tutorial here) you can also use Project Browser to do installations via the Drupal UI. Dries did a write-up on his blog recently to better explain this use case.
Project Browser is a great addition to Drupal and we're hoping to make it a stable part of Drupal core in 2023. Give it a try and submit your feedback. We'd love to hear what you think!


