
How to use Drupal CMS to manage many Next.js sites
- Last updated
- 2 minute read
Goal
Use Next for Drupal to connect multiple Next.js sites to Acquia CMS
Prerequisites
- Before proceeding you should already have a working install of Acquia CMS headless.
- We highly recommend using the starter content to easily be able to work with the Next.js for Acquia CMS starter kit.
- No Drupal or PHP expertise are required for this tutorial
- You will need Node Package Manager (npm)
- You will need familiarity with Next.js and able to edit typescript files.
Overview
With the Next module in Drupal, you can connect multiple Next.js applications, built with next-drupal, to the same Drupal instance. This allows your Drupal CMS to act as a content service to many different sites. This is also known as an omnichannel architecture and can be used to:
- Distribute common or shared content across multiple experiences (e.g. Mobile, TV, Kiosk and Website).
- Reuse content across brands and geographies.
- Connect applications with different roles (e.g. published view vs preview or staging vs production).
In this tutorial, we’ll explore how to connect multiple Next.js sites to Acquia CMS using the Next.js module.
If you haven’t worked with Acquia CMS Headless before, consider reading this blog first on using the headless and next.js starter kits in Acquia CMS.
In this tutorial, we’ll connect two different Next.js for Acquia CMS starter kits to the same Acquia CMS Drupal site each with a different authentication method.
Connecting Next.js as an anonymous consumer
As of v1.3.0, the Next module in Drupal doesn’t require authentication and this is a simple way to build a Next.js site that can render public, published content from Drupal.
-
Create a Next project with the next-acms starter kit
-
Edit drupal.ts
Once the app has been created, edit
lib/drupal.tsand comment out the authentication requirements: -
Create a Next.js site
In Acquia CMS, create a Next.js site called
app1_anonand export the environment variables into your Next.js app.env.localfile.![ACMS headless dashboard screenshot add next.js site]()
![ACMS headless screenshot add next.js site]()
-
Copy environment variables
Once the Next.js site is created inside Acquia CMS, back on the Headless Dashboard you'll be able to access pre-generated environment variables the Next.js site will need to connect to Acquia CMS.
![screenshot to get environment variables.]()
![screenshot of environment variables]()
-
Paste environment variables in .env.local
Now in your text editor, open the .env.local file (create it if it doesn't exist) and paste in the environment variables provided from Acquia CMS.
![screenshot of environment variables in nextjs app]()
Here you can leave
DRUPAL_CLIENT_IDandDRUPAL_CLIENT_SECRETempty as we’re not using them for the unauthenticated access. -
Run dev server
Run
npm run devto see the Next.js for Acquia CMS starter kit connect to your Acquia CMS Headless instance and render the publicly accessible content.Image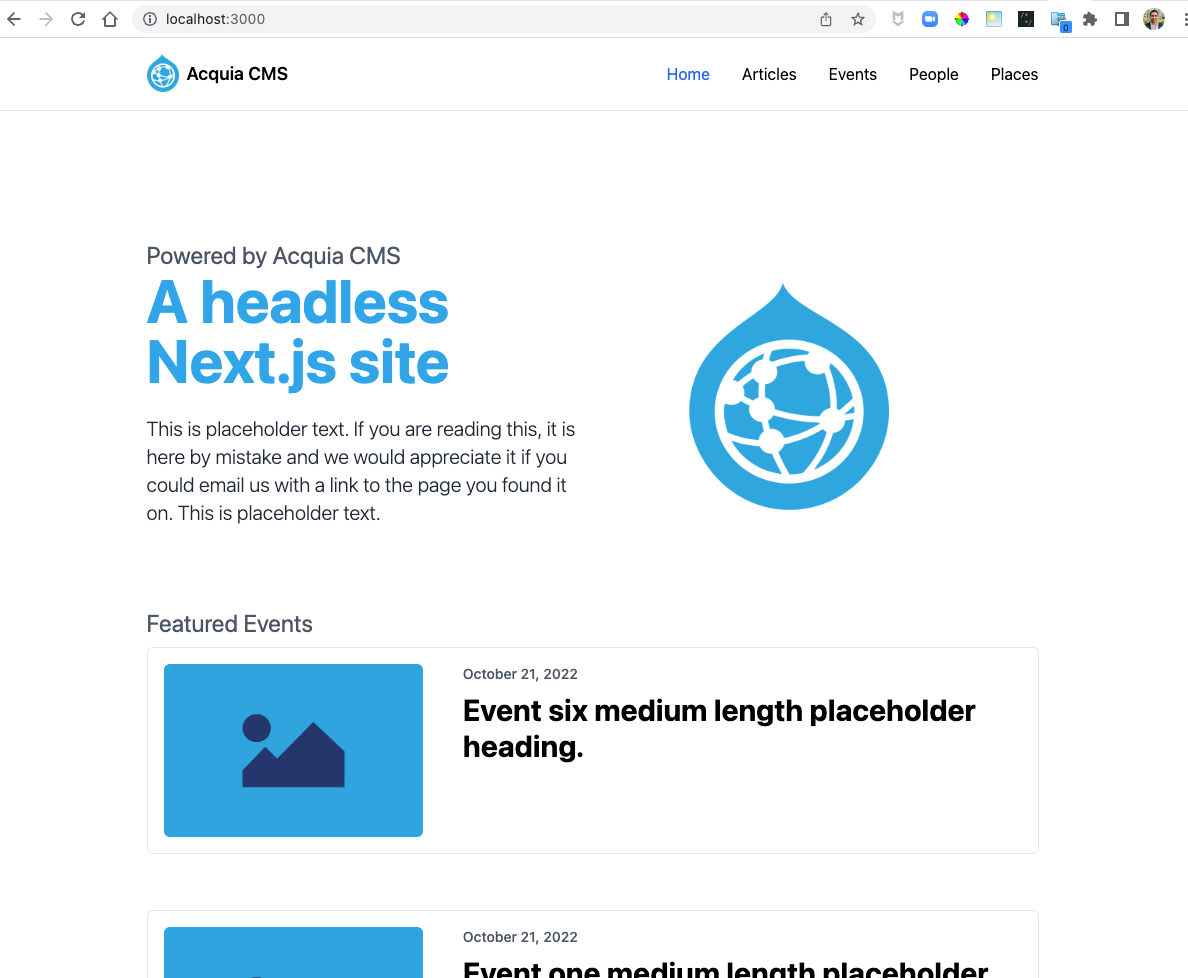


Setting up Preview
Even though Next.js is talking to Drupal as an anonymous user, its still able to preview draft content for users authorised by Drupal. Heres how you can quickly set that up.
-
Edit Next.js Entity Types
From the Headless Dashboard, edit the entity type you want to expose site preview for content managers:
![Screenshot of dashboard next.js entity types]()
![screenshot edit nextjs entity type]()
-
Test content preview
Now from that node edit page you can use the Preview tab to preview content through your chosen Next.js site.
![screenshot test nextjs preview]()


Connecting Next.js as an OAuth consumer (Client Credentials)
Let's say you want to allow Next.js to submit forms (e.g. webforms) without allowing public access to also submit forms using the same API endpoints. This would be a scenario where you would want to provide your Next.js site with OAuth 2.0 Client Credentials.
-
Create a Next project with the next-acms starter kit
The next-acms starter kit default authentication system is OAuth so unlike the anonymous example, no modifications to
lib/drupal.tsare required. -
Setup OAuth Consumer
In Acquia CMS Headless, you’ll need to create
- A role that holds the permissions you which to grant the Next.js application (e.g. submit webform)
- A user to represent your Next.js application
- A consumer which contains the user you created, the roles you create as scopes and the consumer secret which becomes the
DRUPAL_CLIENT_SECRETin the Next.js application.
You can use the Next.js starter kit in Acquia CMS to handle these steps for you
![acms headless dashboard api keys screenshot]()
-
Add consumer
![add consumer screenshot]()
-
Generate New Secret
![screenshot headless dashboard generate secret]()
![screenshot generate new consumer secret]()
-
Create Next.js site in Acquia CMS
In Acquia CMS, create a Next.js site called
app2_oauthand export the environment variables into your Next.js app.env.localfile:![Create a new oauth app screenshot]()
![Export env vars for app2_oauth screenshot]()
-
Paste environment variables in .env.local
![paste environment variables screenshot]()
-
Run dev server
Run
npm run devto see the Next.js for Acquia CMS starter kit connect to your Acquia CMS Headless instance and render accessible content and conduct actions according to the permissions configured for the role.![screenshot preview oauth site]()


Conclusion
You can host multiple Next.js sites all pointed to the same Drupal CMS. This allows you to build a single content service that distributes content to multiple channels. In this tutorial we showed how we can distribute content to different frontends using different authentication mechanisms.


