
Markdown Tutorials in Drupal CMS Headless and Next.js
- Last updated
- 1 minute read
Goal
Add a content type to Drupal CMS Headless and the Next.js frontend, with Markdown input.
Overview
The latest iteration of Acquia CMS is designed to be significantly more flexible. Out of the box, you can choose between Enterprise (low-code), Community, and Headless versions. It has also moved away from being a distribution, which should make it much easier to customize and maintain over time.
In this tutorial, we’re going to demonstrate this flexibility by customizing a fresh install of Acquia CMS Headless to manage tutorials as a new content type. This will demonstrate the process of adding a new content type to a headless site, as well as accepting input in both Markdown and a standard WYSIWYG in one headless CMS.
-
Add and Install the Markdown and Editor.md modules
Be sure to also add a Markdown parser:
composer require drupal/editor_md:^4.0 league/commonmark:^1.0Next, enable the Markdown and Editor.md modules through the admin UI, or using drush:
drush en editor_mdDrupal 10.1 will provide the ability to specify which text formats are available to a text field. If your site's version of Drupal is older than that, install the Allowed Formats module to add this ability.
-
Create the Markdown text format
In the admin menu, go to Configuration > Content authoring > Text formats and editors and click "Add text format". Name the new format "Markdown".
Assign which roles should be able to use it, set Editor.md as the editor, and enable the Markdown filter. You can optionally change the Markdown parser in the filter settings at the bottom of the form, but we'll leave it to use the default.
Image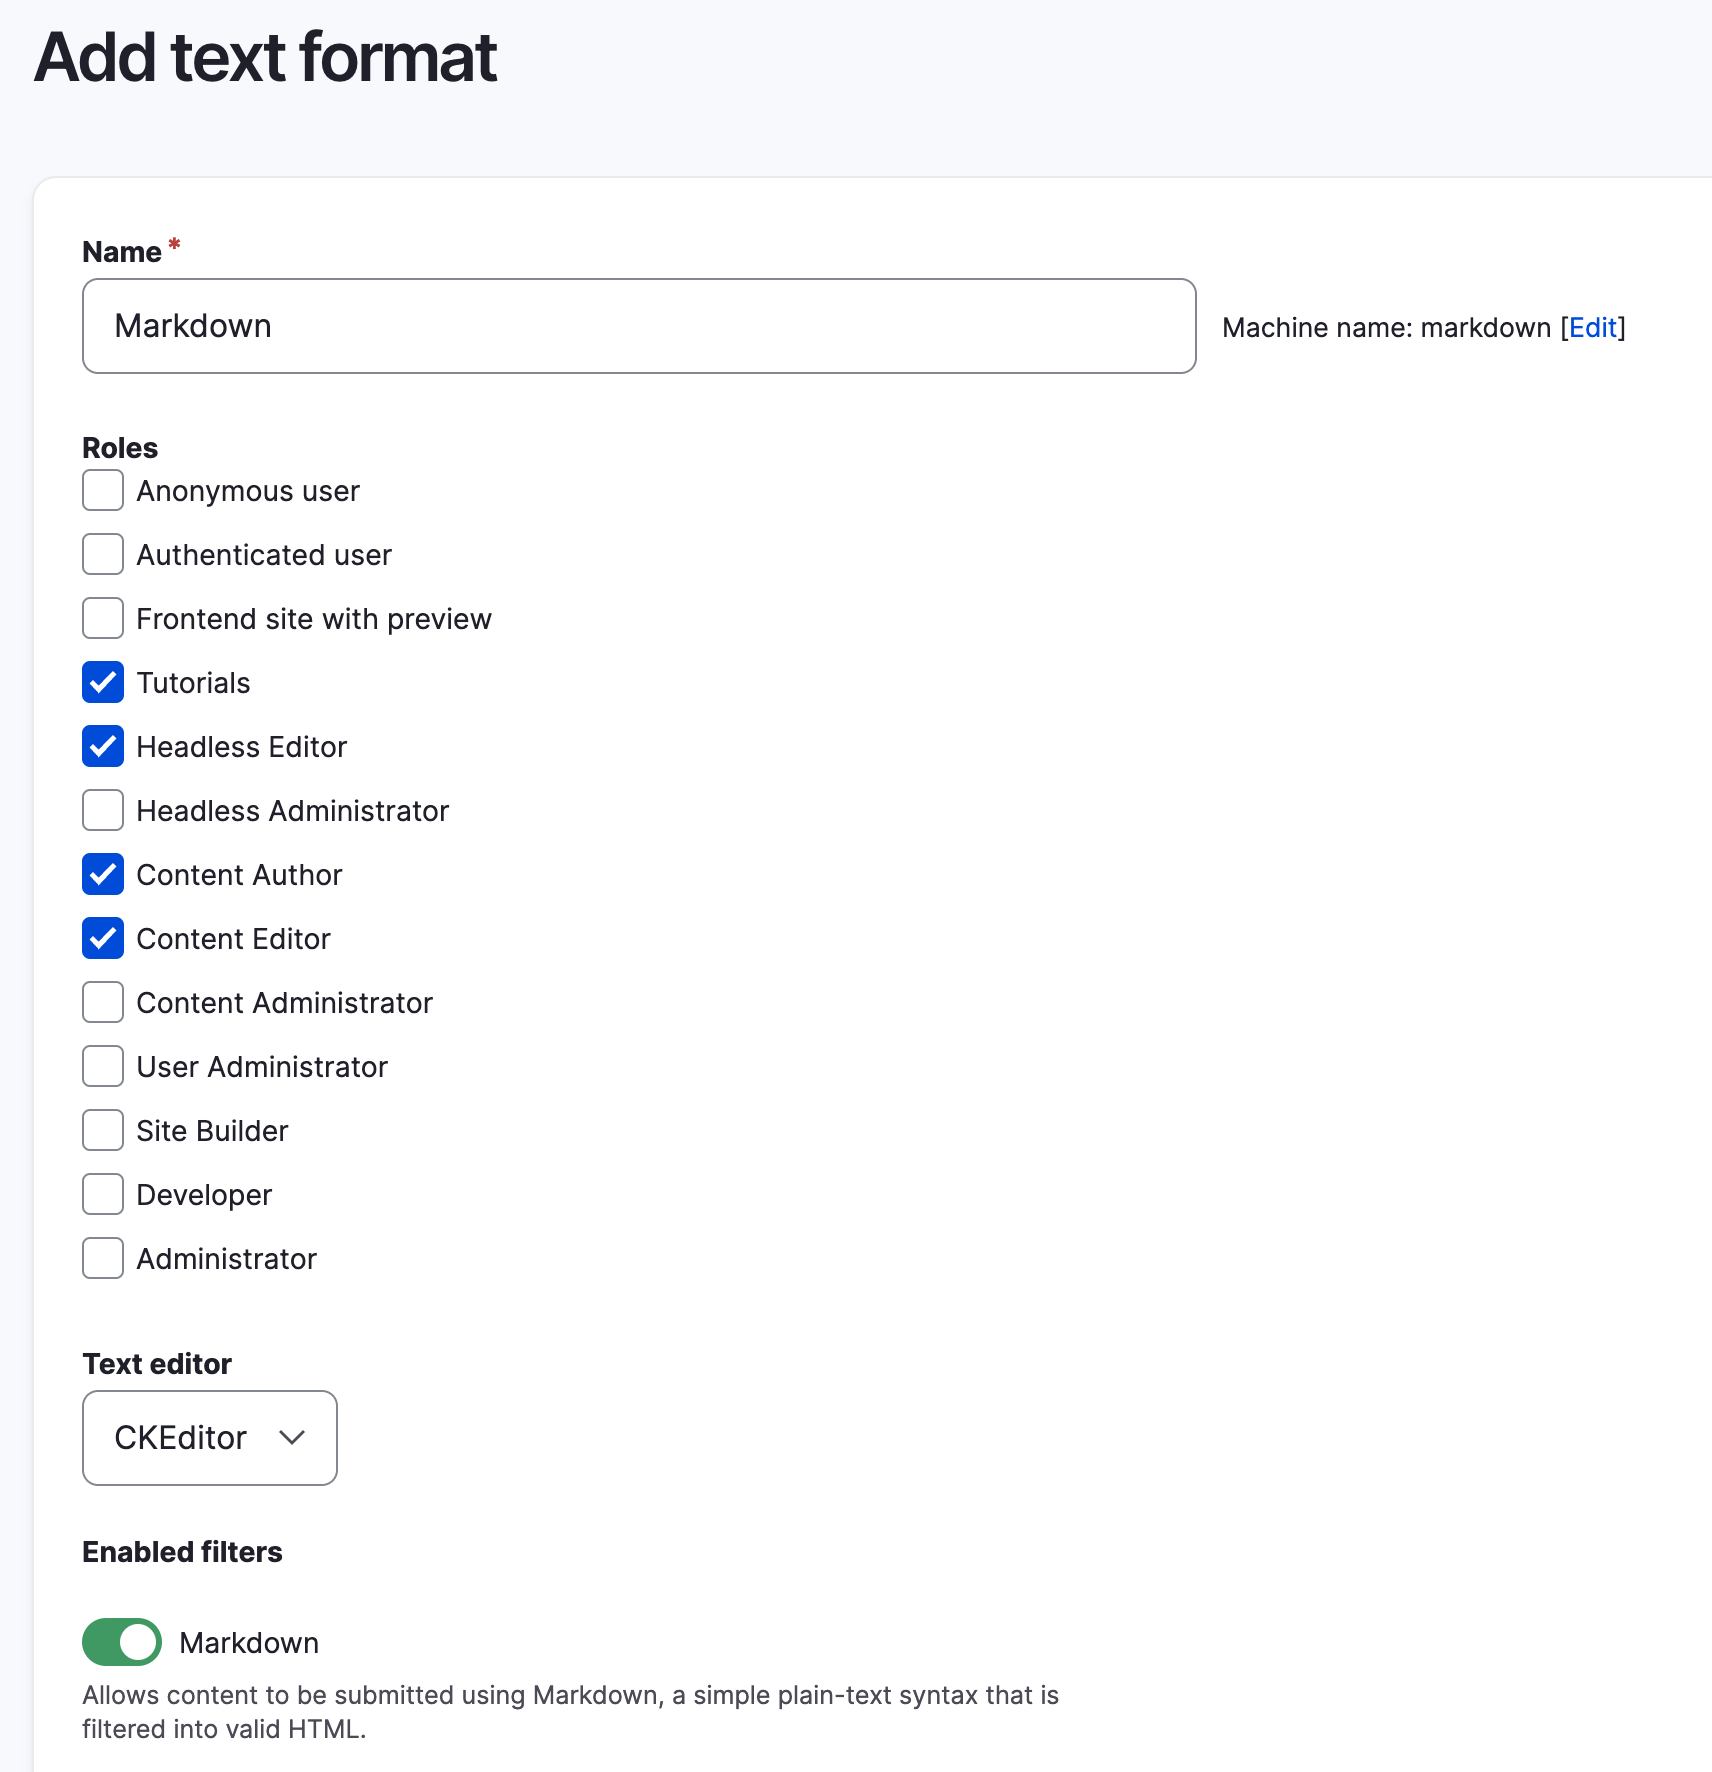
-
Add a Skill Level vocabulary and terms
In the admin menu go to Structure > Taxonomy > Add vocabulary and give it a name like Skill Level, then Save. Once it's created, add some terms, such as Novice, Intermediate, and Expert
-
Create a Tutorial content type
In the admin menu go to Data model > Content types > Add content type. Name the new type Tutorial and in the Menu vertical tab uncheck "Main navigation" if you don't want tutorials to be individually placed within your site's menu. Click Save and manage fields at the bottom of the page to continue.
-
Set the Body field to use Markdown
Edit the Body field and deselect all text formats except Markdown. If you'd like to set a different label for the Body field, this is a good time to change it.
-
Add a Duration field
Add an integer field, accepting a single value, and call it "Duration". Optionally you can set minimum and maximum values, and add a suffix so it's clear what unit is intended (e.g. minutes).
Image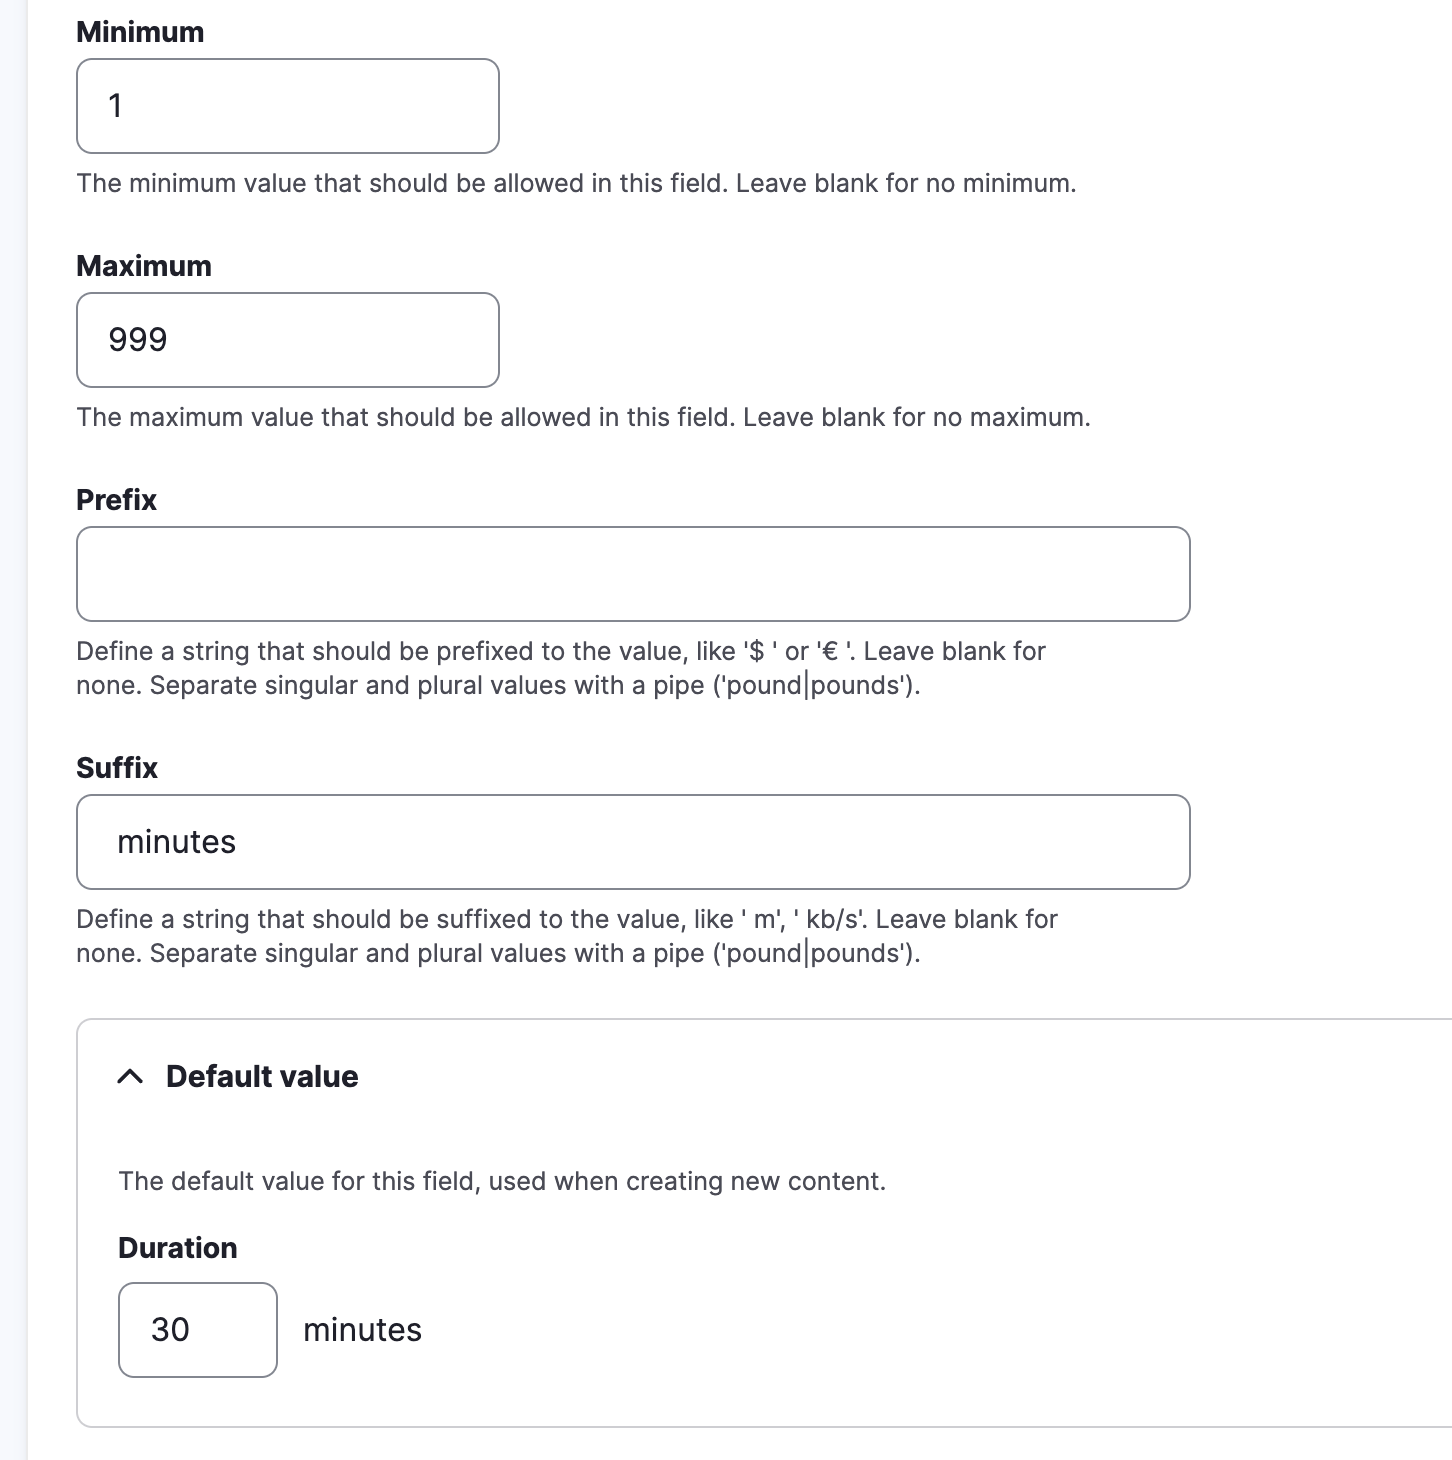
-
Add Skill Level field
Add a taxonomy term reference field and call it "Skill Level". Set it to use the Skill Level taxonomy we created in step 3. Once the field has been created, switch to the Manage form display tab, and change the widget to "Check boxes/radio buttons" and click the Save button at the bottom of the page.
Image
-
(Optional) Set permissions to manage tutorials
Before moving on, you may want to define which roles have permissions to manage Tutorial content. If so, click over to the Manage permissions tab, and then for each permission (e.g. Tutorial: Create new content) check the boxes in the column for each role that should have the permission to perform that action. Once all necessary permissions have been set, scroll to the bottom of the page and click Save permissions.
-
Set a Path Pattern for Tutorials
In the admin menu go to Configuration > Search and metadata > URL aliases and then click on the Patterns tab. Click the button at the top to add a new pattern.
Set the Pattern type to Content, and then select the Tutorial content type. Give it a path pattern value like
/tutorial/[node:title]. Label it Tutorials and then save it. -
Add Tutorial as a Next.js Entity Type
In the admin menu, go to Configuration > Web services > Next.js and then click on the Entity Types tab. Click on the button at the top to Configure an entity type.
In the Entity type dropdown select Tutorial in the Content section. That will reveal some Settings options. In the Plugin dropdown, select Site Selector, and then select your front end application. Save the configuration.
-
(Optional) Customize the code snippets format options
The Editor.md widget has an ability to place code blocks, with the kind of code specified for optimal highlighting. If you'd prefer to customize which options are available or the order they appear in, patch the file where these options are defined:
docroot/libraries/editor.md/plugins/code-block-dialog/code-block-dialog.js
-
(Optional) Add Tutorials to the menu
Later on we will add a page to our Next.js front end application to list our Tutorials. If you want this to be available in the main navigation, go in the admin menu to Data model > Menus > Main navigation > Add link. Set the Menu link title to "Tutorials" and the Link to /tutorials and then save the form.
-
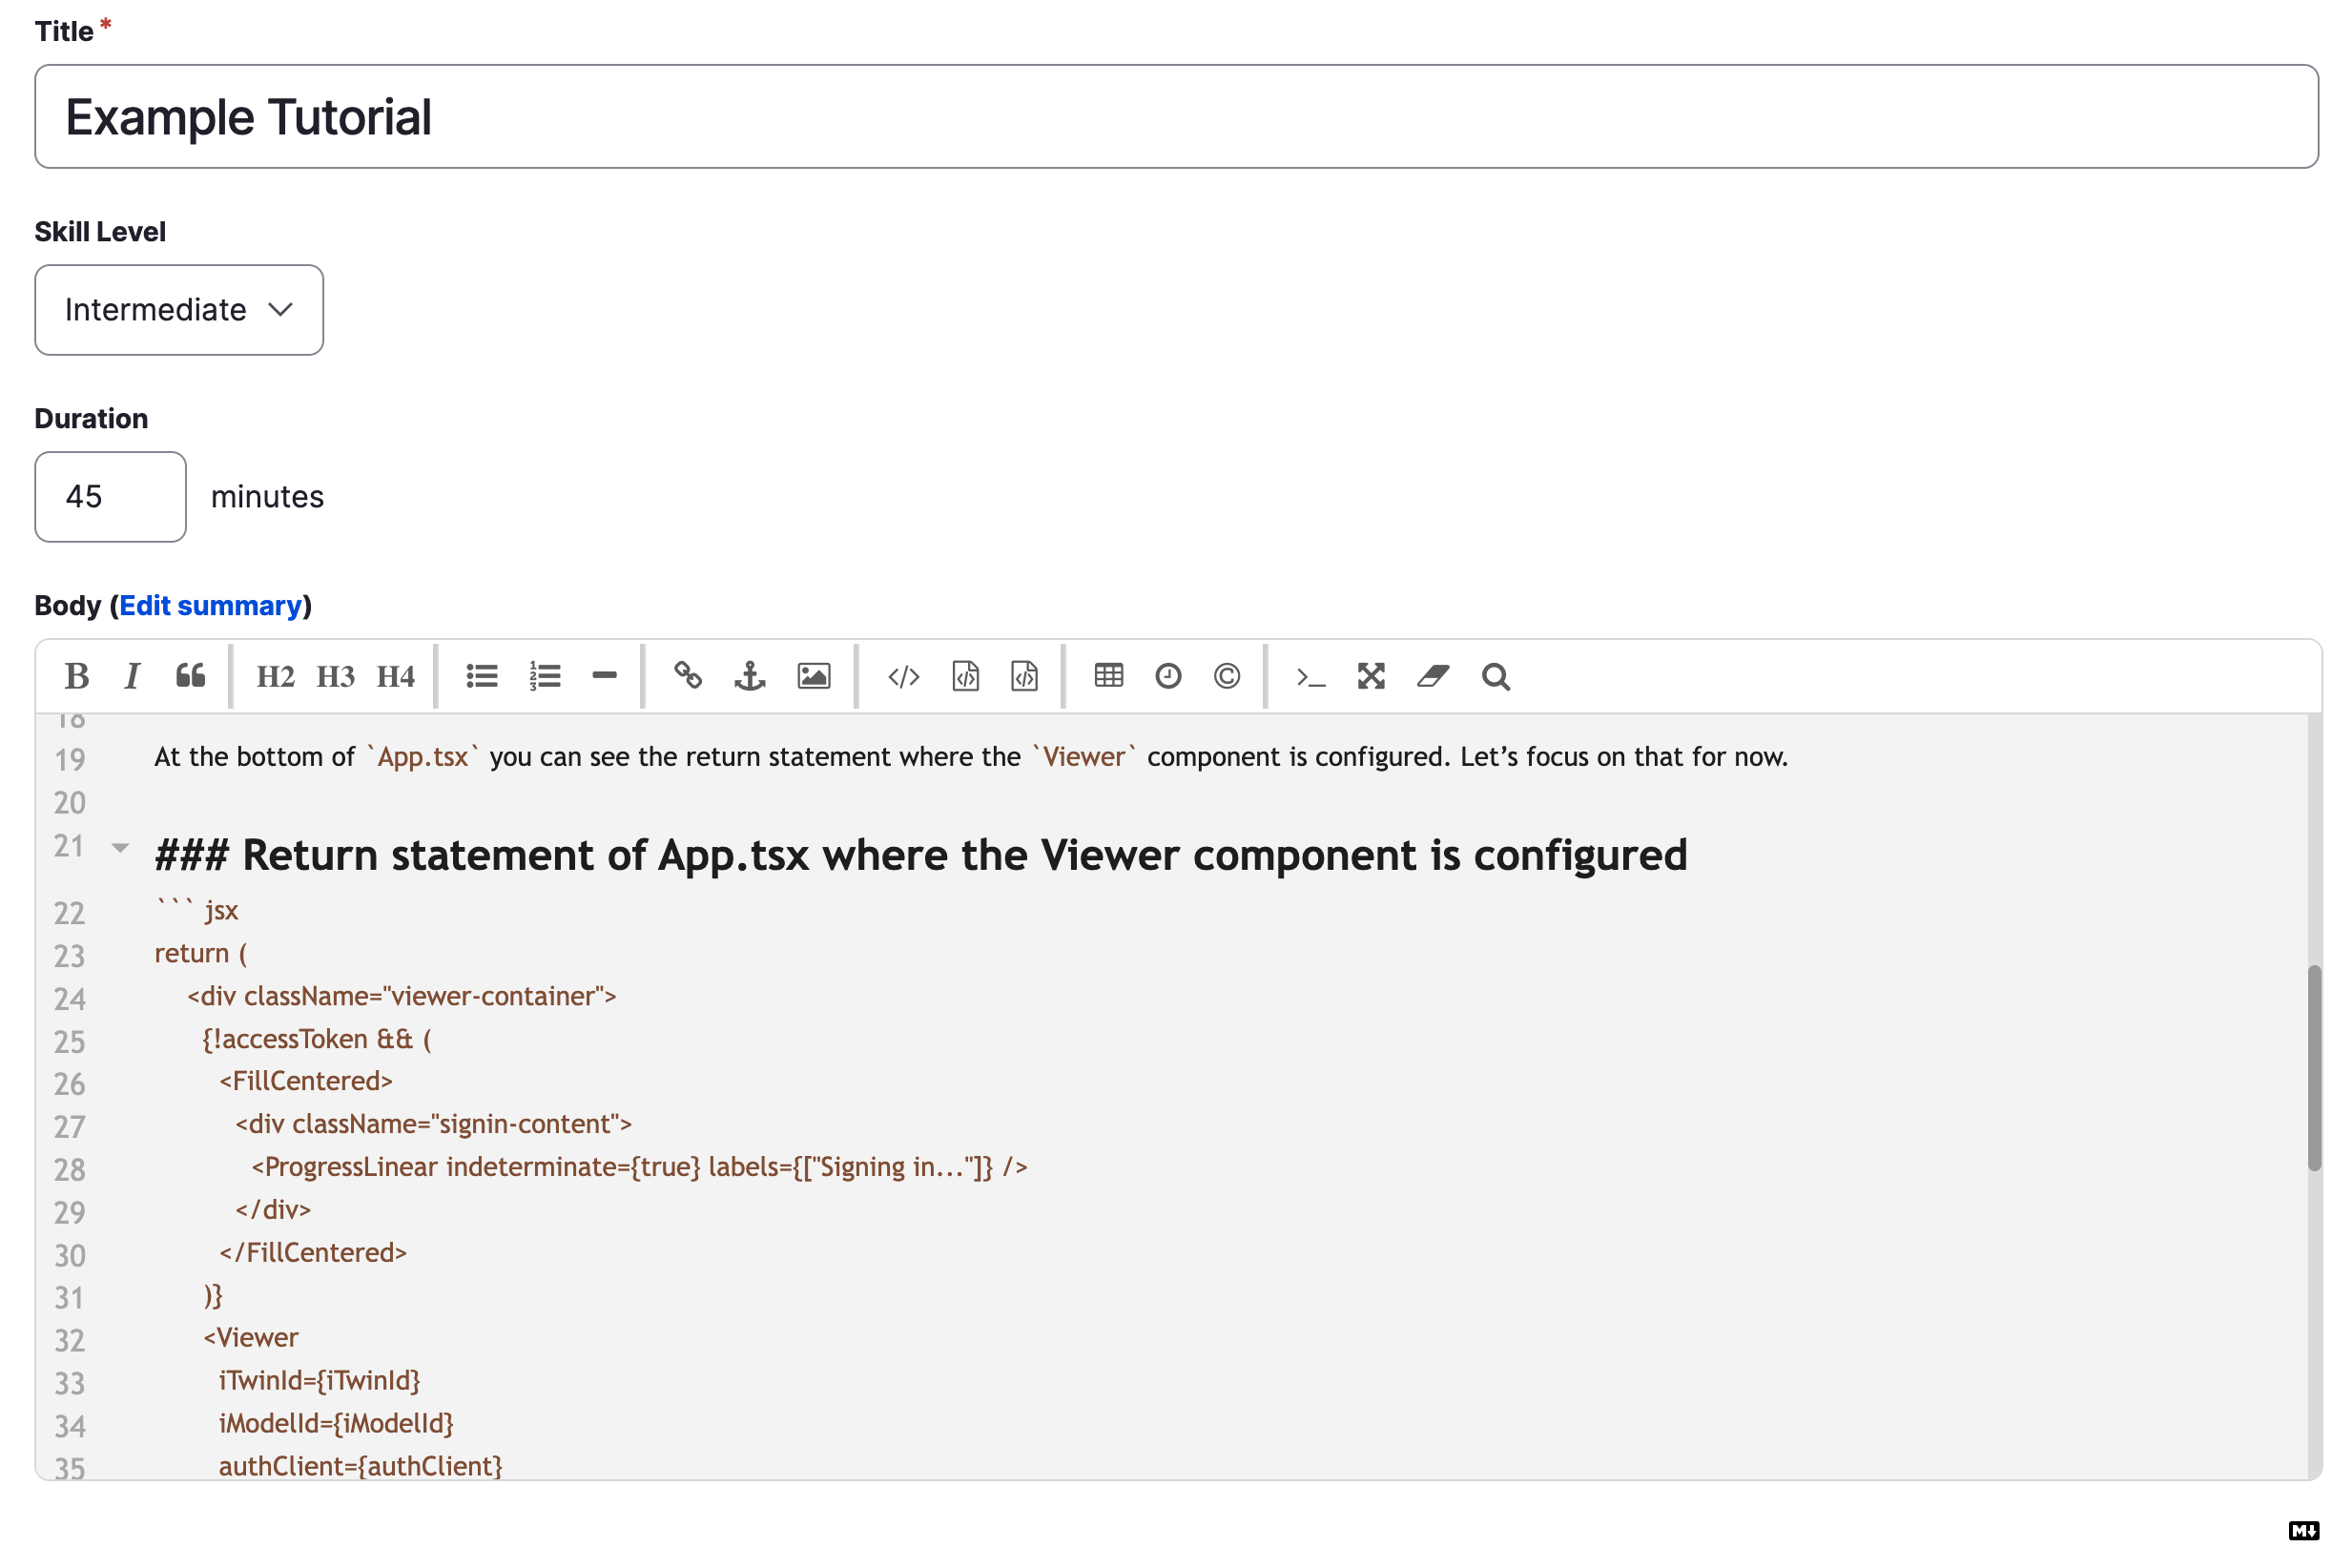
Add some tutorial content
As we work on the front end application to display our tutorial content, it would help if we had some available. In the admin menu go to Content > Add content > Tutorial and create some content. We haven't made all the fields mandatory, but fill them out anyway so we can validate that they display properly.
We've now created our Markdown content type and configured it to use Markdown for the content, with a couple of additional fields. Now we need to update our Next.js site to display any Tutorial content we create.
Updating our Next.js Front End
-
Create component template
We need to create a file in the components directory of our Next.js application that will define how the output for our tutorials will be structured. You can write a new file from scratch (using an existing on for reference) or you could clone an existing one an update it.
For example, you could clone node--place.tsx and rename the copy to node--tutorial.tsx. Then in your text editor you could do case-sensitive searches to replace "Place" with "Tutorial" and "place" with "tutorial".
Keep in mind that because of the fields we've configured for our Tutorials, our code will need to be somewhat different. For example, based on the configuration above we wouldn't need the MediaImage import at the top of the file, and we would need to output our duration and skill level in the NodeTutorial function (to display them when viewing the tutorial in full) and in the NodeTutorialTeaser function (to show them on the summary page).
-
Create a tutorials page
Now we need to provide a template to actually list all of our tutorials, in our Next.js app's pages directory. As above we could write a new file from scratch, or copy an existing one an update it to use our Tutorial content type and its fields.
The key for this file is to import all the files that will define necessary integration, as well as components that will be used to build out the page, including the teaser view for our tutorials that we defined in the previous step. Additionally this file needs to define functions that will specify how the data should be retrieved from the CMS, and then pass this data into our template to generate all the markup for the page.
-
Update the [..slug].tsx file
Finally we need to update the central [..slug].tsx that defines routes for the site and associates them with the relevant template files. In the import section at the top we need to import from NodeTutorial from the node--tutorial template we created in step 1. Next we need to include
node--tutorialas one of the defined entity types. Within the EntityPage function declaration, we also need to specify that this NodeTutorial should be used when an incoming node has the appropriate type. Finally, in the getStaticProps function, since the field_skill_level field is a reference field we need to use a params.addInclude for the field to make sure we can use data from the referenced entity (in our case, the name) rather than just the id value stored in the reference field.
With those changes done, your team should now be able to start writing tutorials in Markdown, and have them displayed in your Next.js headless site. For syntax highlighting you could add a library like Prism.js to the front end app, or any other libraries that will enhance the formatting your team intends to use. Note that all of these formatting upgrades will be visible to content authors when they preview the content in the CMS, even when unpublished, because Acquia CMS uses the front end application to do a live render of the unpublished content.


