Start me up: Using starter kits for Next.js and Drupal CMS
- 5 minute read
-
Starter kits are a new concept introduced in Acquia Drupal CMS v2 we use for getting started quickly with Next.js. You can learn more about starter kits and the composable architecture that powers them here. In this post, we’ll focus specifically on where the starter kits concepts are used to create a quick start with Drupal CMS and Next.js
Acquia Drupal CMS Starter Kit
First up is the Drupal CMS starter kit project. Its a PHP composer library that provides a symfony CLI command called acms. It is not a Drupal module and will install into Composer’s vendor directory:
composer require acquia/acquia-cms-starterkit
Once added, you can interact with it through a console tool to initiate a Drupal starter kit.
Acquia Drupal CMS Headless Starter Kit
Now lets run the acms:install command to execute a starter kit.
./vendor/bin/acms acms:install
This will ask you several questions about the starter kit you want to start from and any “add-ons” you want to add in:
Please choose bundle from one of the above use case [acquia_cms_minimal]:

 > acquia_cms_headless


 Do you want to include Demo Content (yes/no) ? [no]:

 > yes
Then the tool will:
- Use Composer to add the required dependencies to your project.
- Install Drupal and the required modules
Some of the dependencies may also preconfigure the way certain modules work.
Now with your site installed, you can login and look around. The next starter kit we want to look at is in the Acquia CMS Tour module.
Acquia CMS Tour: Get Started
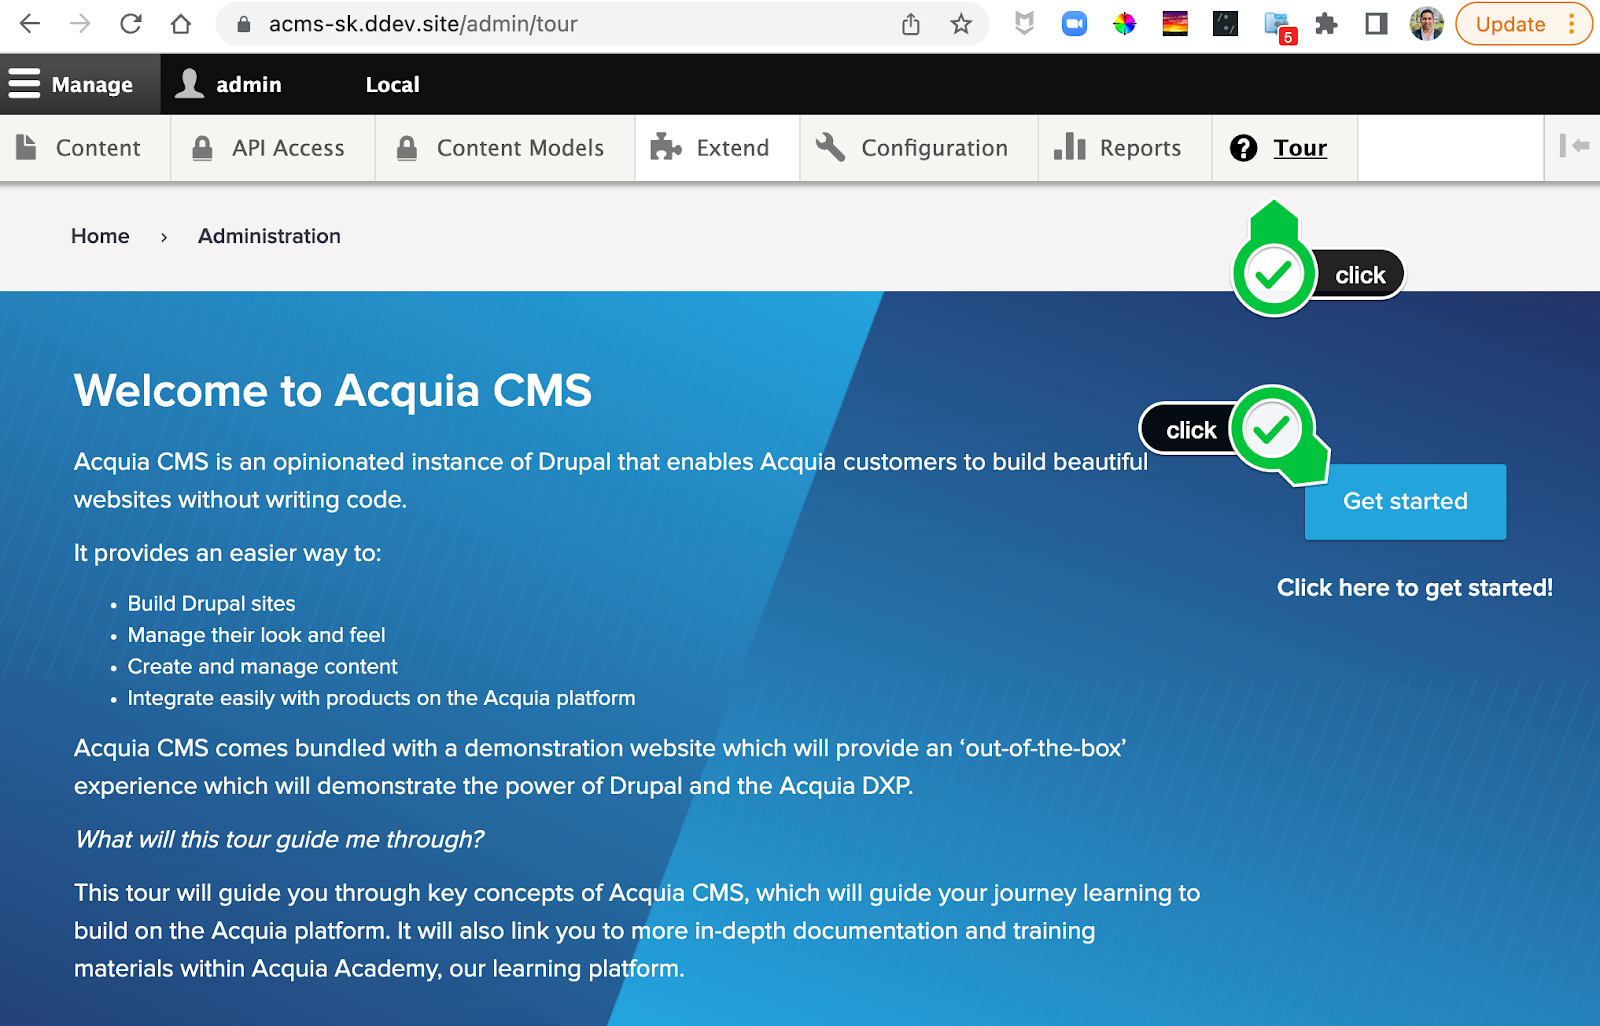
Now logged into CMS, checkout the Tour from the admin navigation and click on Get Started.
Headless mode (optional)
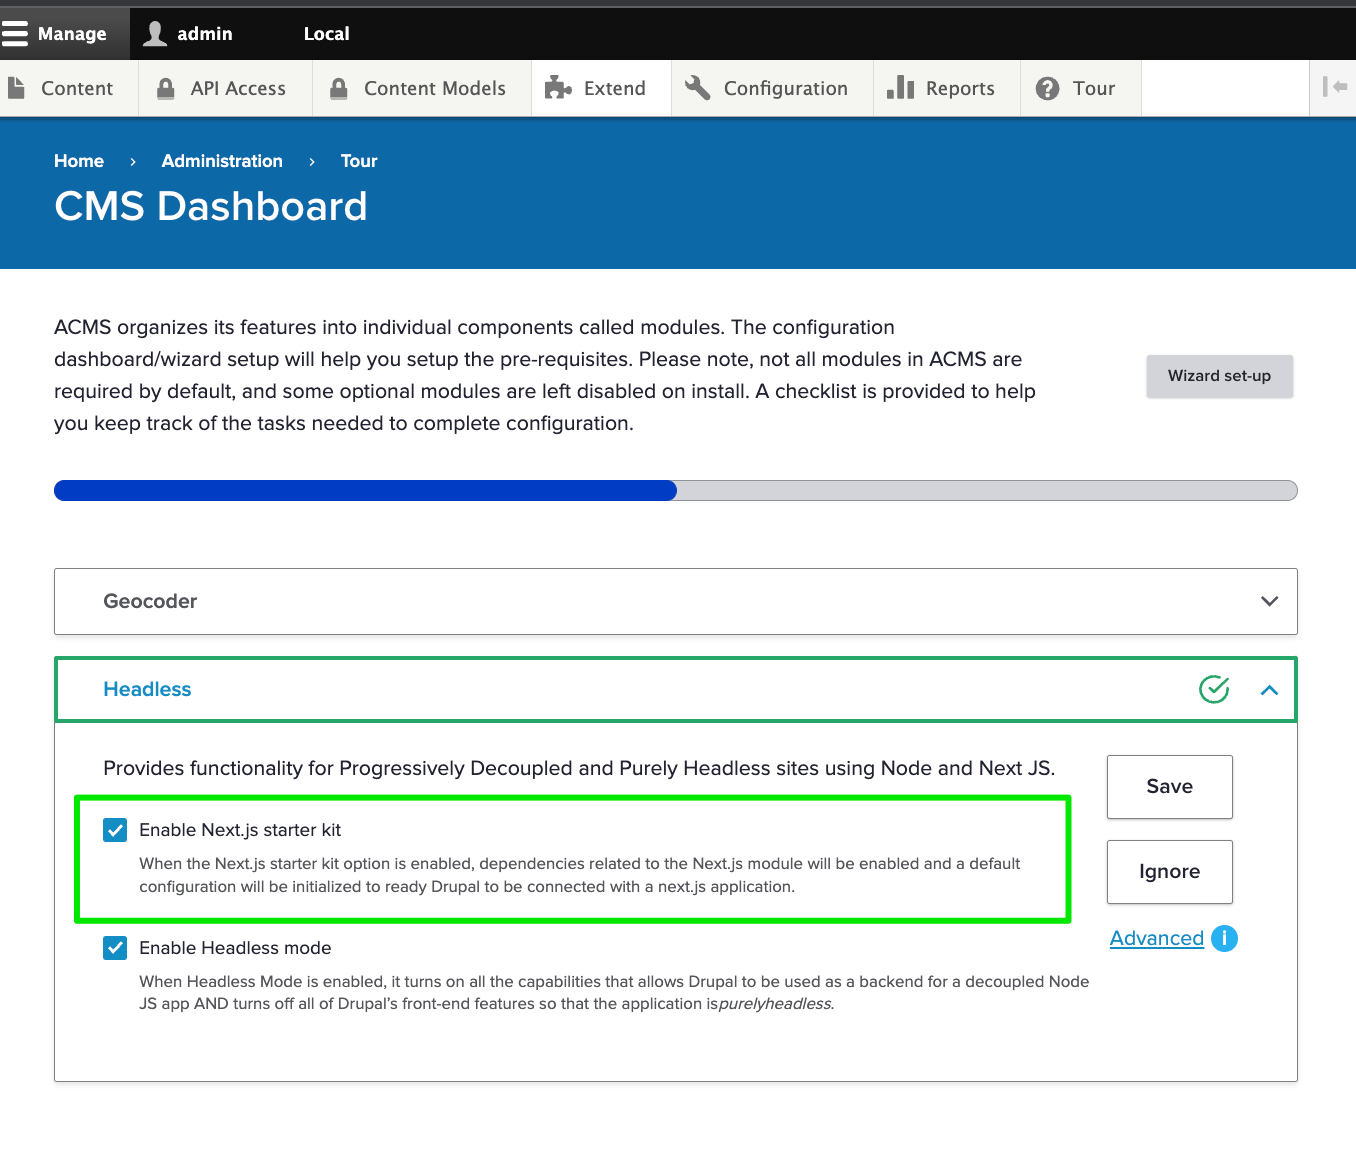
Under the “headless” dropdown you’ll see an option to enable “headless mode” - this is not a starter kit per-se but instead a way for Drupal to operate as purely a headless CMS. Since it is a mode and not a starter kit, it can be turned off and on again.
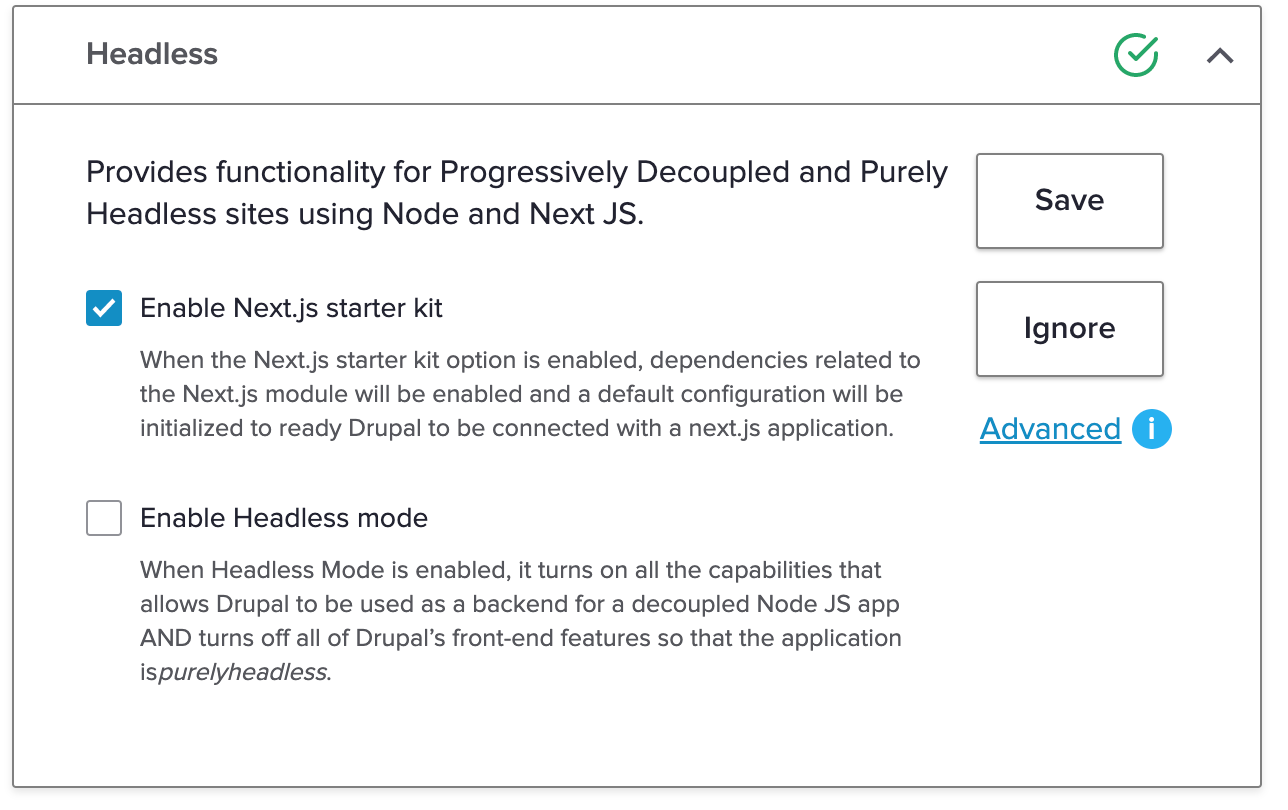
Next.js Starter Kit
Above the headless mode option, you’ll see the Next.js starter kit checkbox. This will pre-configure Drupal to be connected with a local Next.js app - perfect for getting started on a local development environment.
This one step does 9 different things for you:
- Ensures your OAuth SSL keys are present and if not, generates them for you.
- Creates a user for your Next.js site
- Creates a role for your Next.js user
- Creates a Consumer and assigns the Next.js user and role to the consumer
- Generates a Consumer secret
- Creates a Next.js site configuration entity
- Generates your Next.js preview secret
- Configures your content types for Preview with the Next.js site created.
- Displays the environment variables your Next.js app will need to connect to Drupal.
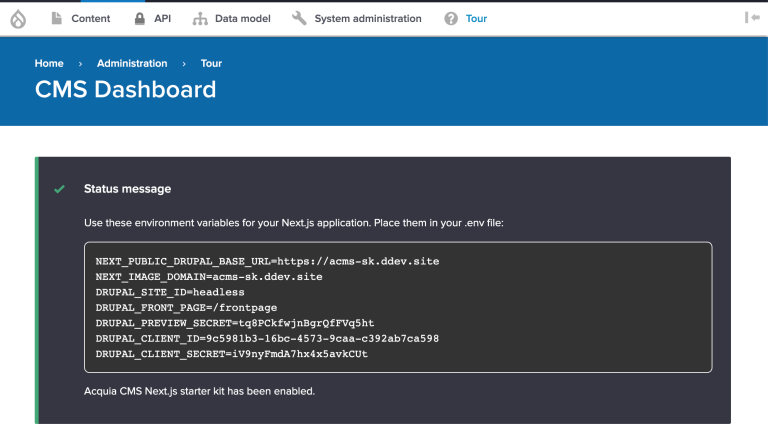
Now go ahead and copy these credentials somewhere safe. The DRUPAL_CLIENT_SECRET cannot be retrieved from Drupal because it is stored as an encrypted value (like passwords are). So if you forget or loose this value, you’ll need to head to the API Dashboard later to reset your consumer secret.
Creating a new Next.js site
Now that the CMS is configured, we can kick start our Next.js project with the next-acms starter kit.
npx create-next-app -e https://github.com/acquia/next-acms/tree/main/starters/basic-starter
Note: We recommend Node 16 or later.
Now in your new Next.js application, copy the .env.example file and replace the contents with those from Acquia CMS:
cp .env.example .env.local
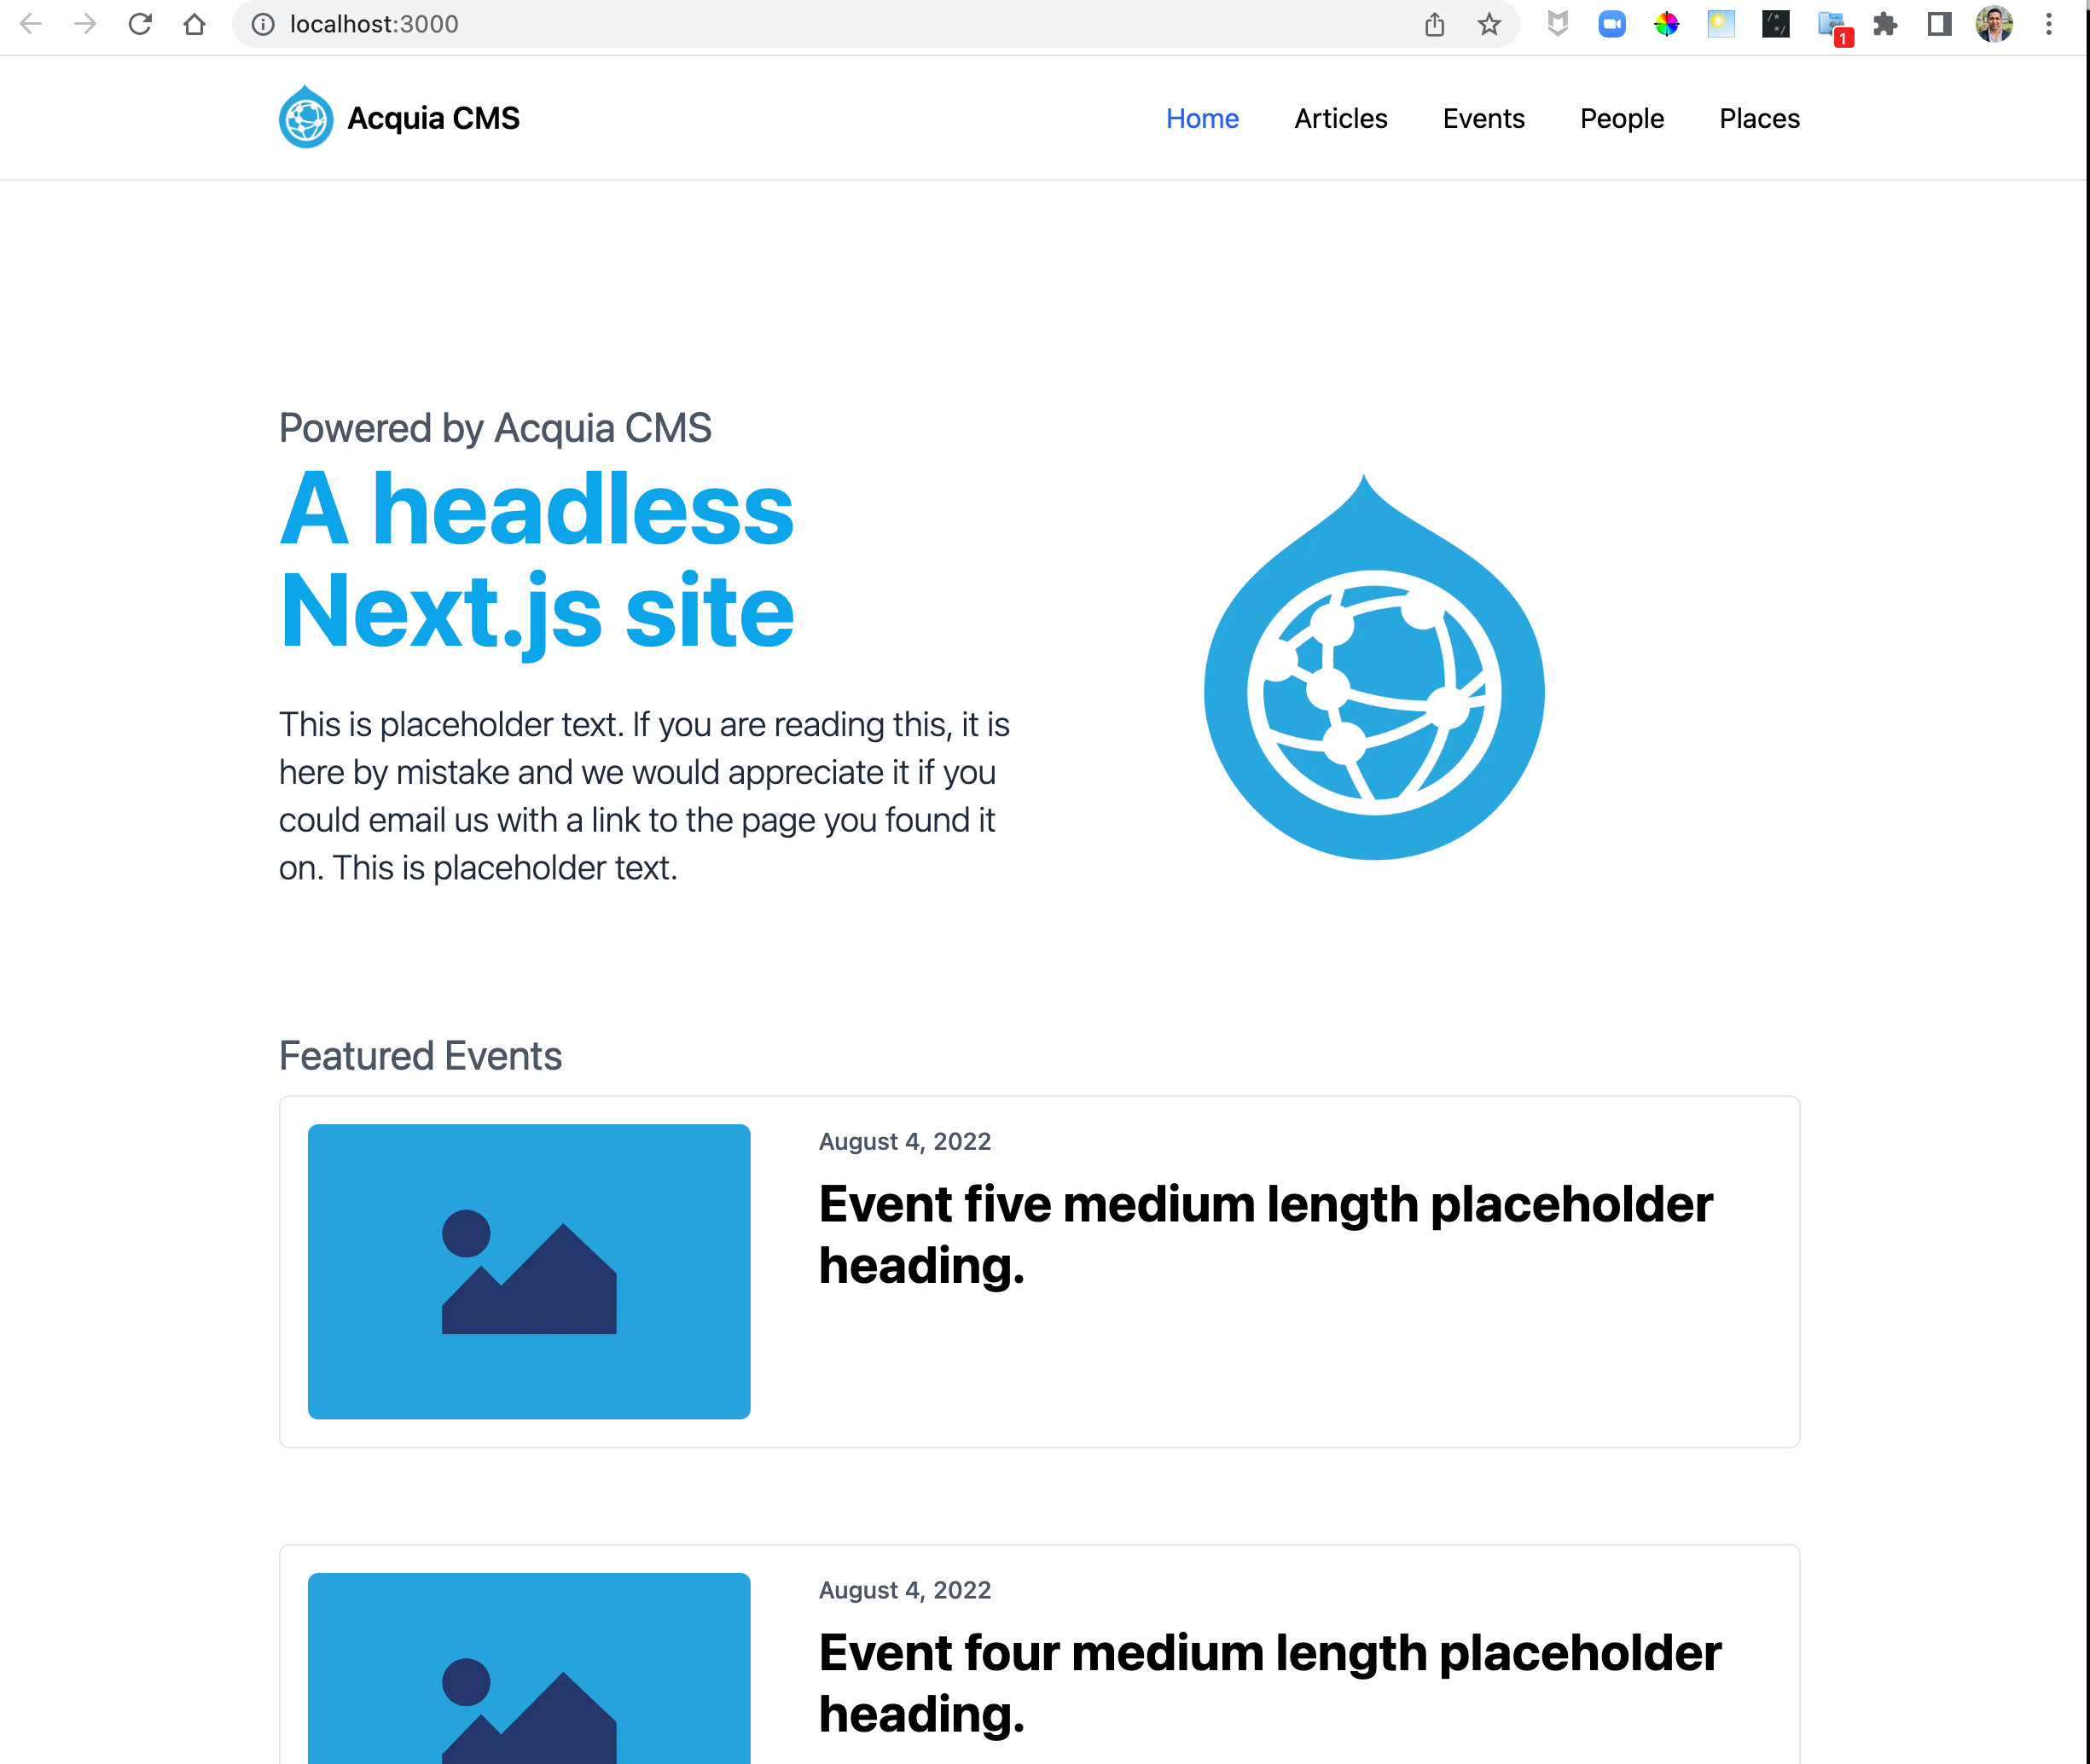
Finally, run the development server, which should spin up on localhost:3000 and visit the site - you should see a Next.js application pulling content from Acquia CMS!
npm run dev
Learn more
Tutorials are available and free on
- Next.js on Acquia: Setting up Acquia CMS
- Next.js on Acquia: Next.js startkit for Acquia CMS
- Next.js on Acquia: Customizing content types