
Preparing a Codebase for Site Factory: Part 1
- Last updated
- 2 minute read
Goal
Use Cloud IDE to install a Drupal 10 and prepare a codebase for Acquia Site Factory (ACSF).
Overview
In this comprehensive, three-part guide, I will show how to set up Cloud IDE, install Drupal 10, and finally prepare your codebase for Site Factory by giving it a custom installation profile. We will leverage Acquia BLT helper scripts and recipes to standardize and accelerate what would otherwise be a lengthier sequence of manual steps.
The approach covered here will enable you to install fresh new Drupal sites on ACSF using the current configuration files in your codebase. Additionally, I hope you will gain valuable insights into the end-to-end ACSF deployment workflow, as we will make a few codebase modifications and then push them out to existing ACSF sites.
This guide has been divided into three parts so that you can pace yourself.
- Set up Cloud IDE, Install Drupal 10, and Prepare your Codebase for Site Factory
- Create a Custom Profile and test New Site Creation with Site Factory
- Implementing Configuration Management and Proving out the Site Factory Deployment Workflow
Let's get started.
-
Create your Cloud IDE instance
Login to your Acquia Cloud Platform account:
Image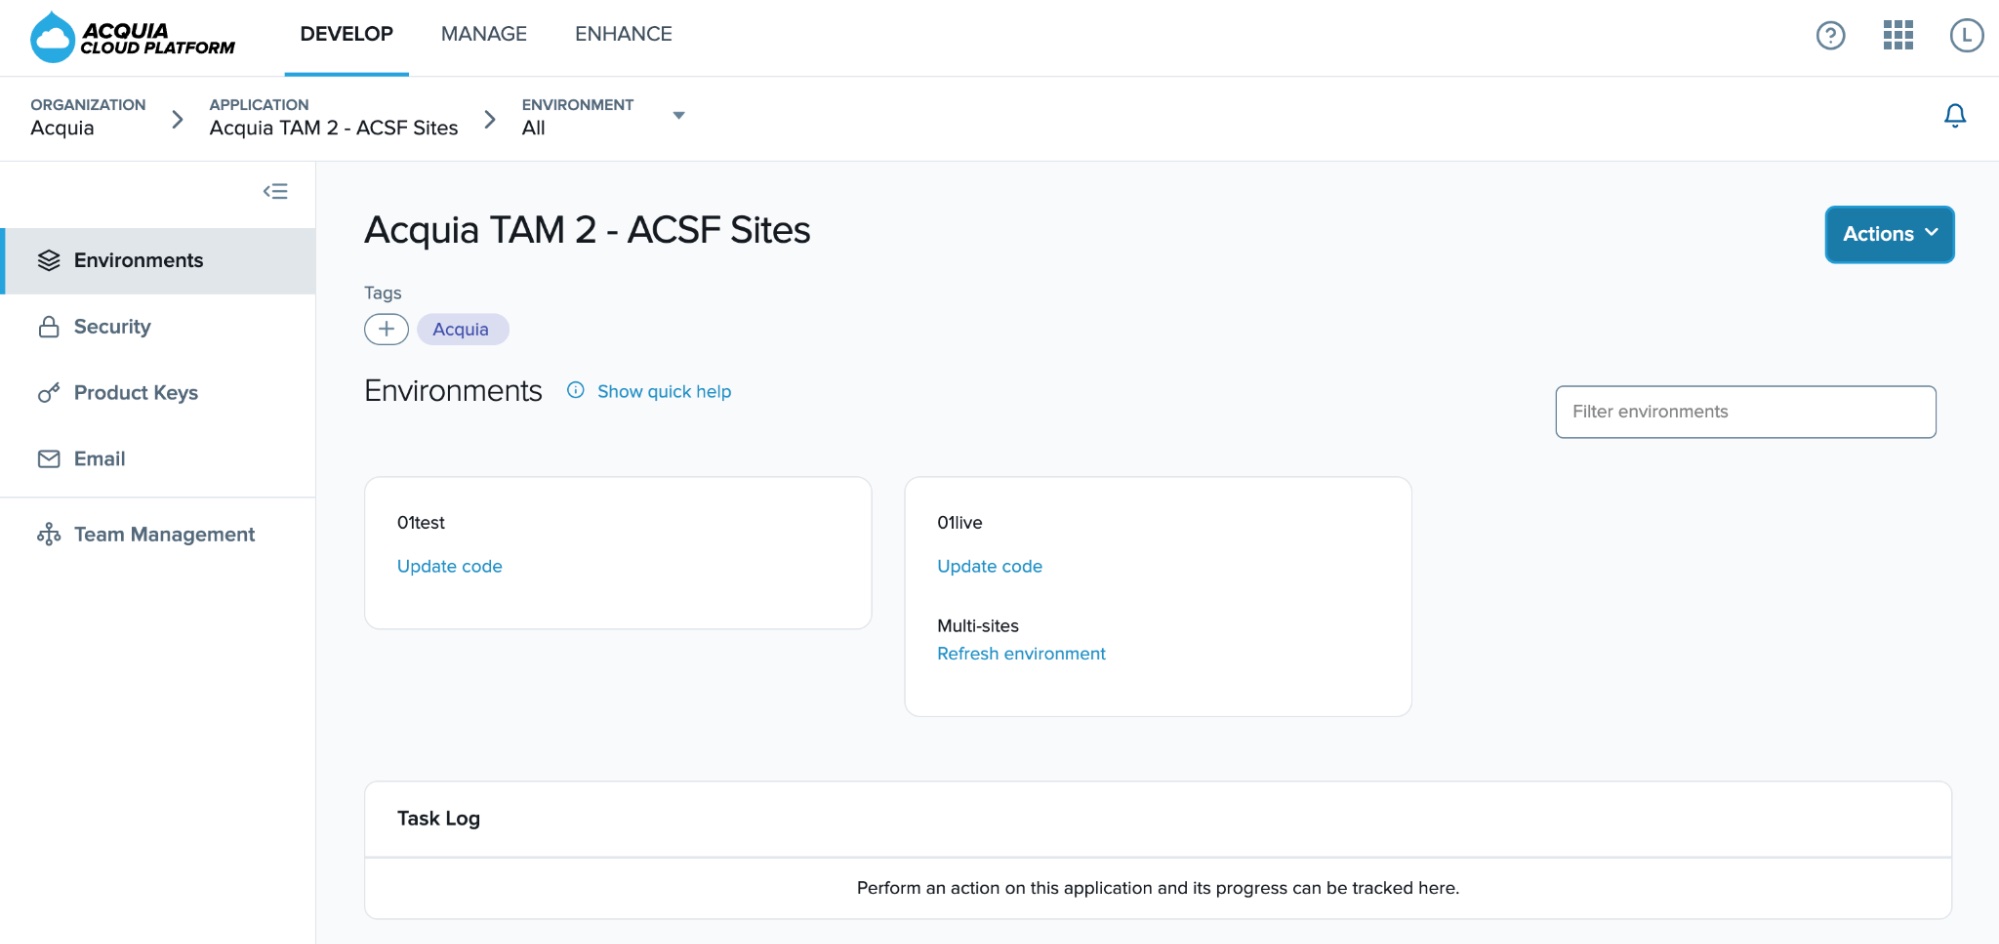
Click the “Actions” button and select “Create Cloud IDE”. Give a name to your new Cloud IDE instance and click the “Submit” button:
Image
We want to install Drupal 10, so we need to make sure that the PHP version of our environments is set to PHP 8.1:
Image
-
Cloud IDE Configuration
Open your Cloud IDE instance:
Image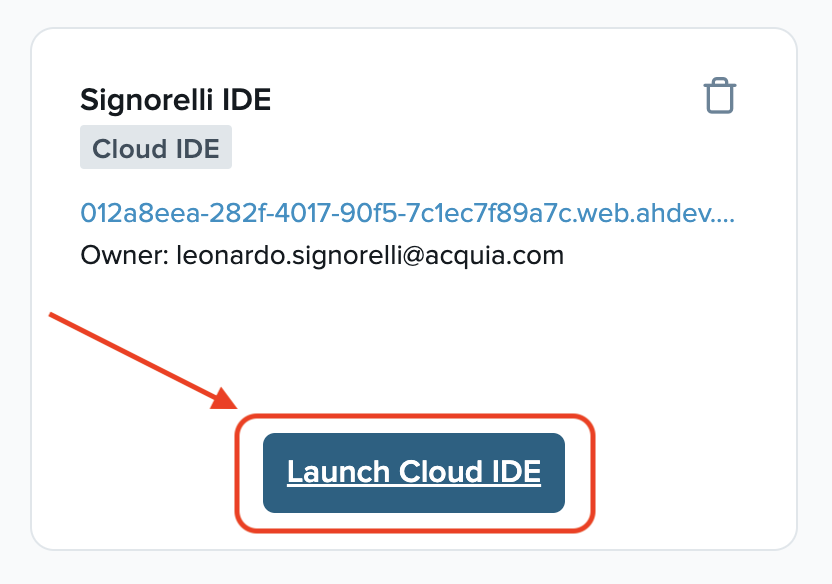 Image
Image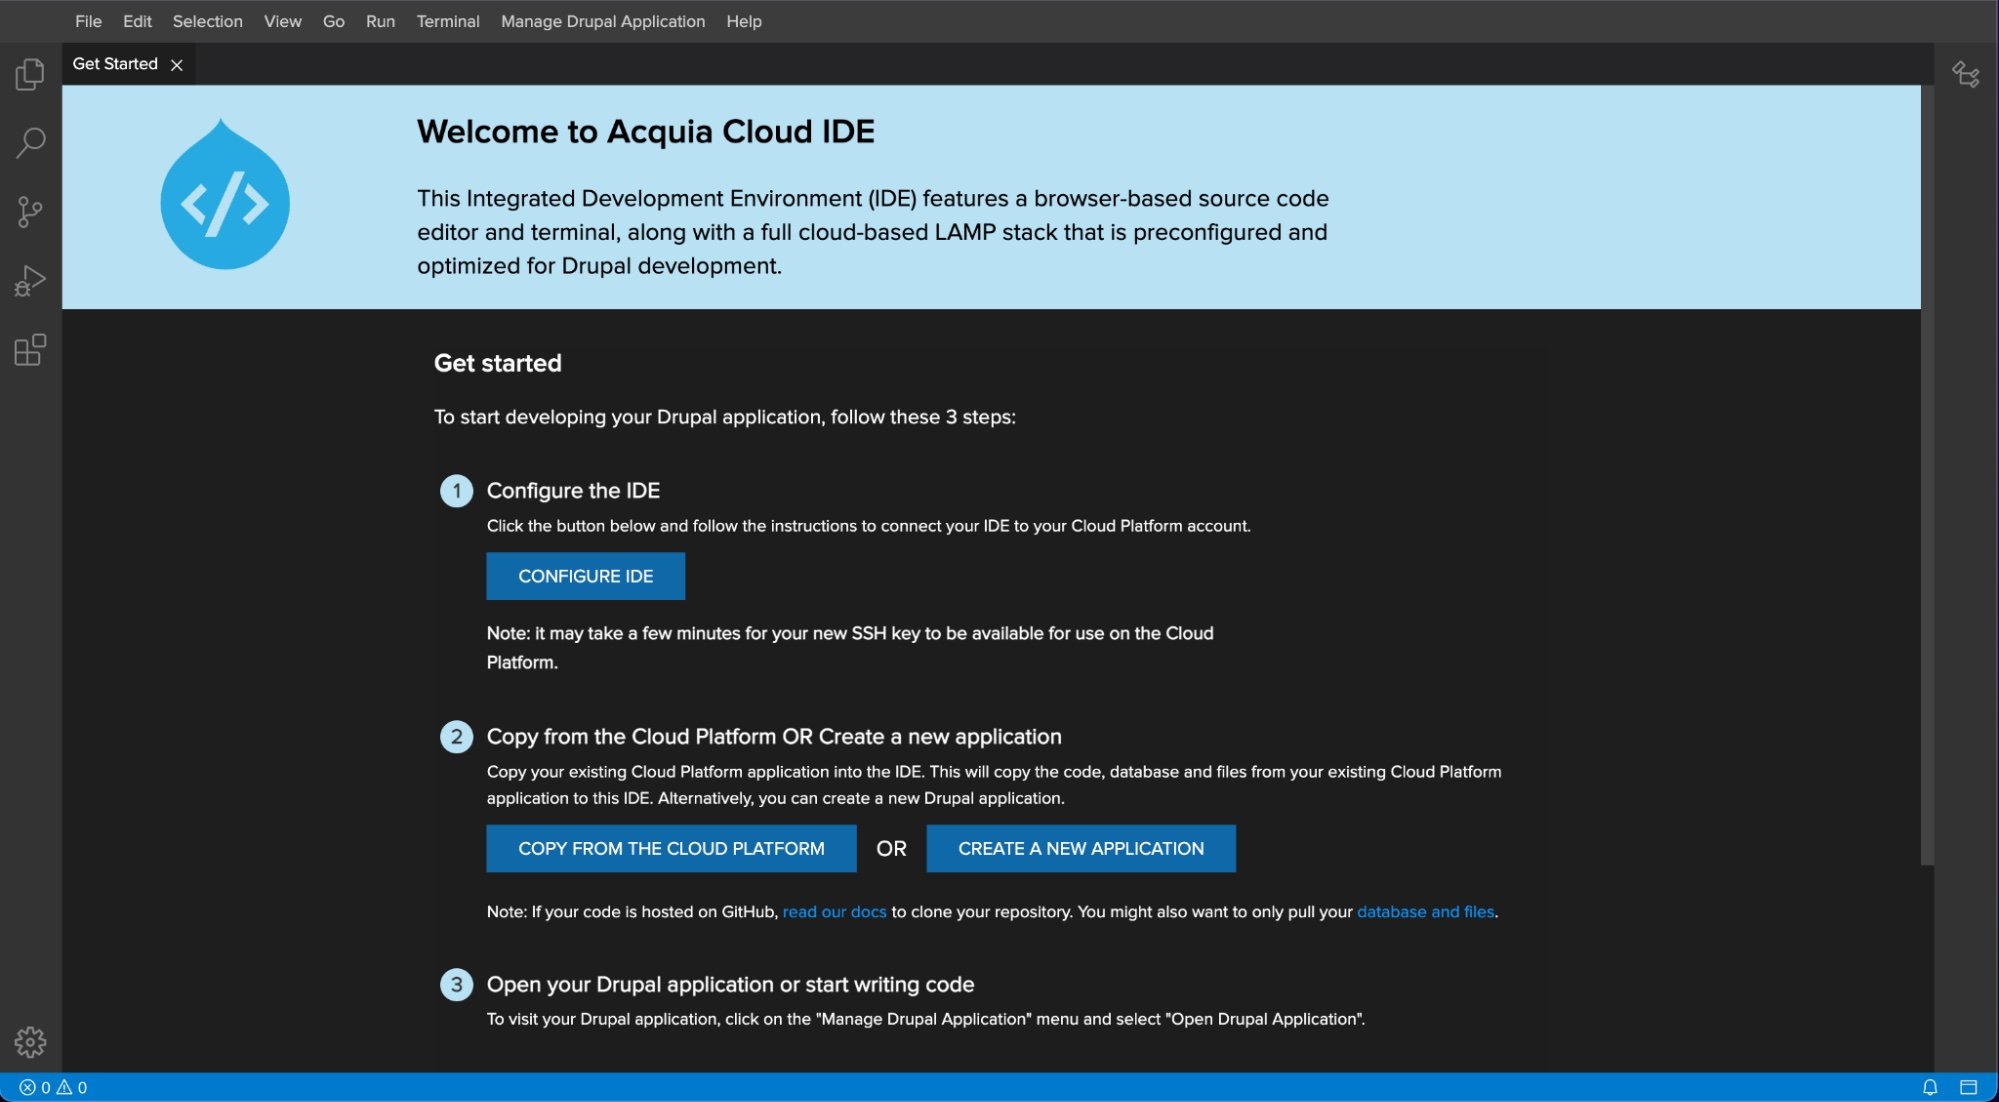
Make sure the PHP version of your Cloud IDE is also set to PHP 8.1:
php -v
PHP 8.1.7 (cli) (built: Jul  6 2022 11:02:45) (NTS)
Copyright (c) The PHP Group
Zend Engine v4.1.7-dev, Copyright (c) Zend Technologies
   with Zend OPcache v8.1.7, Copyright (c), by Zend Technologies
If your Cloud IDE instance is using an older version of PHP, you can change it.
On the “Get Started” page of your Cloud IDE, click the “Configure IDE” button to connect your IDE to your Cloud Platform account:
Image
-
Create a new Drupal project
The Acquia Drupal Recommended Project is a project template providing a great out-of-the-box experience for new Drupal 10 projects hosted on Acquia. It is based on the Drupal Recommended Project, with the principal difference being the addition of several modules and packages that provide the best possible out-of-the-box experience for Acquia customers.
For this tutorial, We will use the 2.0.63 release of the Acquia Drupal Recommended Project:
https://github.com/acquia/drupal-recommended-project/releases/tag/2.0.63Open a new Terminal window in your Cloud IDE and execute the following composer command:
composer create-project acquia/drupal-recommended-project:2.0.63 .Once the process has finished, you can check the current status of your Drupal project by typing "drush status":
drush status Drupal version : 10.0.7 Site URI : https://012a8eea-282f-4017-90f5-7c1ec7f89a7c.web.ahdev.cloud PHP binary : /usr/local/php8.1/bin/php PHP config : /usr/local/php8.1/etc/cli/php.ini PHP OS : Linux PHP version : 8.1.7 Drush script : /usr/local/bin/drush Drush version : 11.5.1 Drush temp : /tmp Drush configs : /home/ide/.drush/drush.yml /home/ide/project/vendor/drush/drush/drush.yml Drupal root : /home/ide/project/docroot Site path : sites/default -
Install Drupal 10
Open your local Cloud IDE website to continue the Drupal 10 installation. On the Menu, navigate to “Manage Drupal Application” -> “Open Drupal Application”
Image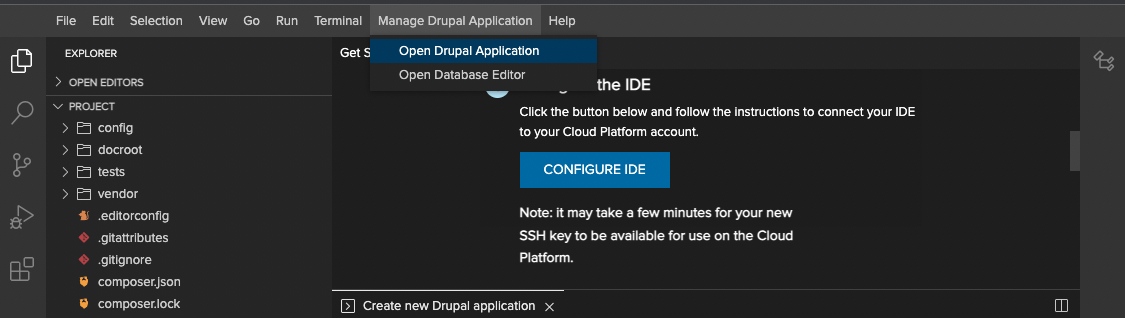
Choose the language for your new site and click the “Save and continue” button:
Image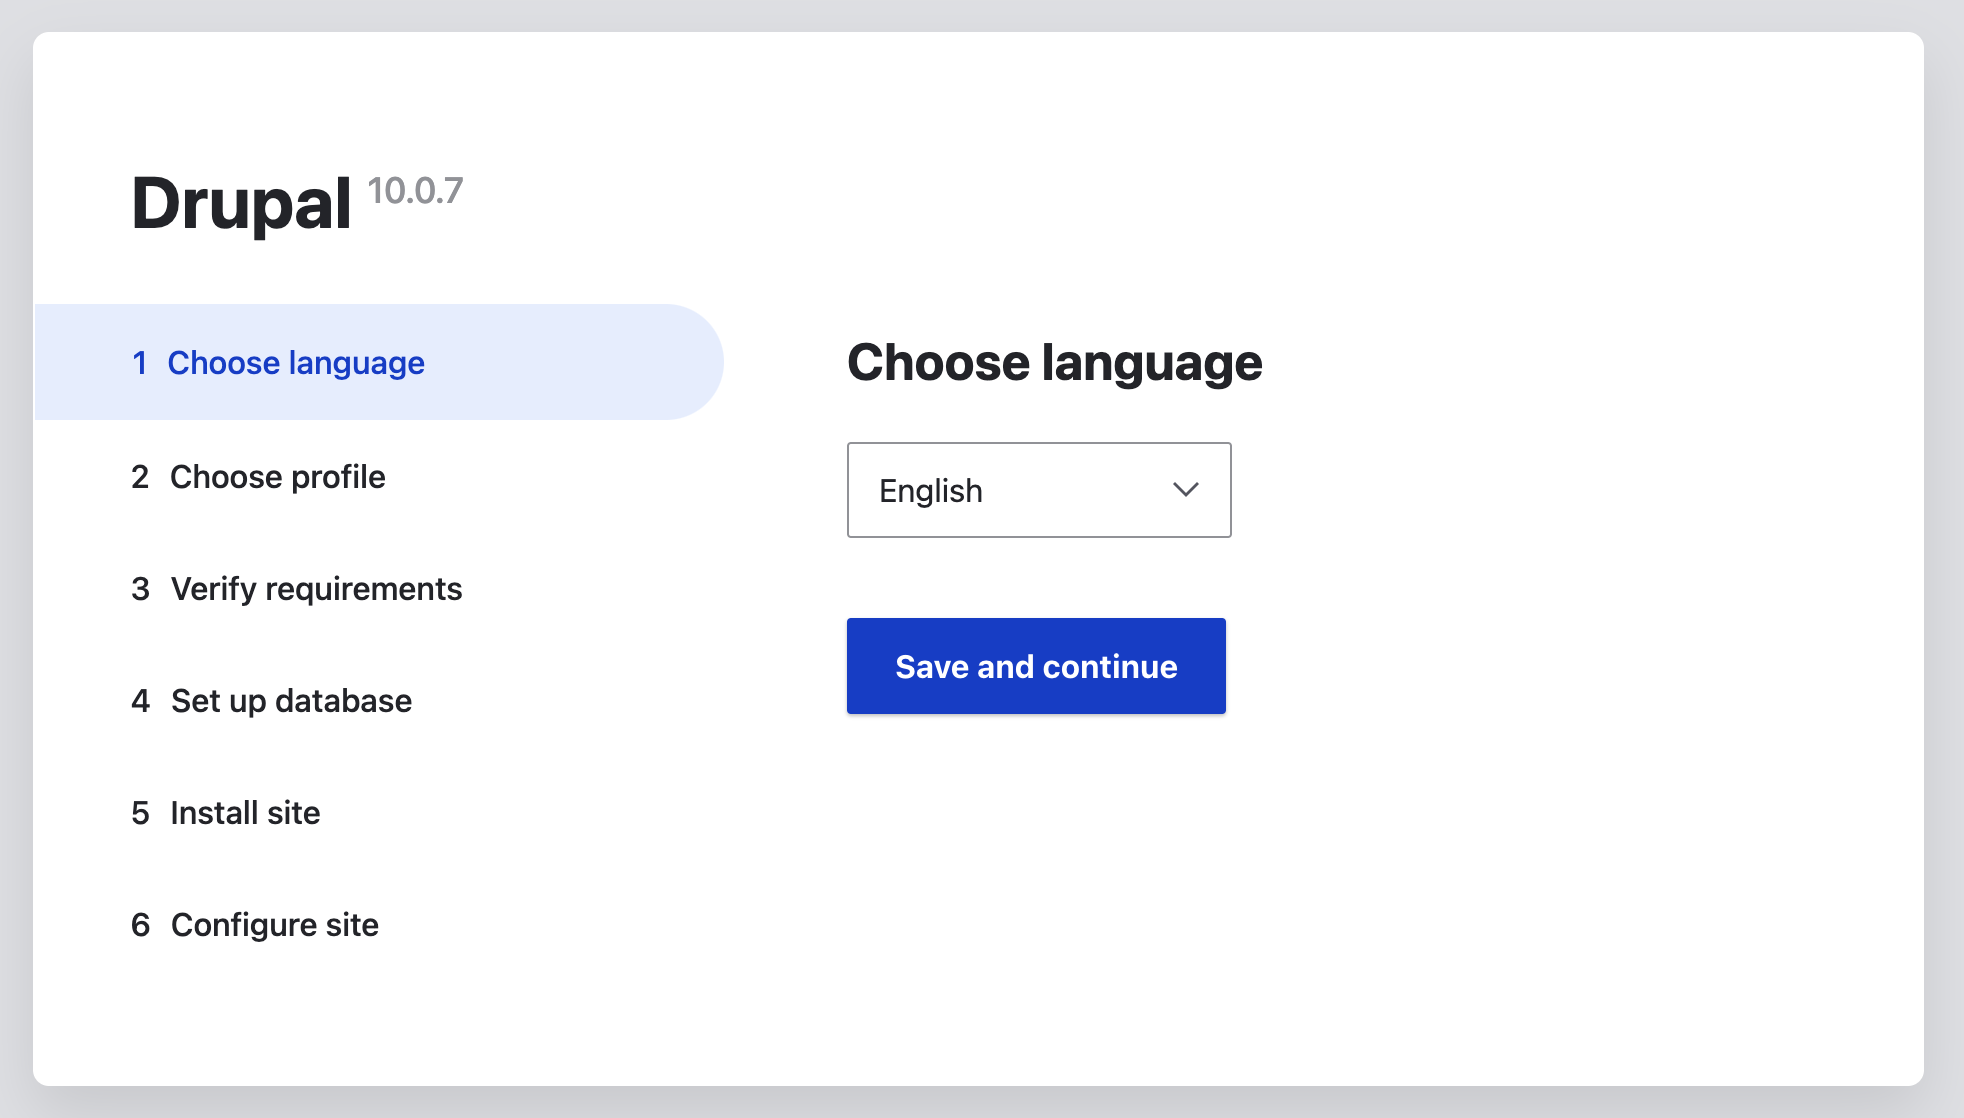
For the installation profile, select “Standard”. Click the “Save and continue” button to continue:
Image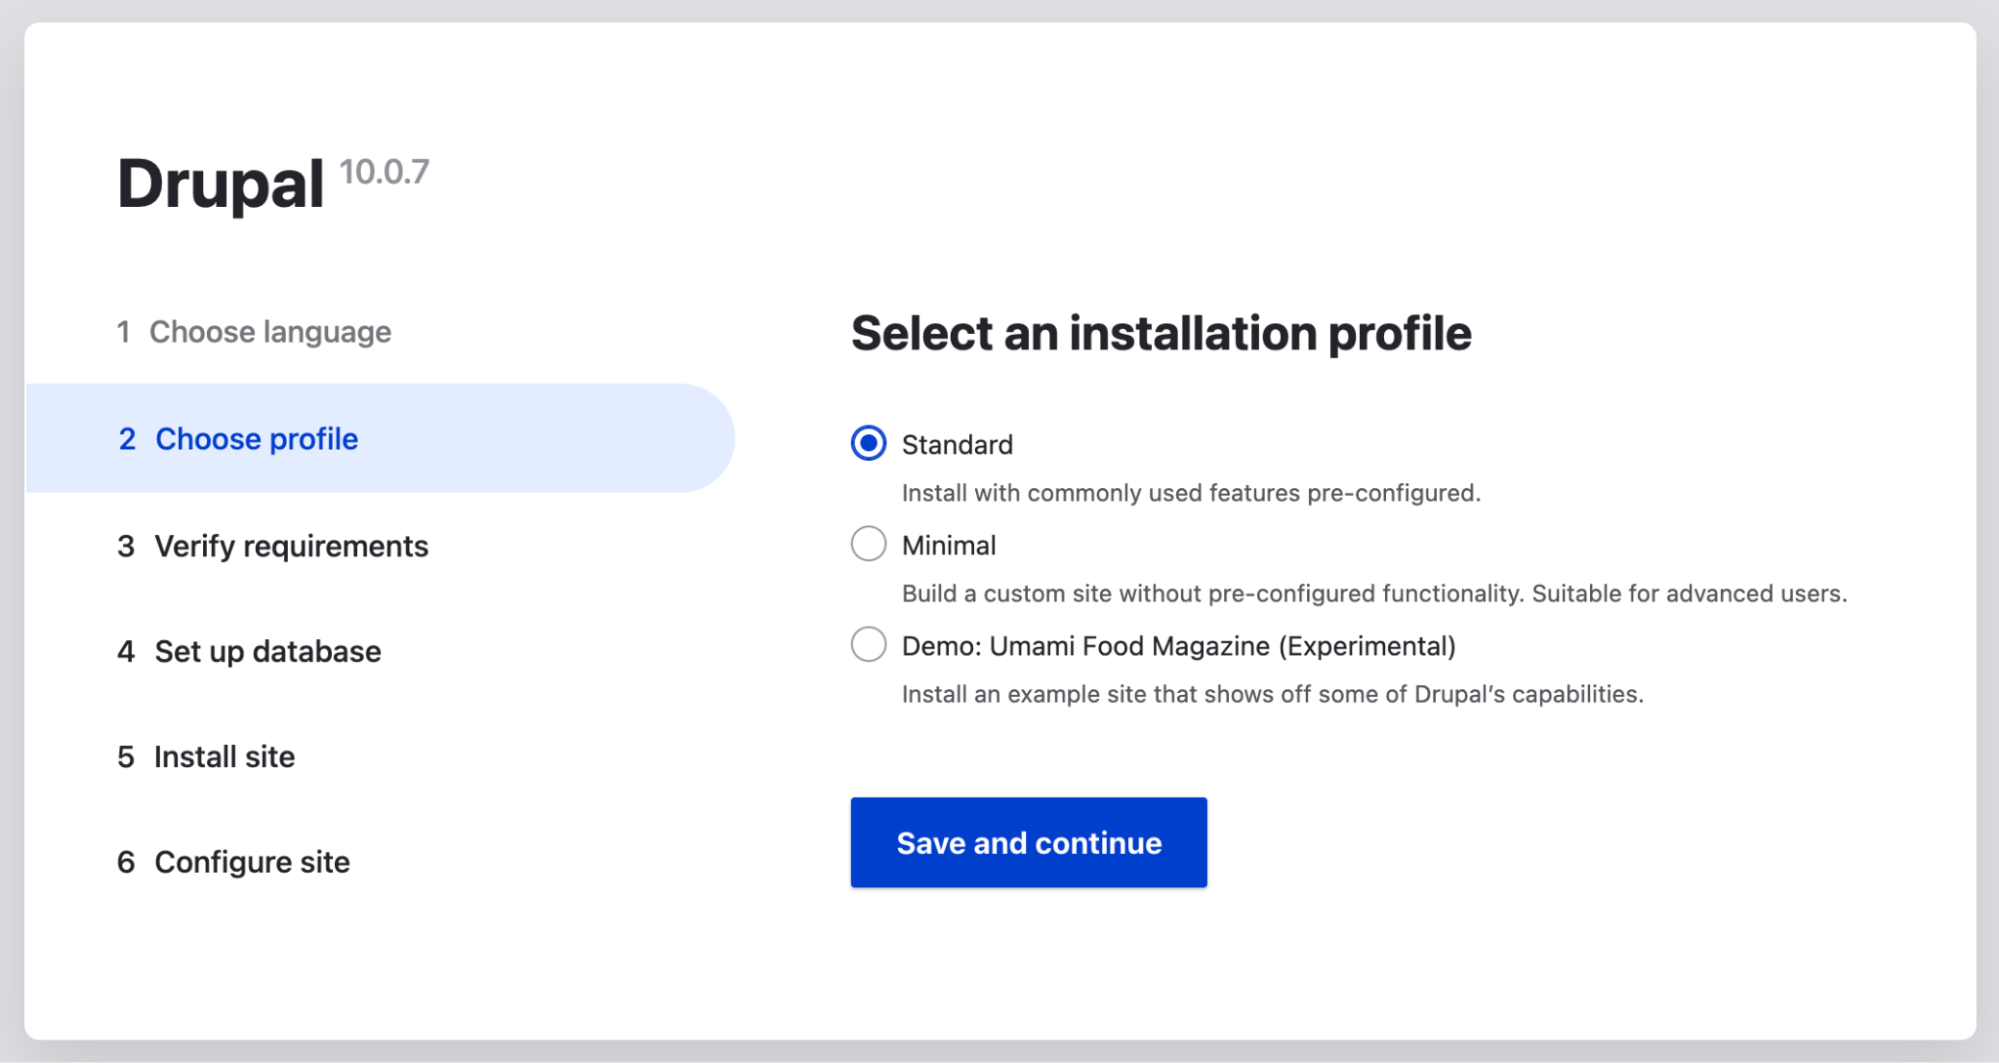
Leave the default Database type and enter “drupal” as the database, username, and password. Click the “Save and continue” button:
Image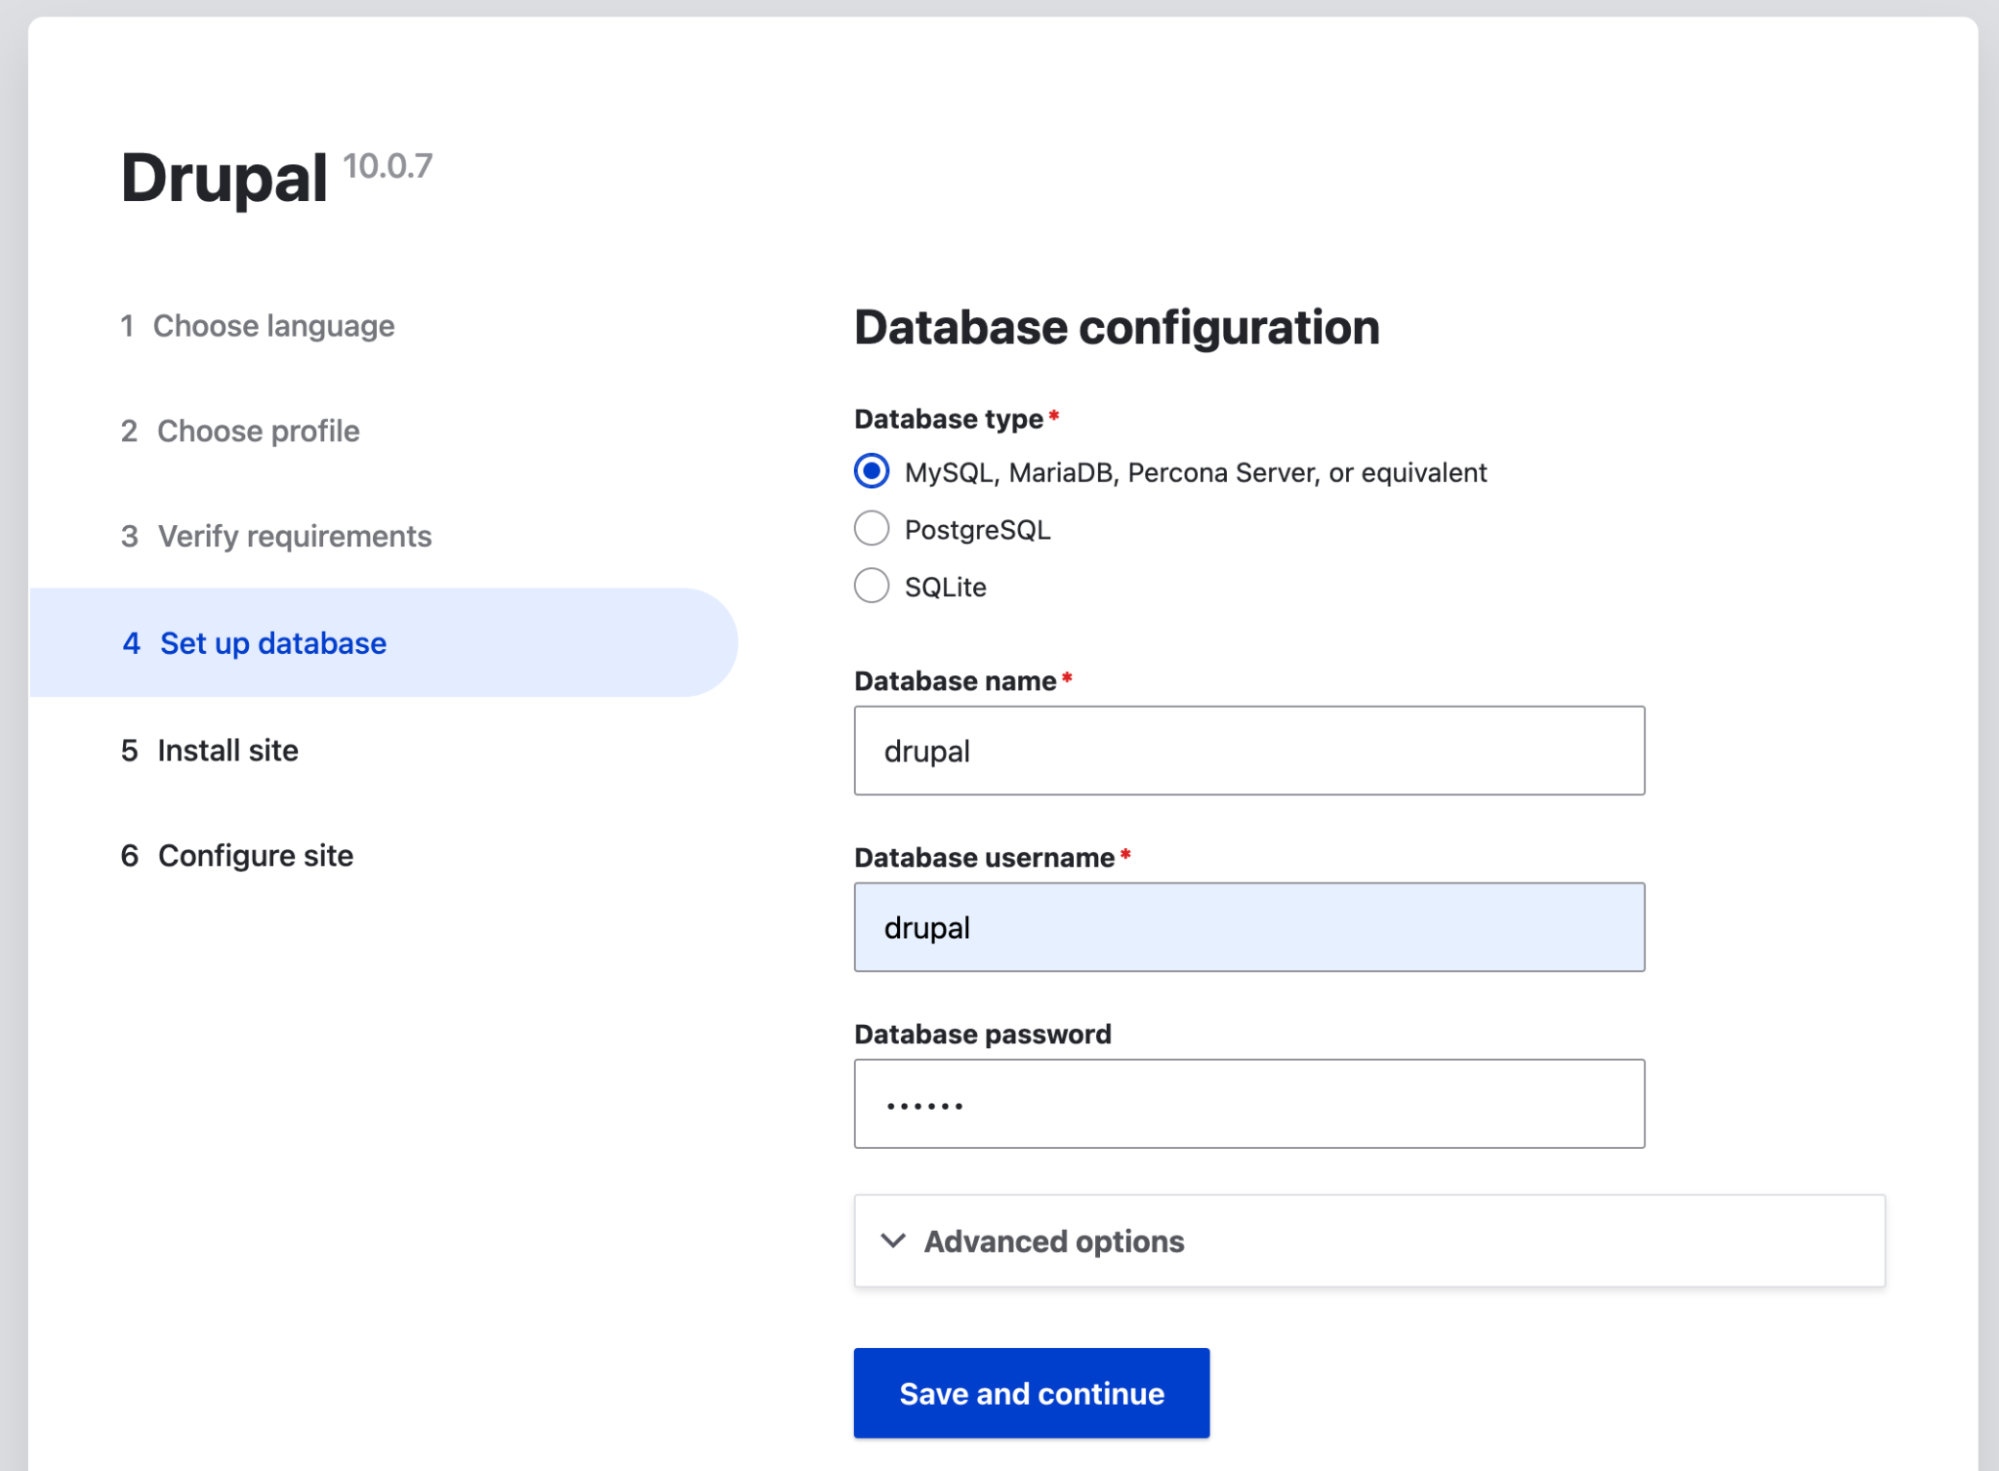
Wait until the installation process has been completed. To complete the Drupal Installation Wizard, you will need to configure your new site and create credentials for the super admin user (uid1). Click the “Save and continue” button to proceed.
Image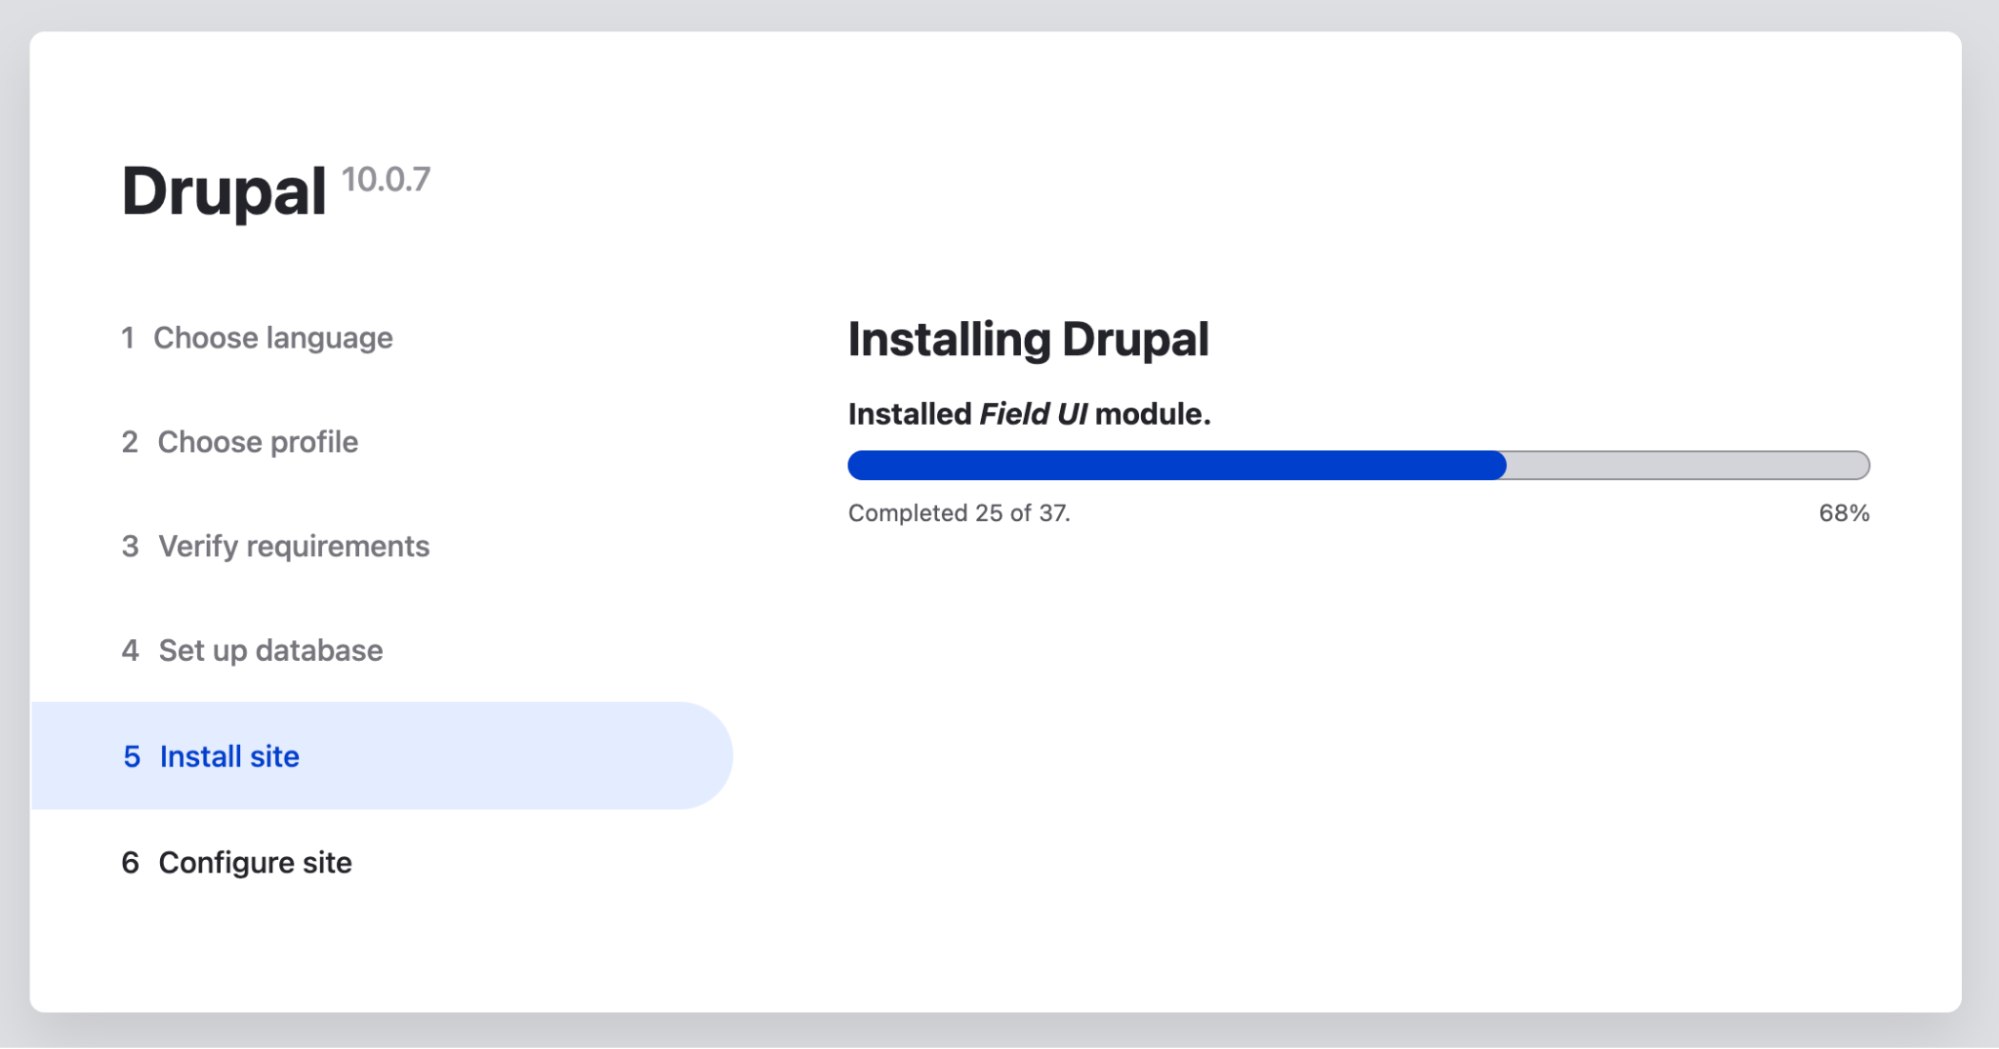
You should see your new Drupal 10 site:
Image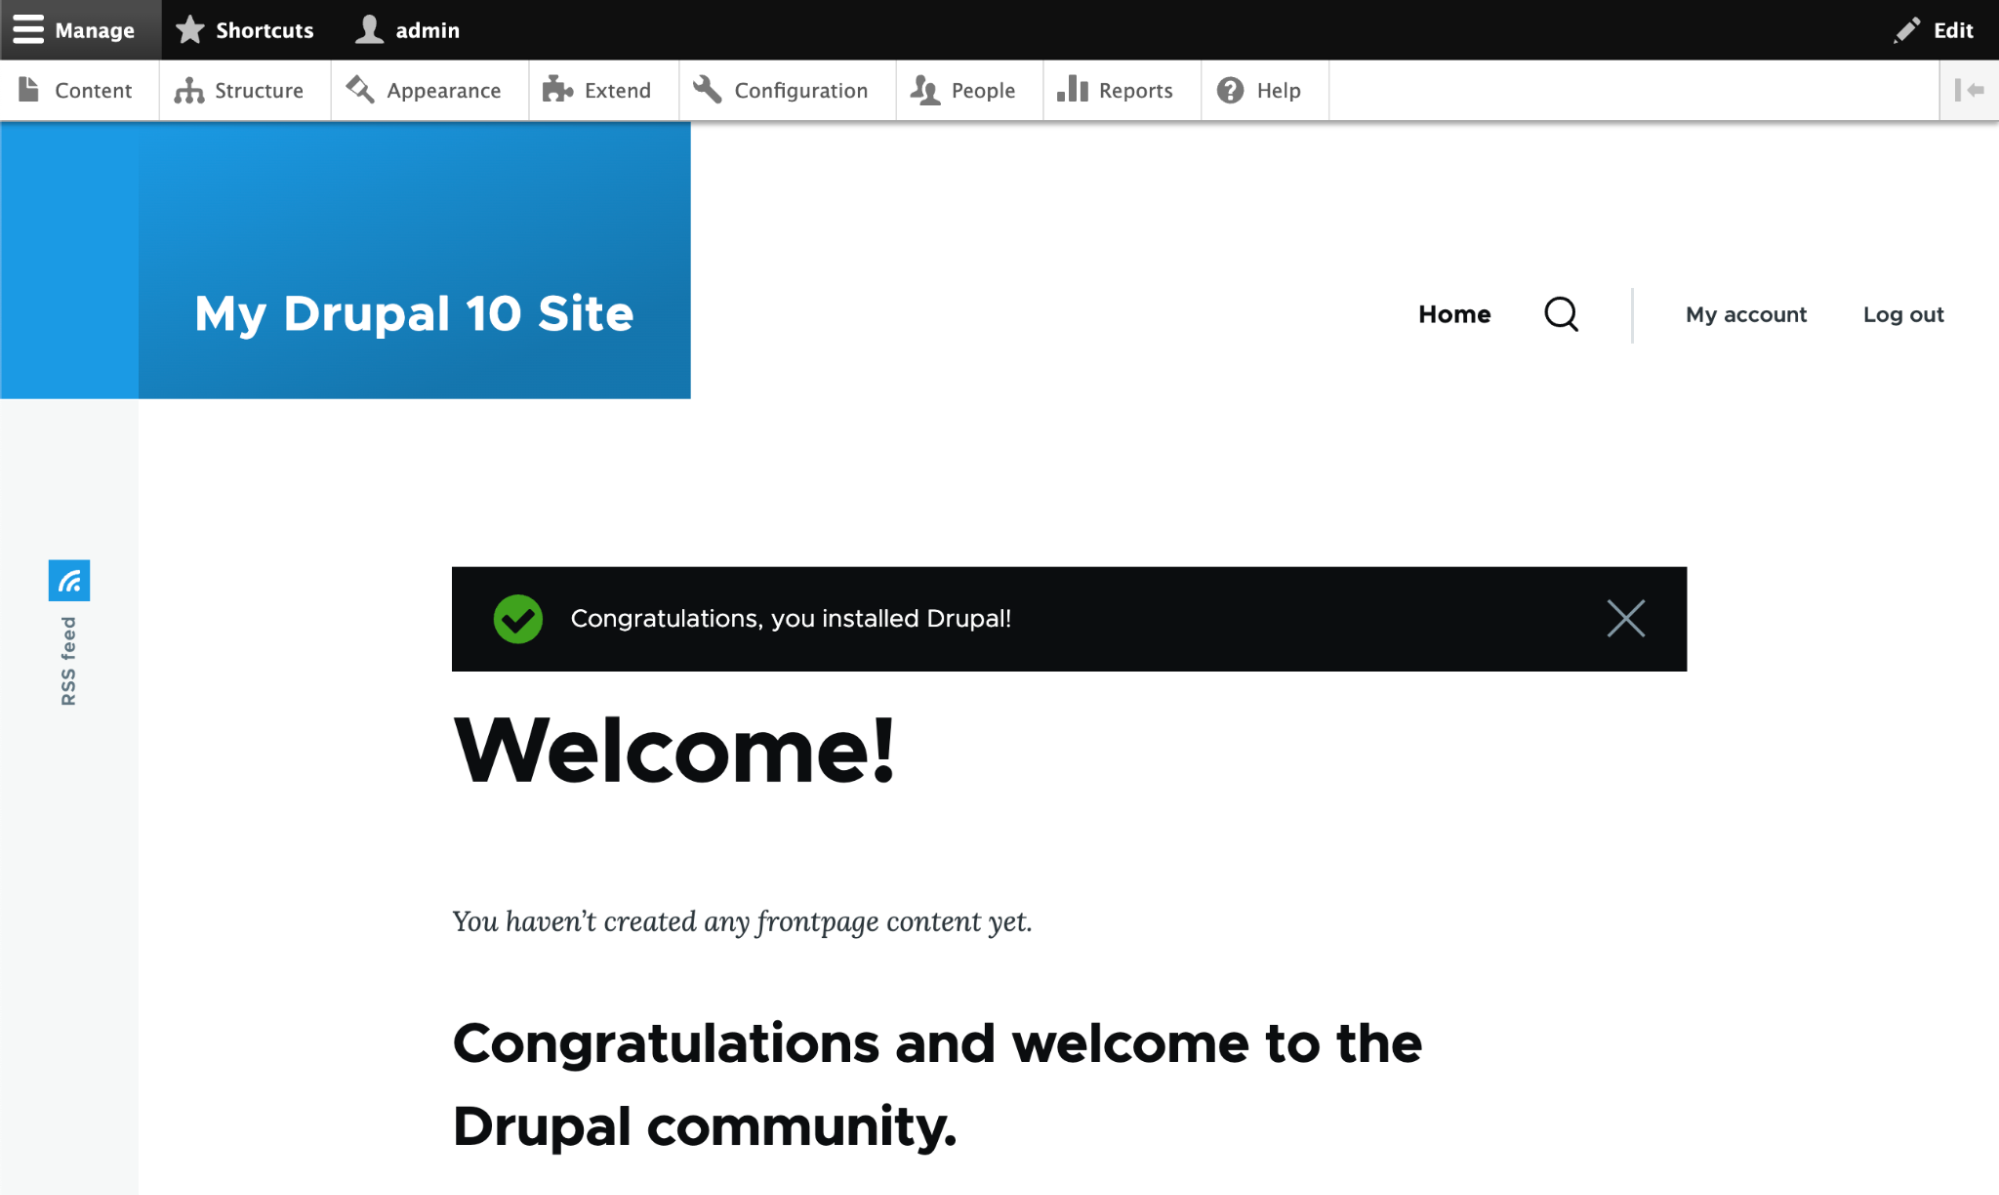
Check the status of your new site using drush:
drush statusSignorelli IDE:~/project (main) $ drush status Drupal version : 10.0.7 Site URI : https://012a8eea-282f-4017-90f5-7c1ec7f89a7c.web.ahdev.cloud DB driver : mysql DB hostname : localhost DB port : 3306 DB username : drupal DB name : drupal Database : Connected Drupal bootstrap : Successful Default theme : olivero Admin theme : claro PHP binary : /usr/local/php8.1/bin/php PHP config : /usr/local/php8.1/etc/cli/php.ini PHP OS : Linux PHP version : 8.1.12 Drush script : /usr/local/bin/drush Drush version : 11.5.1 Drush temp : /tmp Drush configs : /home/ide/.drush/drush.yml /home/ide/project/vendor/drush/drush/drush.yml Install profile : standard Drupal root : /home/ide/project/docroot Site path : sites/default Files, Public : sites/default/files Files, Temp : /tmp Signorelli IDE:~/project (main) $ -
Install BLT
https://docs.acquia.com/blt/install/adding-to-project/
At the command prompt, change to your existing project directory with the cd command.
To configure Composer’s minimum-stability and prefer-stable values, run:composer config minimum-stability dev composer config prefer-stable trueInstall BLT with the following Composer command:
composer require acquia/blt:^13.0Image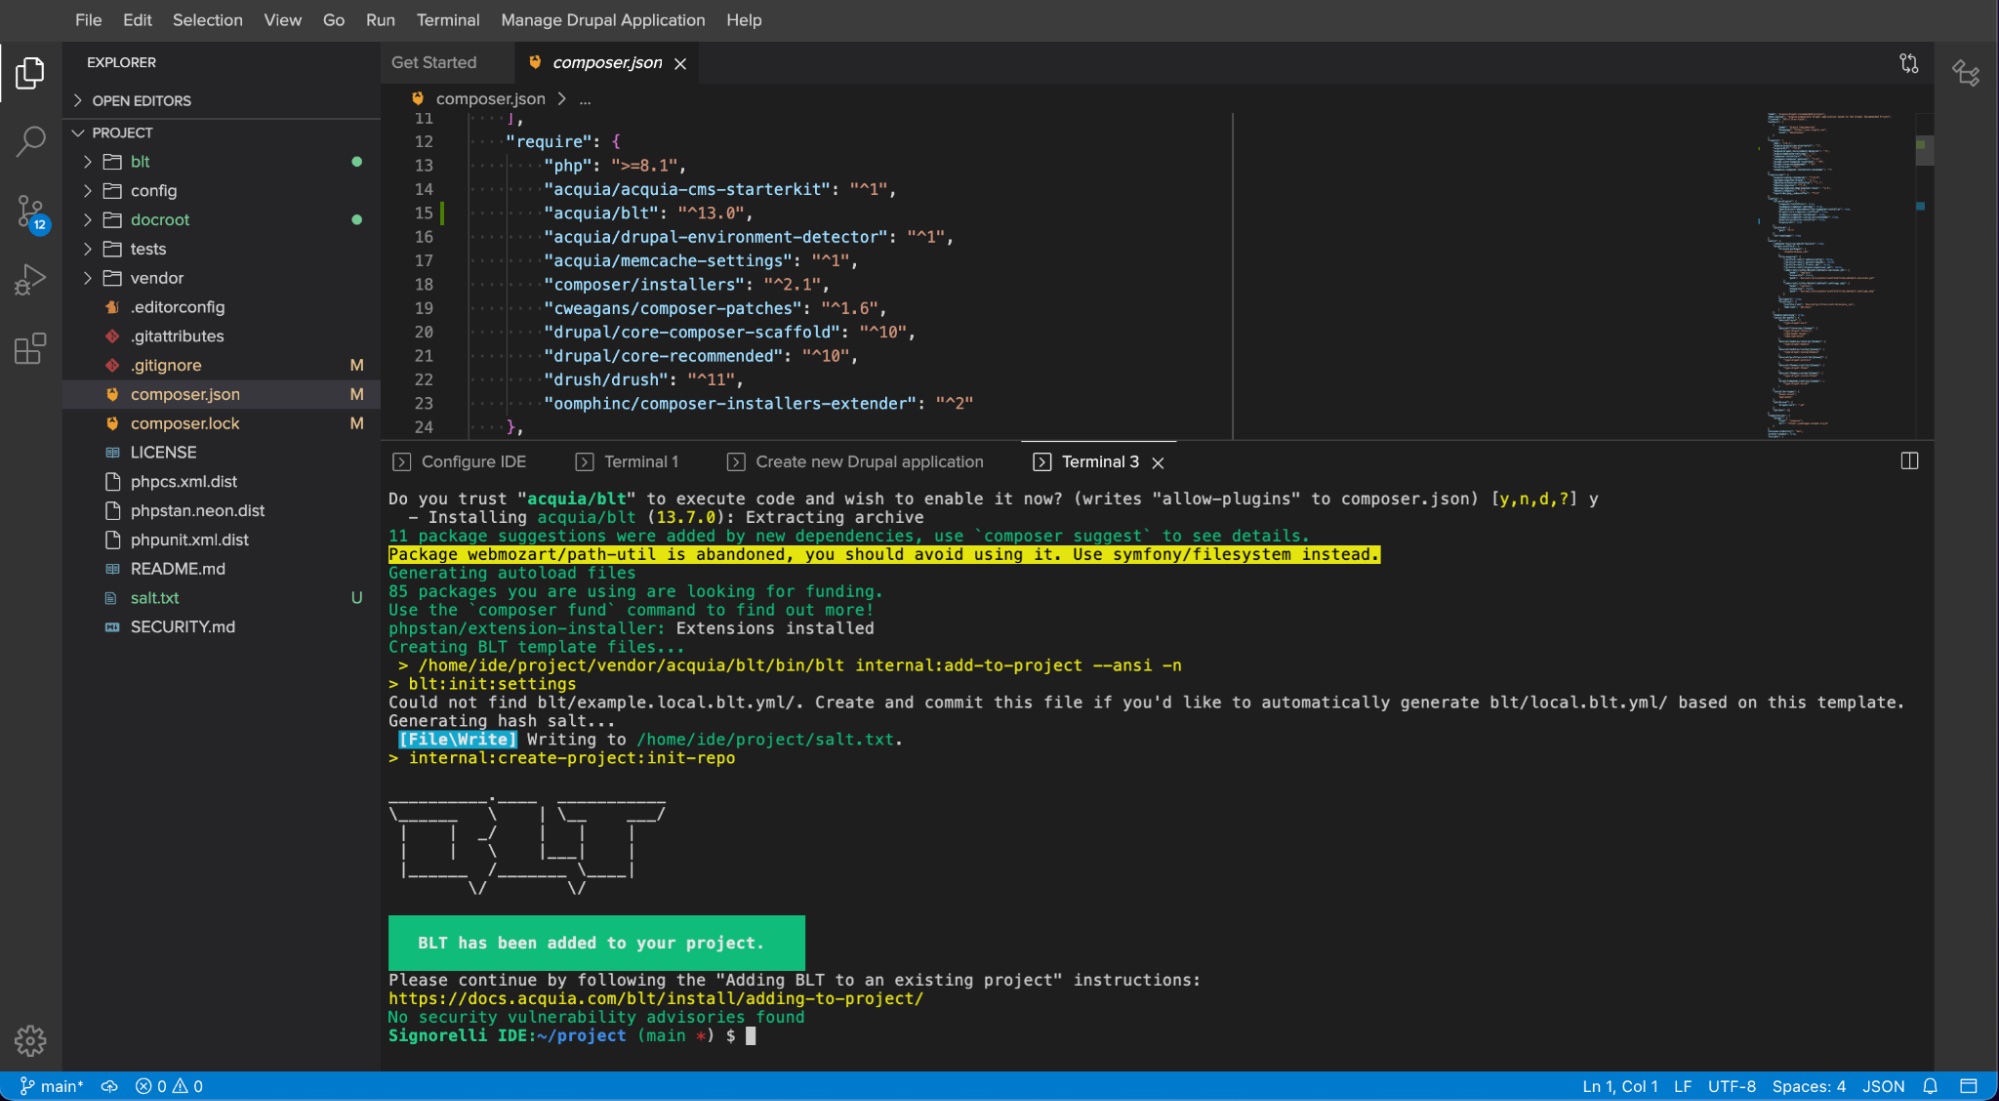
-
Preparing your codebase for Acquia Cloud Site Factory
Install Acquia BLT ACSF
https://github.com/acquia/blt-acsf
composer require acquia/blt-acsfInstall the ACSF Connector module
https://docs.acquia.com/site-factory/module/
https://www.drupal.org/project/acsfcomposer require 'drupal/acsf:^2.73'Activate the ACSF module:
drush en acsfSignorelli IDE:~/project (main *) $ drush en acsf The following module(s) will be enabled: acsf, acsf_duplication, acsf_theme, acsf_variables Do you want to continue? (yes/no) [yes]: > yes [success] Successfully enabled: acsf, acsf_duplication, acsf_theme, acsf_variables Signorelli IDE:~/project (main *) $Configure the Site Factory Connector module in your codebase using BLT:
blt recipes:acsf:init:allDownload and extract the updated Acquia Cloud Site Factory Connector:
(Run each time there is a core update)
blt recipes:acsf:init:drushImage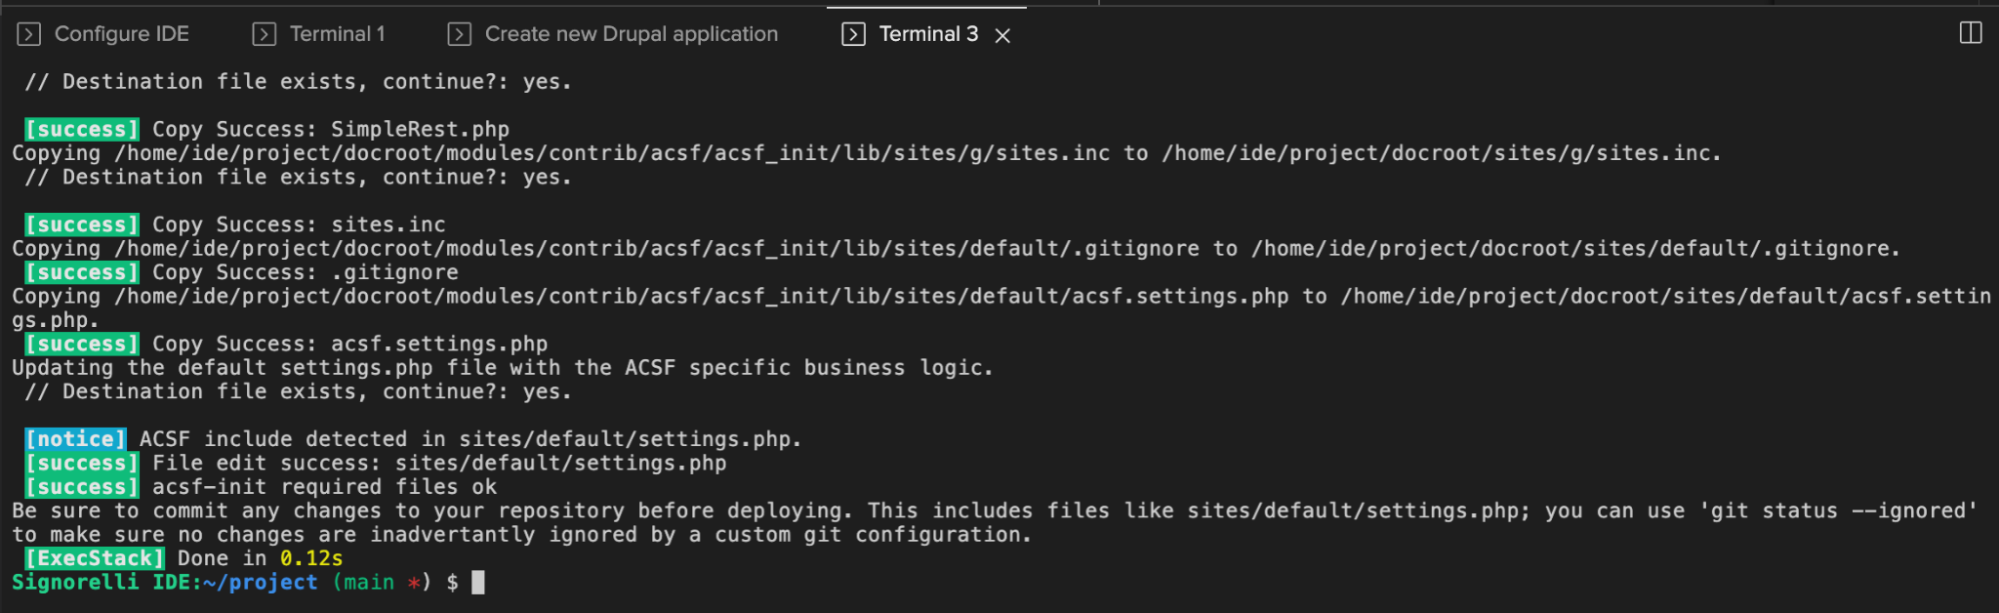
Install the Config Ignore and Config Split modules
https://www.drupal.org/project/config_ignore
composer require 'drupal/config_ignore:^2.4'Enable the Config Ignore module:
drush en config_ignoreSignorelli IDE:~/project (main *) $ drush en config_ignore The following module(s) will be enabled: config_ignore, config_filter Do you want to continue? (yes/no) [yes]: > yes [success] Successfully enabled: config_ignore, config_filter Signorelli IDE:~/project (main *) $Install the Config Split module:
composer require 'drupal/config_split:^1.9' --with-all-dependenciesEnable the Config Ignore module:
drush en config_split -
Add my custom Drush Alias Generator bash script
I wrote a custom bash script that simplifies the process of adding Drush aliases to your codebase. This will allow you to run Drush commands against your ACSF sites from your Cloud IDE instance with ease.
Inside the project folder, next to the blt, config, and docroot folders, create the following new folders:
cd /home/ide/project
mkdir drush
mkdir drush/sites
Using nano or vim, create the new aliasgenerator.sh bash script:
nano aliasgenerator.shCopy the following code and paste it inside your new aliasgenerator.sh script. Follow the instructions inside to configure your bash script so it works with your ACSF account:
#!/bin/bash
# Author: Leonardo Signorelli
# Websites: astralmemories.com, freewebtools.net, codesnippets.freewebtools.net
# The Unlicense
# -------------
# This is free and unencumbered software released into the public domain.
# Anyone is free to copy, modify, publish, use, compile, sell, or
# distribute this software, either in source code form or as a compiled
# binary, for any purpose, commercial or non-commercial, and by any
# means.
# In jurisdictions that recognize copyright laws, the author or authors
# of this software dedicate any and all copyright interest in the
# software to the public domain. We make this dedication for the benefit
# of the public at large and to the detriment of our heirs and
# successors. We intend this dedication to be an overt act of
# relinquishment in perpetuity of all present and future rights to this
# software under copyright law.
# THE SOFTWARE IS PROVIDED "AS IS", WITHOUT WARRANTY OF ANY KIND,
# EXPRESS OR IMPLIED, INCLUDING BUT NOT LIMITED TO THE WARRANTIES OF
# MERCHANTABILITY, FITNESS FOR A PARTICULAR PURPOSE AND NONINFRINGEMENT.
# IN NO EVENT SHALL THE AUTHORS BE LIABLE FOR ANY CLAIM, DAMAGES OR
# OTHER LIABILITY, WHETHER IN AN ACTION OF CONTRACT, TORT OR OTHERWISE,
# ARISING FROM, OUT OF OR IN CONNECTION WITH THE SOFTWARE OR THE USE OR
# OTHER DEALINGS IN THE SOFTWARE.
# For more information, please refer to <http://unlicense.org/>
# Instructions
# ------------
# 1 - Add/Copy this bash script to the root of your ACSF codebase folder (Next to the config, and docroot folders).
# 2 - Add your ACSF Application name to the acsf_app_name variable:
acsf_app_name="acquiatam2"
# 3 - Make this bash script executable with the following command:
#     chmod +x aliasgenerator.sh
# 4 - Execute this script with the following command:
#     ./aliasgenerator.sh
# 5 - Create a new Drush alias for an existing ACSF site and exit the script.
# 6 - Now you should be able to execute drush commands against the selected ACSF site with the following structure:
#     drush @sitename.environment drush_command
# Example:
#     drush @yoursite.01live status
# Functions
create_new_site_alias () {
   echo "Make sure to enter the name of a site you already created in your ACSF account."
   echo "Example: If the ACSF URL assigned to your new site is site1.${acsf_app_name}.acsitefactory.com"
   echo "Enter site1"
   echo " "
   confirmation="novalue"
   while [ $confirmation != "y" ]
   do
       echo -e "Provide the name of the site you want to create a Drush alias: \c "
       read site_name
       echo " "
       echo -e "Is this site name correct?: \"$site_name\" (Yes/No/Cancel = y/n/c)"
       read confirmation
       if [ $confirmation == "c" ]; then
           # Exit the While loop
           break
       fi
   done
   if [ $confirmation == "c" ]; then
       echo " "
       echo "Cancel! Going back to the Main Menu..."
       echo " "
       # Cancel this function and go back to the Main Menu
       return
   fi
   # Generate the drush alias for this new site...
   echo " "
   echo "Generating the drush alias for $site_name.."
   # Go to  the sites folder inside the drush folder
   cd drush/sites/
   # Create a new yml file for this site
   echo "01dev:" > $site_name.site.yml
   echo "    uri: $site_name.dev-$acsf_app_name.acsitefactory.com" >> $site_name.site.yml
   echo "    host: ${acsf_app_name}01dev.ssh.enterprise-g1.acquia-sites.com" >> $site_name.site.yml
   echo "    options: {  }" >> $site_name.site.yml
   echo "    paths: { dump-dir: /mnt/tmp }" >> $site_name.site.yml
   echo "    root: /var/www/html/$acsf_app_name.01dev/docroot" >> $site_name.site.yml
   echo "    user: $acsf_app_name.01dev" >> $site_name.site.yml
   echo "    ssh: { options: '-p 22' }" >> $site_name.site.yml
   echo "01live:" >> $site_name.site.yml
   echo "    uri: $site_name.$acsf_app_name.acsitefactory.com" >> $site_name.site.yml
   echo "    host: ${acsf_app_name}01live.ssh.enterprise-g1.acquia-sites.com" >> $site_name.site.yml
   echo "    options: {  }" >> $site_name.site.yml
   echo "    paths: { dump-dir: /mnt/tmp }" >> $site_name.site.yml
   echo "    root: /var/www/html/$acsf_app_name.01live/docroot" >> $site_name.site.yml
   echo "    user: $acsf_app_name.01live" >> $site_name.site.yml
   echo "    ssh: { options: '-p 22' }" >> $site_name.site.yml
   echo "01test:" >> $site_name.site.yml
   echo "    uri: $site_name.test-$acsf_app_name.acsitefactory.com" >> $site_name.site.yml
   echo "    host: ${acsf_app_name}01test.ssh.enterprise-g1.acquia-sites.com" >> $site_name.site.yml
   echo "    options: {  }" >> $site_name.site.yml
   echo "    paths: { dump-dir: /mnt/tmp }" >> $site_name.site.yml
   echo "    root: /var/www/html/$acsf_app_name.01test/docroot" >> $site_name.site.yml
   echo "    user: $acsf_app_name.01test" >> $site_name.site.yml
   echo "    ssh: { options: '-p 22' }" >> $site_name.site.yml
   # Go back
   cd ../../
   echo " "
   echo "Ready! Going back to the Main Menu..."
   echo " "
}
# Splash screen
echo " "
echo " "
echo "              <------->"
echo "          <--------------->"
echo " <--------------------------------->"
echo " |       Drush Alias Generator     |"
echo " <--------------------------------->"
echo "          <--------------->"
echo "              <------->"
# Main Menu
selection="novalue"
while [ $selection != "2" ]
do
   echo " "
   echo "       |---------------------|"
   echo "       |      Main Menu      |"
   echo "       |---------------------|"
   echo "       | 1 - New Drush Alias |"
   echo "       | 2 - Exit            |"
   echo "       |---------------------|"
   echo " "
   echo -e "Select a number from the Main Menu: \c "
   read selection
   case "$selection" in
       1)  echo " "
           echo "Selected: New Drush Alias"
           echo "-------------------------"
           echo " "
           # Call the function
           create_new_site_alias
          ;;
       2)  echo " "
           echo "Selected: Exit"
           echo "--------------"
          ;;
       *)  echo " "
           echo "Wrong Selection! Please try again..."
           echo " "
          ;;
   esac
done
echo " "
echo "Exiting this script..."
echo " "
Save your changes.
Make this bash script executable with the following command:
chmod +x aliasgenerator.shUse the following command to execute this script:
./aliasgenerator.sh -
Edit your blt/blt.yml file
To edit your blt/blt.yml file, you will need to find out the ID of your application and the URL of your Acquia repository.
Go to your Acquia Platform account and click the “Product Keys” option from the left menu, your Application ID is listed under Username and Application UUID:
Image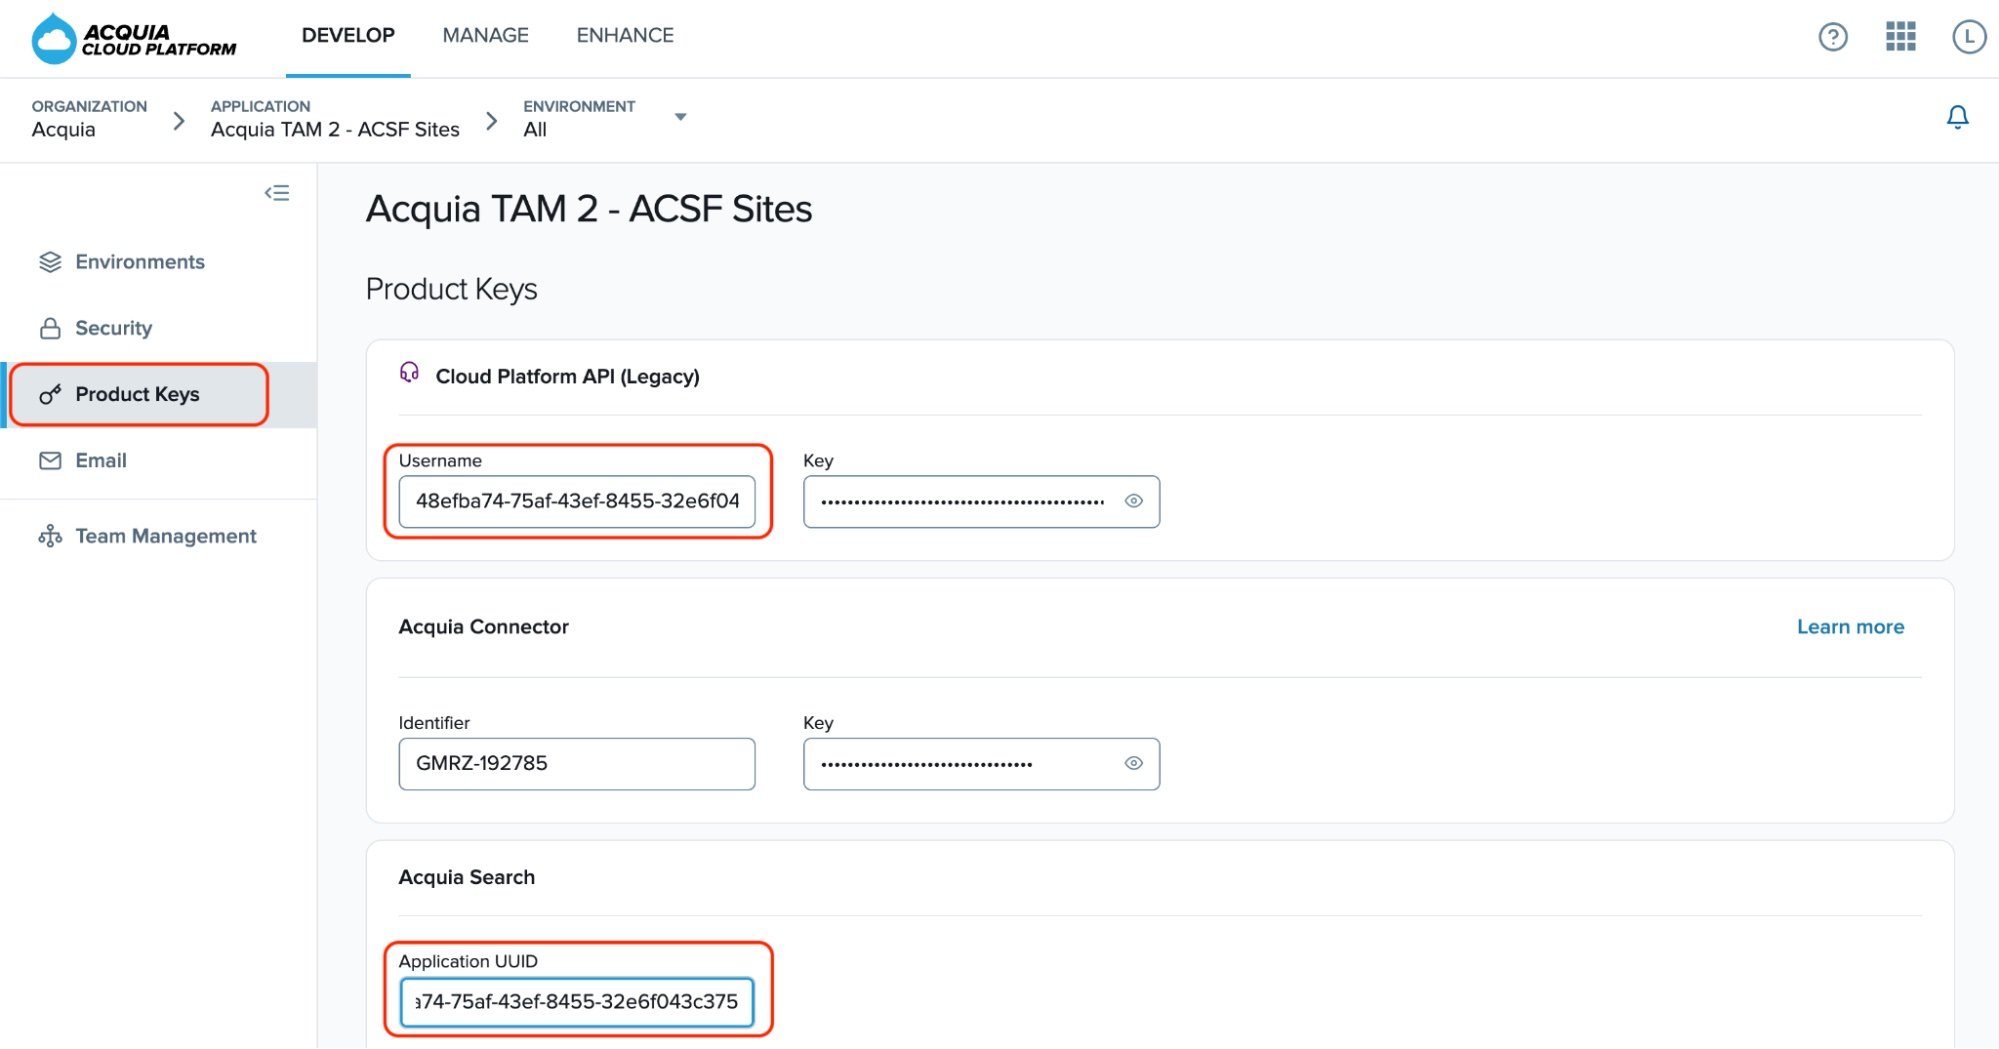
To find out the URL of your Acquia repository, go to your Acquia Platform account and click the “Actions” to reveal the dropdown and select “View Git information”:
Image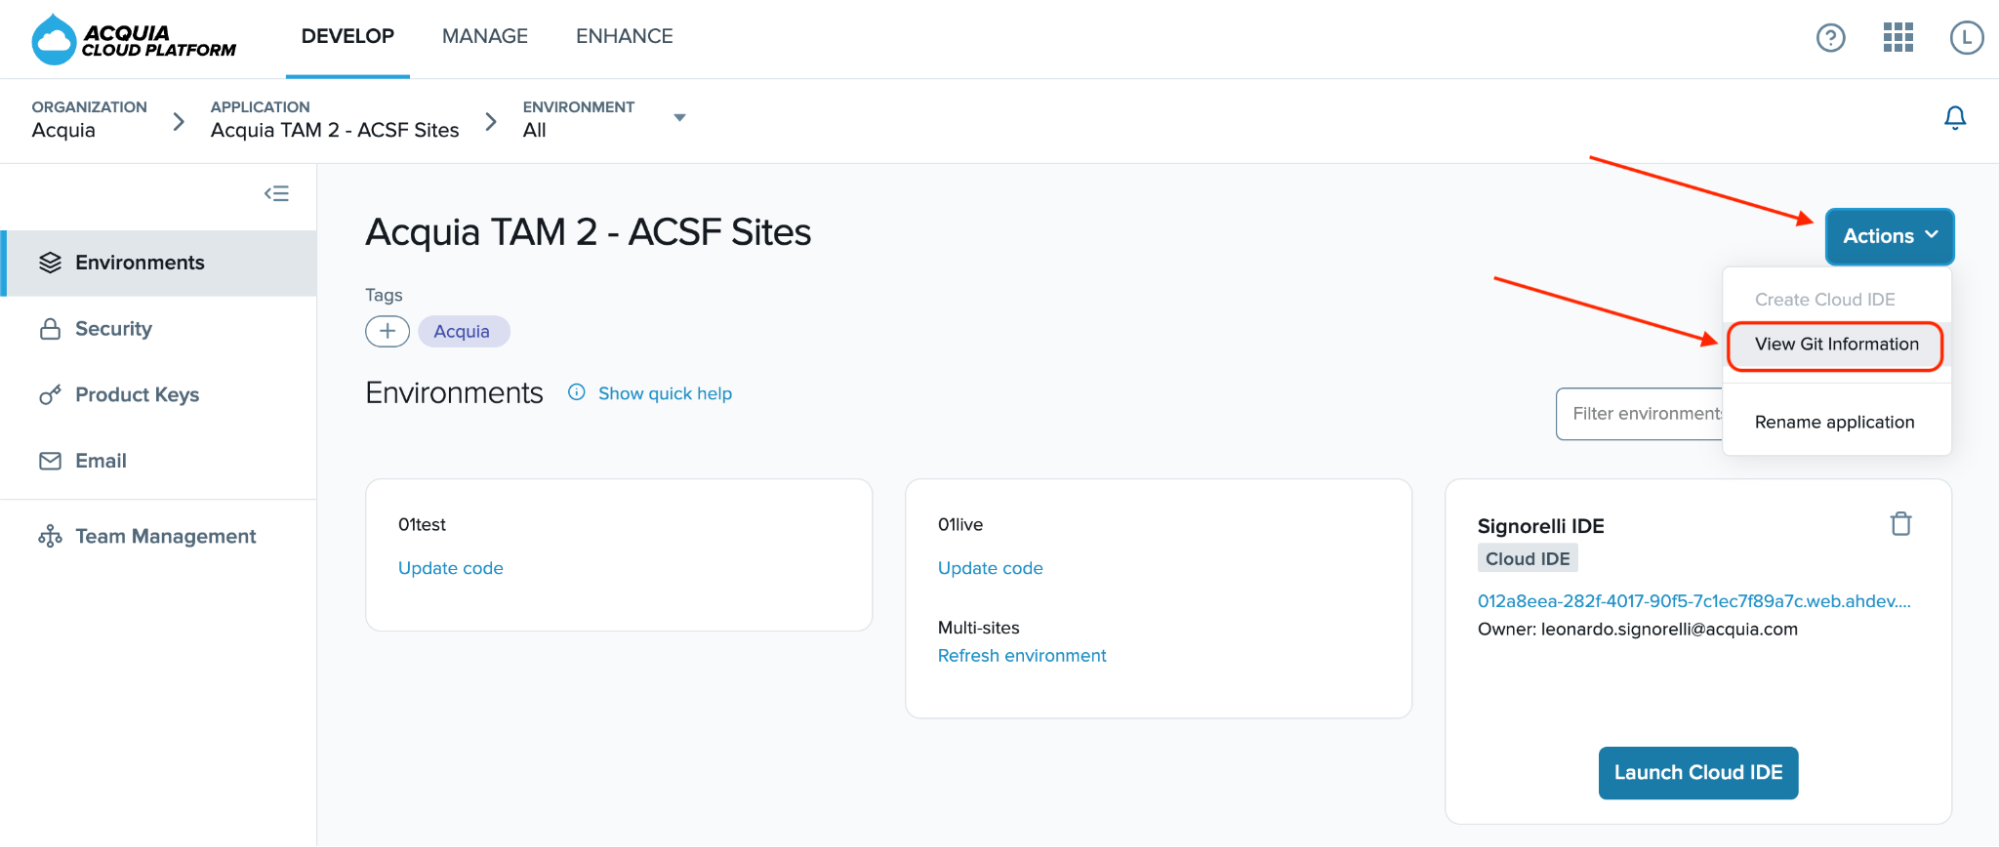 Image
Image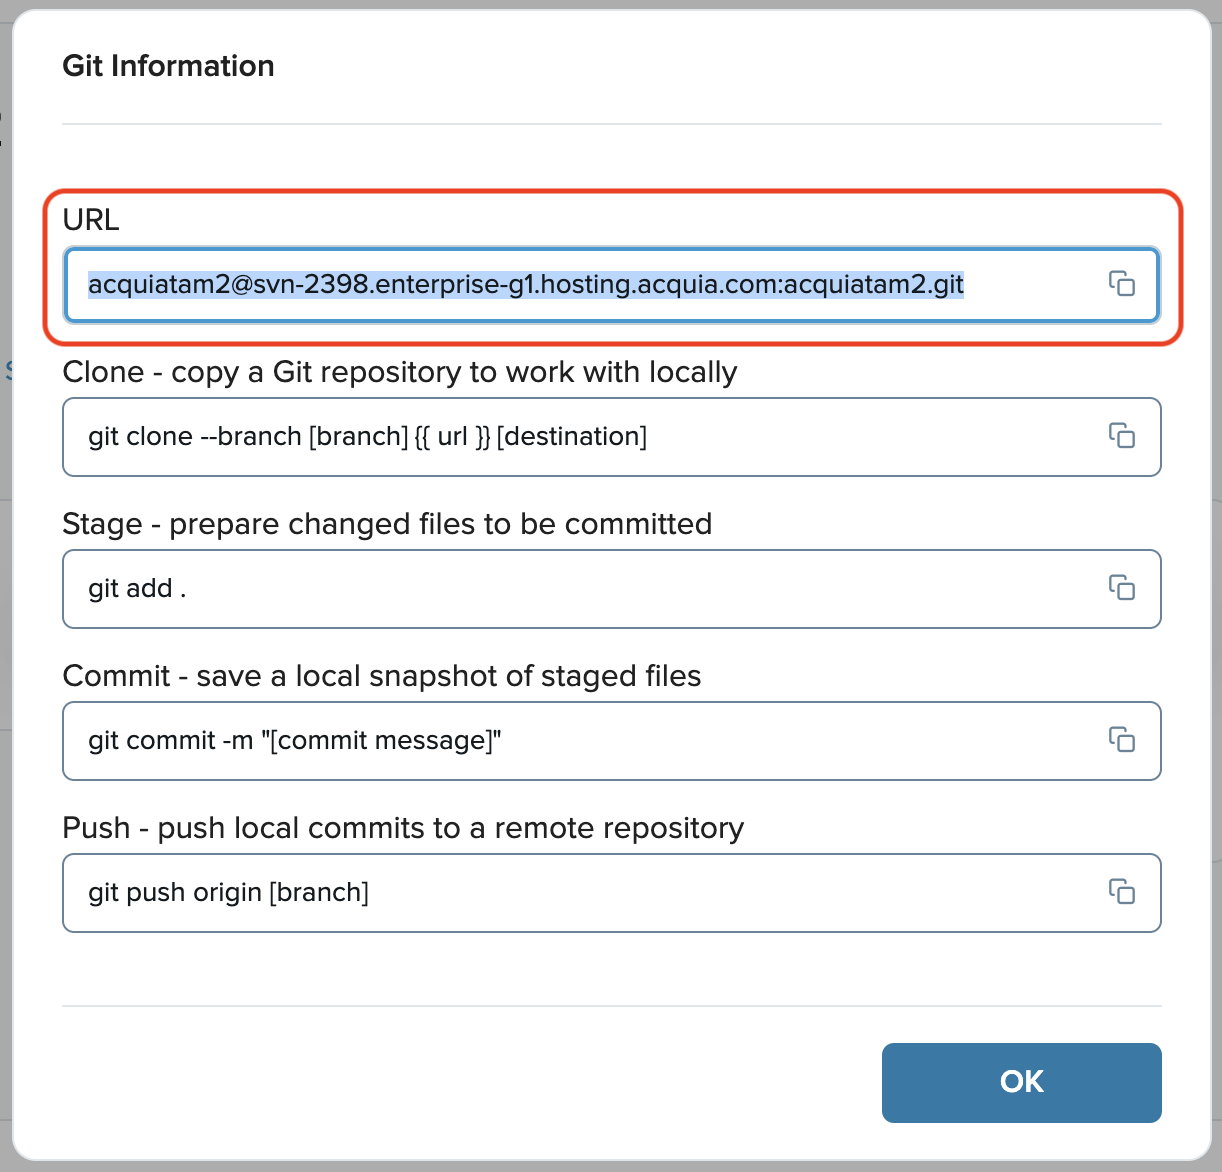
Edit your blt/blt.yml file and replace its content with the following code:
project:
 machine_name: d10acsf
cloud:
 appId: 48efba74-75af-43ef-8455-32e6f043c375
git:
 default_branch: master
 remotes:
   cloud: '[email protected]:acquiatam2.git'
deploy:
 tag_source: true
drush:
 aliases:
   remote: site1.01test
   local: self
   ci: self
 default_alias: '${drush.aliases.local}'
Replace the following three keys: machine_name, appId, Acquia SVN git remote url:
- machine_name: YOUR_MACHINE_NAME (Example: d10acsf)
- cloud:
- appId: YOUR_APP_ID (Example: 48efba74-75af-43ef-8455-32e6f043c375)
- git:
- remotes:
- cloud: YOUR_ACQUIA_GIT_URL (Example: '[email protected]:acquiatam2.git')
- remotes:
-
Push your codebase to your remote repository
Create a new repository on GitHub.com (https://github.com/new). To avoid errors, do not initialize the new repository with README, license, or gitignore files.
I named my repository “d10acsf”:
Image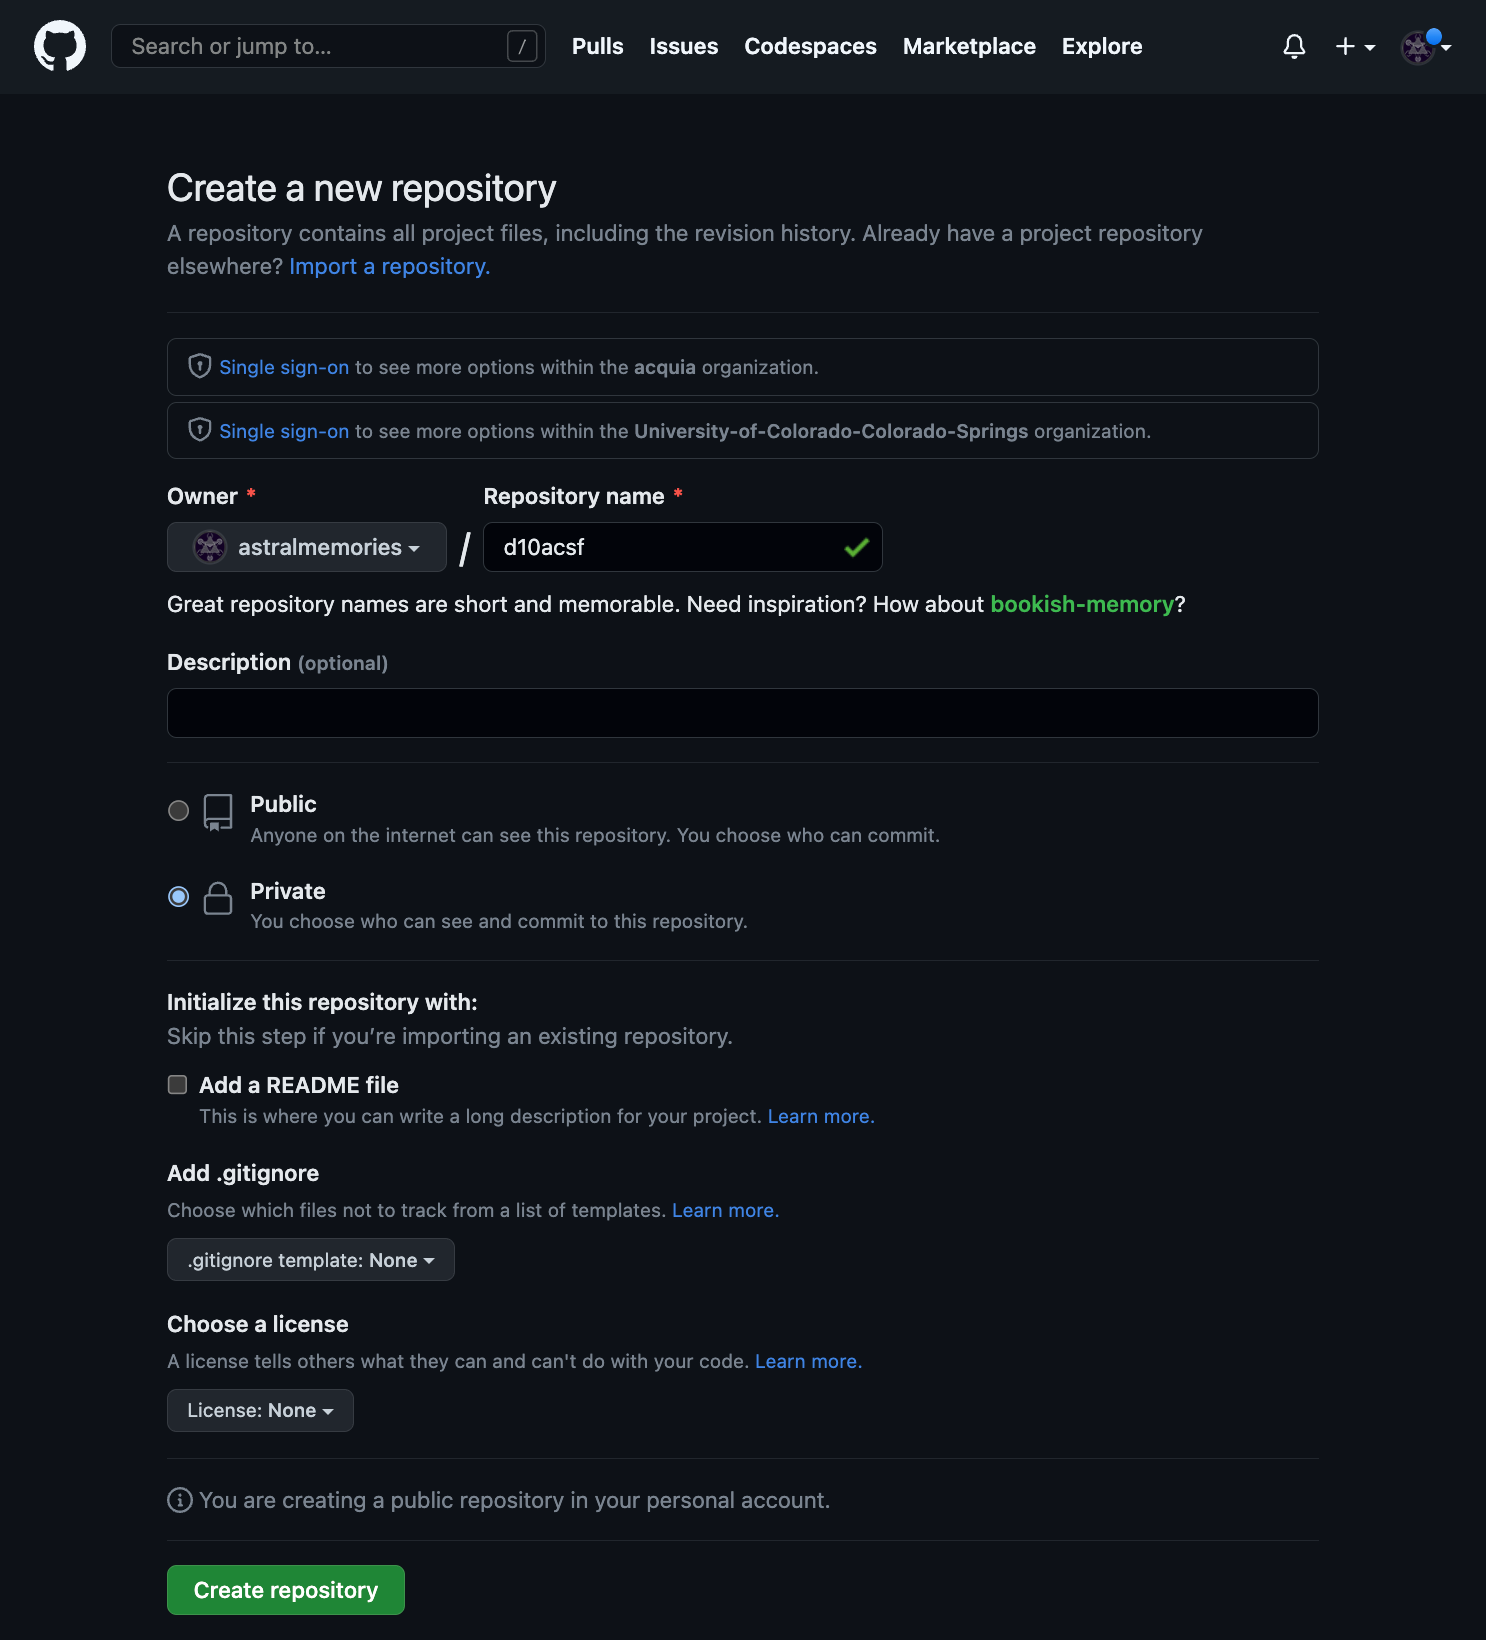
Click the “Create Repository” button.
To enable your IDE to push code to GitHub.com, add the public key to your GitHub.com account profile.(Visit https://github.com/settings/profile and select "SSH and GPG Keys"
You can locate the public key within your IDE by navigating to ~/.ssh
cd ~/.sshOnce you add the public key to GitHub.com, you can test whether the connection between your Cloud IDE and GitHub.com is working as follows:
ssh -T [email protected]Finally, go back to your Cloud IDE instance and execute the following git commands to push your new codebase to your repository:
git remote add origin https://github.com/astralmemories/d10acsf.git
git branch -M main
git push -u origin main
Make sure to replace https://github.com/astralmemories/d10acsf.git with your own remote repository URL.
Export the current Drupal configuration:
drush cexPush your codebase changes to your repository:
git add -A
git commit -m "BLT-001: Base codebase commit."
git push
Image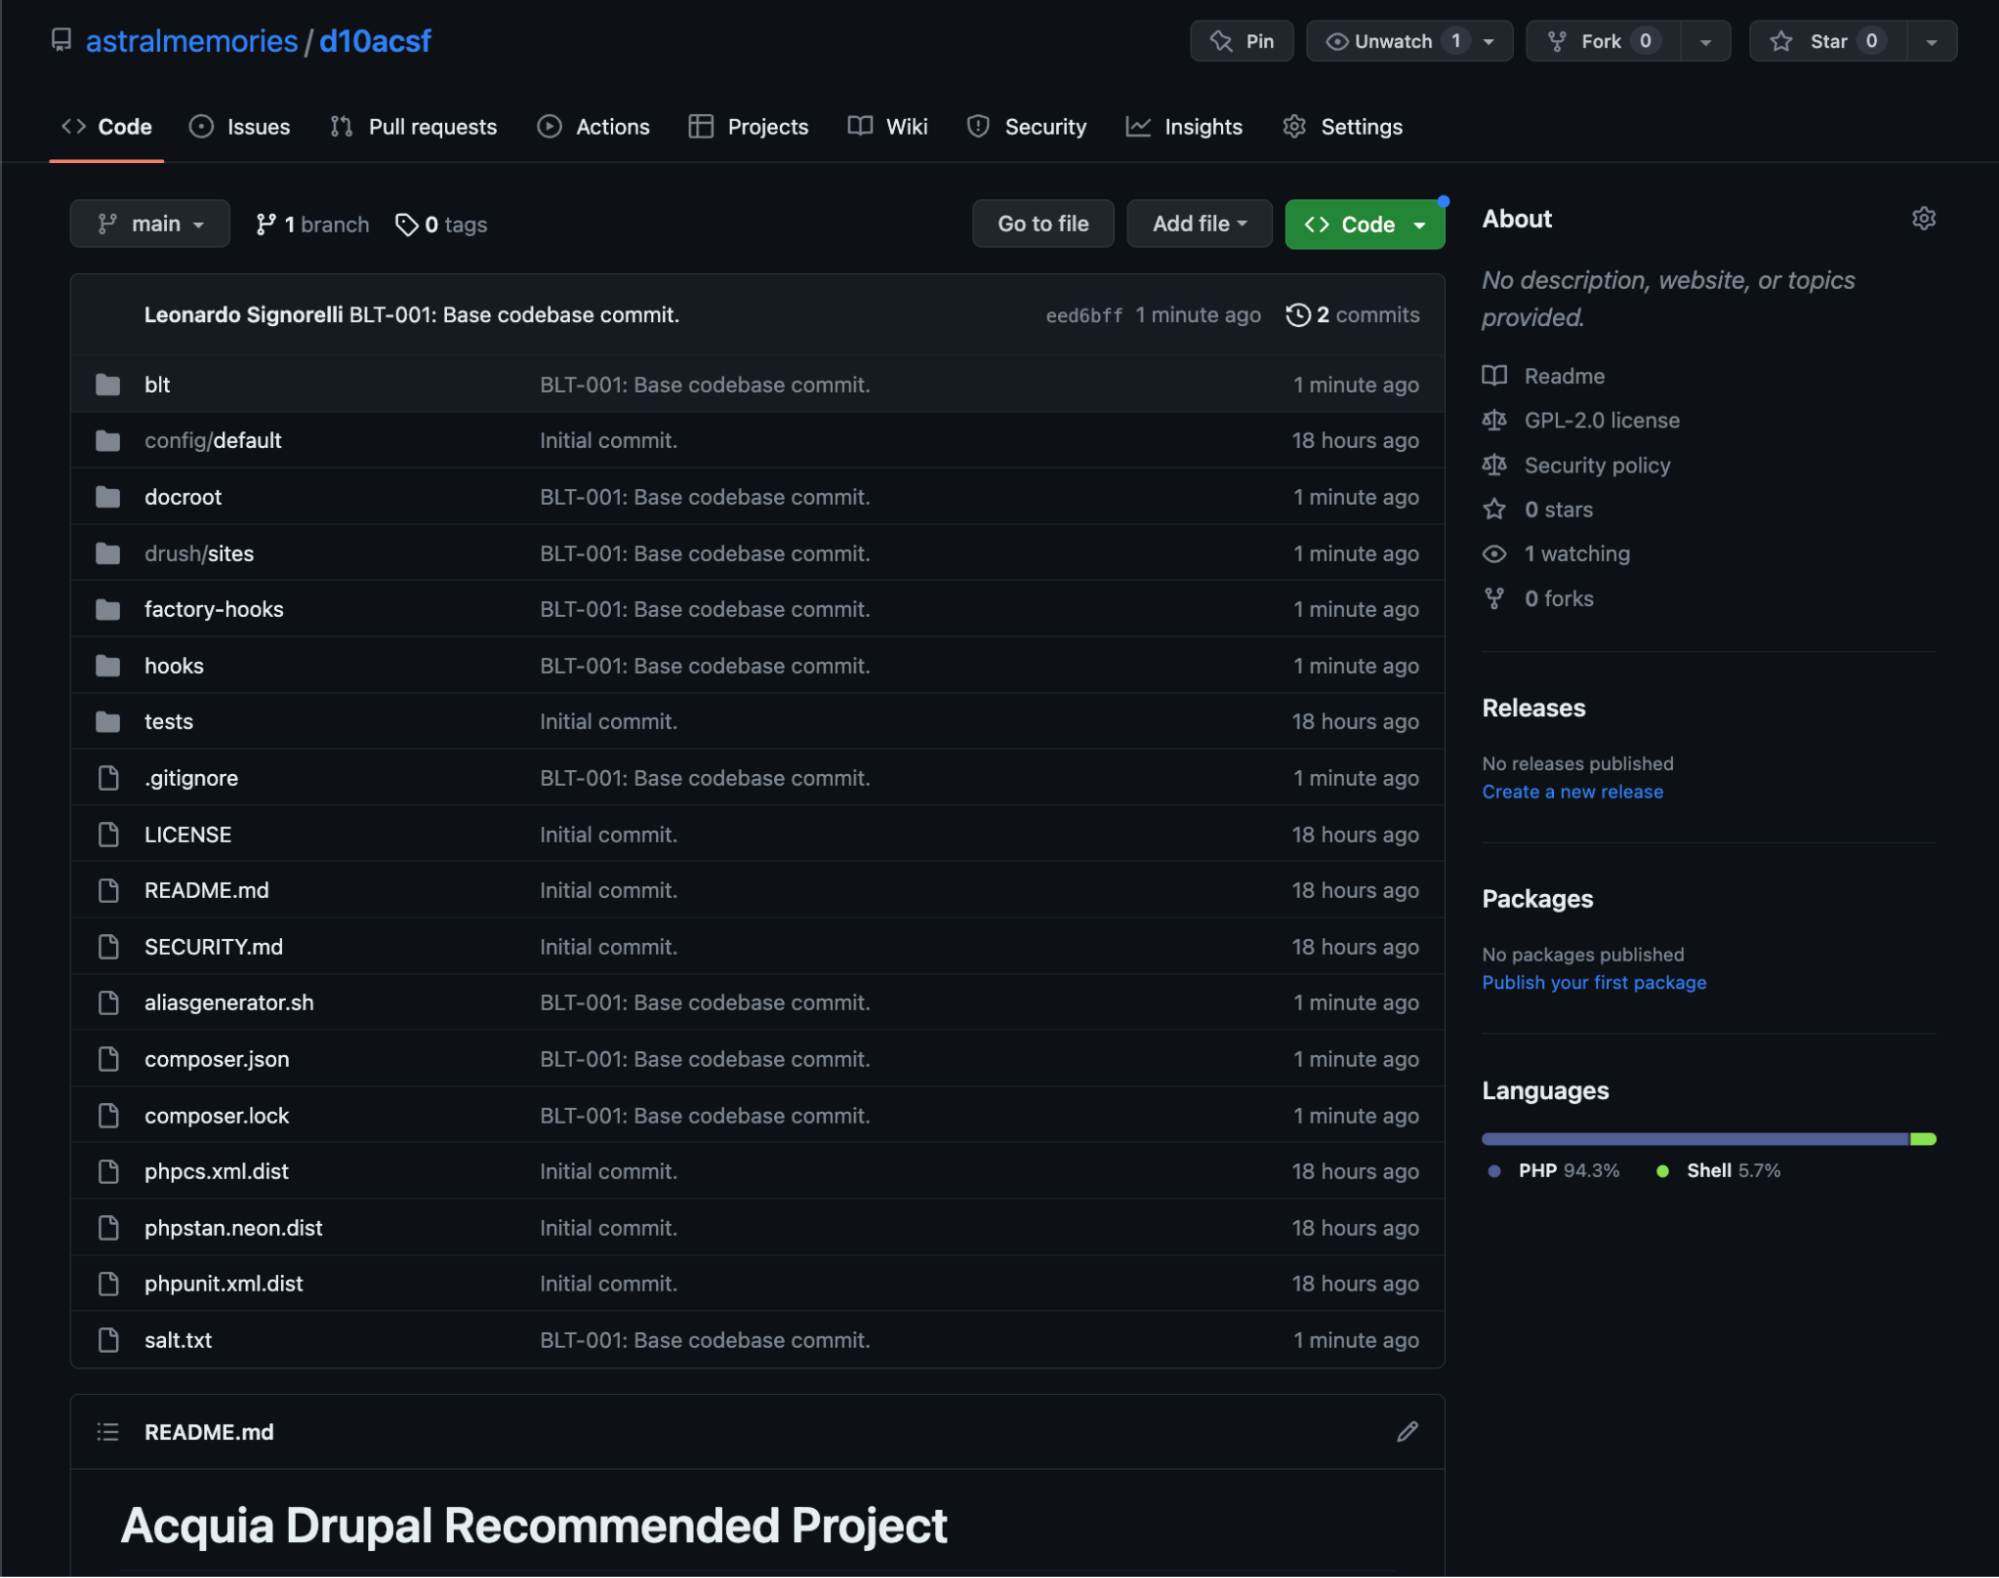
Congratulations on completing the initial phase of this three-step guide! You have navigated through the process of creating a new Drupal 10 codebase that is configured for ACSF. Now, let's head to the next phase where you will learn how to craft a custom Drupal installation profile.
Next phase: Create a Custom Profile and test New Site Creation with Site Factory


